
The self-playing xylophone
High Level Design Program & Hardware Design Results & Conclusion Appendix High Level Design Program & Hardware Design Results & Conclusion Appendix The Self Playing Xylophone ECE 4760 (Digital Systems Design using Microcontrollers) Final Project Programmed to play 23 snippets of our favorite songs o
- Suitable forB.Tech/B.E Embedded Systems students
- Build time4-6 weeks
- LevelBeginner
- Available atAjvika Labs, Kakinada
About this project
Program & Hardware Design
Results & Conclusion
Appendix
High Level Design
Program & Hardware Design
Results & Conclusion
Appendix
The Self Playing Xylophone
ECE 4760 (Digital Systems Design using Microcontrollers) Final Project
Programmed to play 23 snippets of our favorite songs on a toy xylophone!
Summary
: For our final project, we were interested in studying sending PWM signals to servo motors, similar to what we encountered in Lab 3, in a musical context. We developed a system that consists of eight servo motors - each with a xylophone mallet attached to its shaft - that can play a song that is specified by the user. Our self-playing xylophone currently holds 23 songs, ranging from a simple scale to Christmas songs such as the Carol of the Bells to pop songs like Love Story. The user can request a song through inputting its corresponding number into the serial monitor. Our group chose to pursue this project as a fun way to make great use of the baby xylophone toy we had lying around while enjoying some of our favorite songs.
By: Harris Miller, Karina Melgar, Zoe Chen
Detailed Project Description
The self-playing xylophone is an embedded-systems build that integrates sensors, actuators, a microcontroller and firmware into one working device, with the design decisions and test results documented so it can be reproduced.
How It Works
1. Input devices (sensors, buttons, encoders, wireless links) are connected to the microcontroller.
2. Firmware samples the inputs at a fixed rate and runs the control/processing logic (often with interrupts, timers or PIO for precise timing).
3. Outputs (motors, LEDs, displays, audio, radio) are driven according to the result.
4. The system is tested against its specification and tuned for reliability and responsiveness.
Key Components and Their Role
- RP2040: dual-core Cortex-M0+ microcontroller with programmable I/O used for precise, low-level timing.
- Servo motor: position-controlled actuator driven with a PWM signal.
Implementation Steps
1. Collect the components and study each module's datasheet (pin-out, voltage, interface).
2. Wire the circuit on a breadboard following the pin mapping; power sensors from the correct rail (3.3 V / 5 V).
3. Install C, Arduino IDE and the required libraries; flash a minimal test sketch for each module separately.
4. Write the main firmware: read sensors → process → drive outputs / send data.
5. Configure network or cloud credentials and test communication end-to-end.
6. Calibrate thresholds, add error handling (reconnect, sensor time-out) and run a long-duration test.
7. Finalise on a PCB / enclosure and document wiring, code and results.
Key Features
- Real-time firmware
- Custom hardware integration
- Measured performance
- Documented design and trade-offs
Expected Output
On completion the student will have a demonstrable device that meets its functional specification, with wiring diagram, code and results.
Deliverables
- Complete source code with comments
- Circuit diagram and pin mapping
- Project report with screenshots and results
- Demonstration-ready build
Technologies used
Hardware components
- servo motor
Software & tools
- C
- Arduino IDE
Project demo video
What you get
- Working project / hardware kit, tested before delivery
- Complete source code with explanation
- Project demo and guidance for your viva
- Project report, PPT and IEEE paper support (on request)
Related Embedded Systems projects
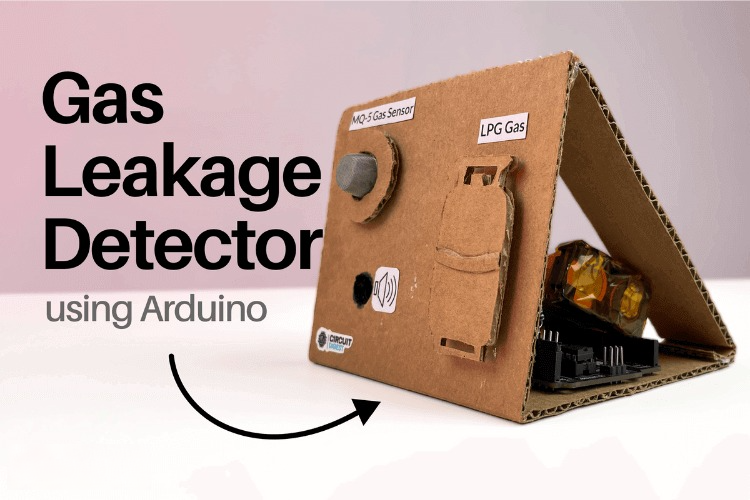
Gas Leakage Detector Using Arduino
A budget-friendly LPG gas leak detector built with an Arduino and MQ-5 gas sensor, triggering a buzzer and LED when unsafe gas levels are de...
View project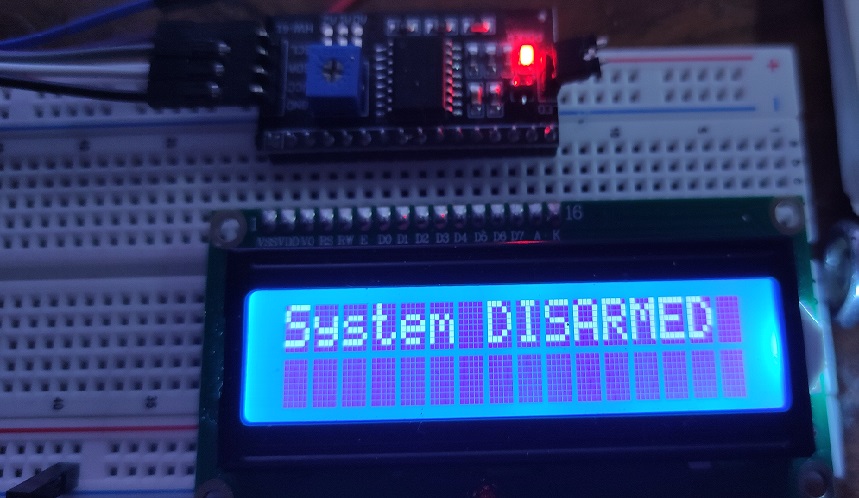
Simple Alarm System
A beginner-friendly home alarm with PIR motion sensing, keypad PIN entry, and separate entry/exit timing delays, built to be easy to expand.
View project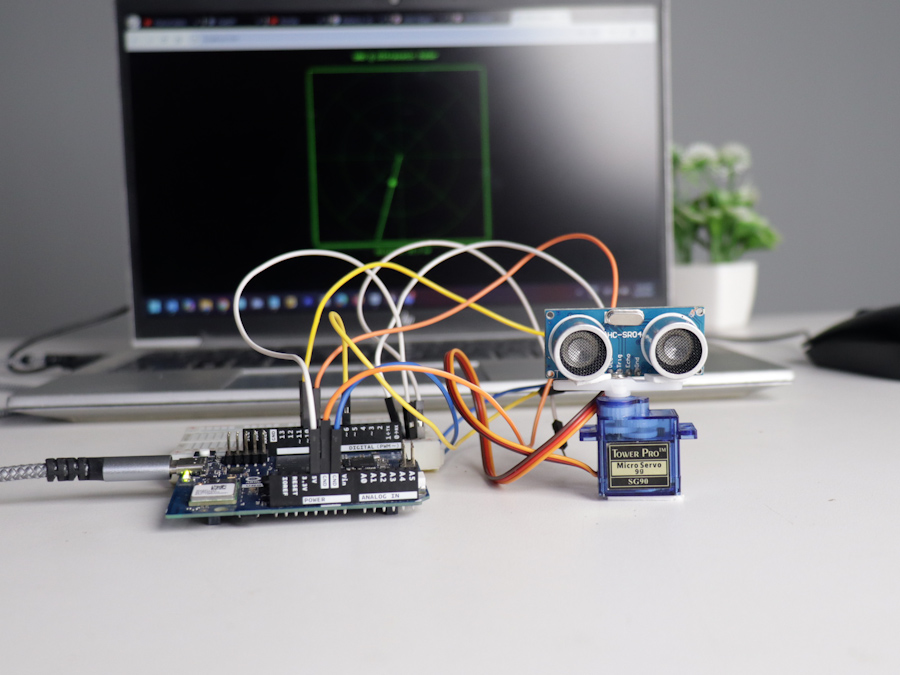
Ultrasonic Sensor Project with Arduino UNO Q
A beginner-friendly first Arduino UNO Q project: a servo-swept ultrasonic sensor that renders a live sweeping radar display in a web browser...
View project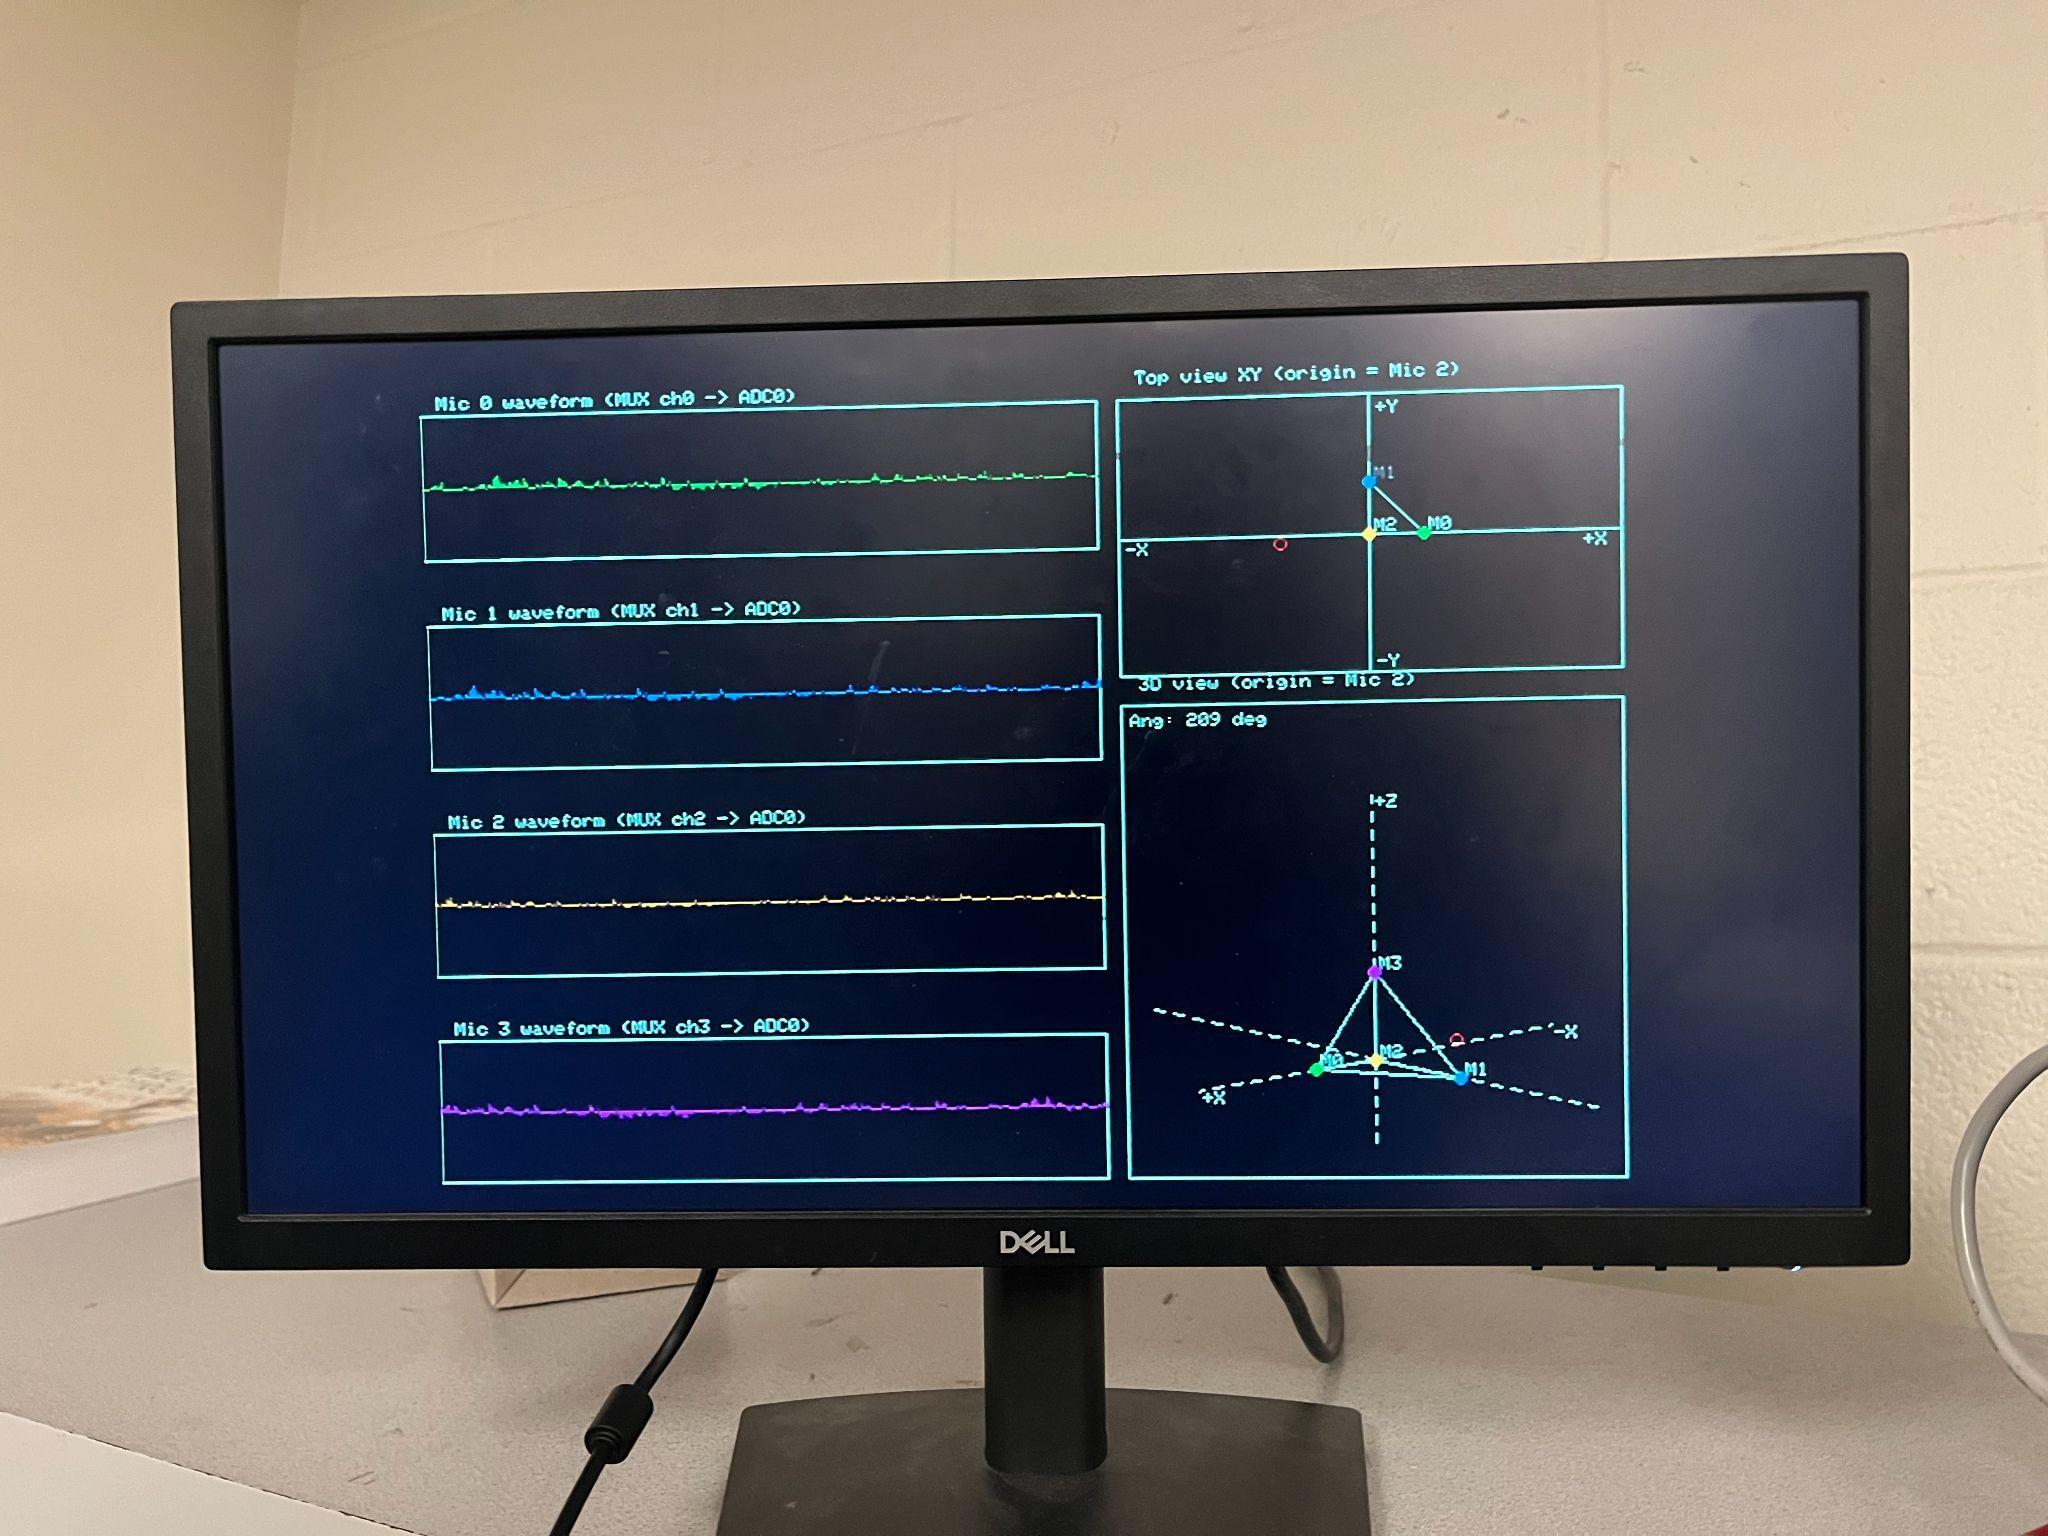
3D Audio Localization
[Fall 2025] We designed a real-time embedded system that localizes sound sources in three dimensions and visualizes them live using a four-m...
View project