Temu Pebble band
[Spring 2025] Our final project,Temu Pebble Band, is an interactive musical rhythm game reimagined through the lens of the Raspberry Pi Pico RP2040 microcontroller, paying homage to the smash hit 2007 gameRock Band, while also acknowledging the homemade, well-loved feeling to our game that some may describe as “Temu”.Our game challenges players to follow along with falling notes on a VGA display while playing the corresponding keys on a mock piano we built ourselves from
- Suitable forB.Tech/B.E Embedded Systems students
- Build time4-6 weeks
- LevelBeginner
- Available atAjvika Labs, Kakinada
About this project
Our final project,
Temu Pebble Band
, is an interactive musical rhythm game reimagined through the lens of
the Raspberry Pi Pico RP2040 microcontroller, paying homage to the smash
hit 2007 game
Rock Band
, while also acknowledging the homemade, well-loved feeling to our game
that some may describe as “Temu”.
Our game challenges players to follow along with falling notes on
a VGA display while playing the corresponding keys on a mock piano we
built ourselves from scratch. As players strike the correct notes at the
right time, the piano notes play aloud over the speaker, and the player
ends up playing the song for the level they selected. After the
player’s run is over, the game gives them a score depending on the
number of notes they’ve hit or missed, before returning to the
menu screen where they can play other levels or try again. Our goal at
the beginning of this project was to create a game that is technically
robust enough to be immersive, accessible to recreate using just the
materials at our disposal, and most importantly, end up with a game that
is fun to play and build.
High Level Design
Our idea originated from a shared interest in music, gaming, and
hands-on hardware projects. Taking from all the labs, we wanted to
combine audio synthesis and interactive animation into a cohesive game
experience, but interfaceable with custom hardware. Inspired by
Rock Band
and
Piano Tiles
, we wanted to make a handmade version, using a custom-built
instrument.
Background and Logic
At a high level, the game operates as follows:
The player selects a song and mode from a menu displayed on the VGA
monitor.
The display shows notes falling over piano keys, indicating which
notes to play and when.
When the player presses keys on their instrument, the RP2040 plays
back a pre-generated note.
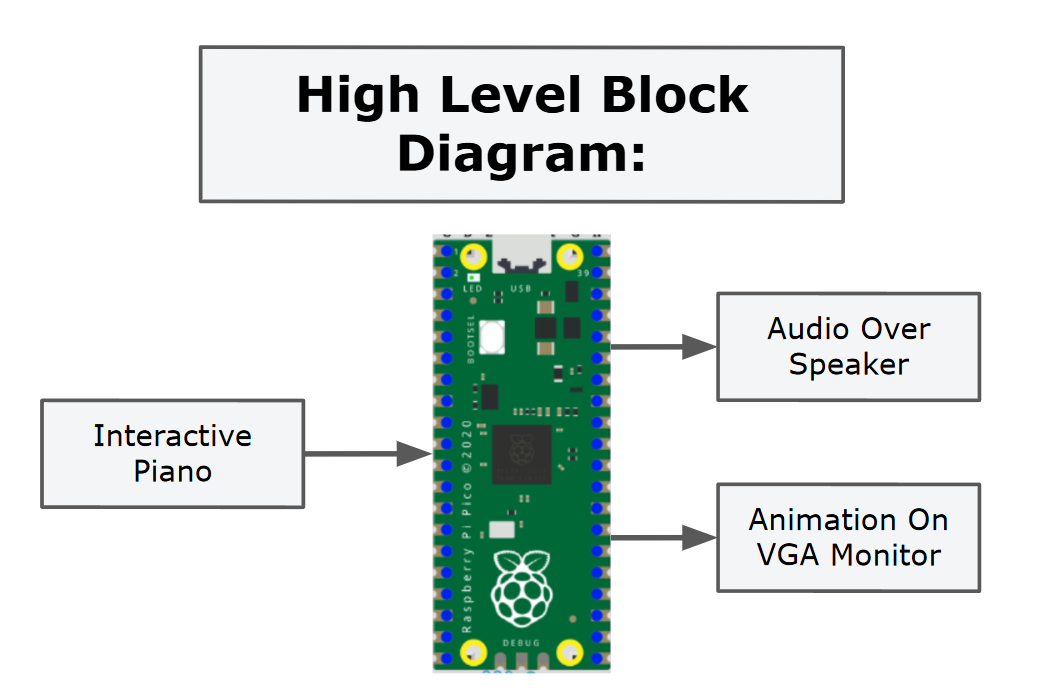
The high level mechanics of our game can be understood in the block
diagram included here. We used a miniature replica of a piano spanning
one full octave of 13 keys (Middle C to the next C up), with each button
mapped to either a specific note. The limited key count simplifies
gameplay and allows us to scale popular or complex songs down to a
playable format for our hardware constraints.
Hardware/Software Trade Offs
We pre-generated each note’s sound and hard-coded the sequence of
notes for each song. We captured the pre-generated notes by recording
ourselves playing the exact keys on a physical piano. Next, we ran these
audio files through custom Python scripts to get them in a format
compatible with our Pico and DAC to be played aloud, as described in
great detail in the
Software
section of the report. Likewise, we simplified the instrument inputs to
digital buttons rather than analog or capacitive sensors, reducing
complexity while maintaining responsiveness.
Intellectual Property and Legal Considerations
Our game draws inspiration from existing games such as
Rock Band
and
Guitar Hero
, but we created all visuals, code, and audio mappings independently.
The exception is the edited Temu logo in the menu screen, but this
alteration falls into fair use as it is clearly a parody. We are not
distributing this game commercially. We either recorded all sounds or
took them from open-source/public domain collections. Regarding the
songs in our game, both Twinkle Twinkle Little Star and the arrangement
of Great Fairy Fountain are in the public domain. References and data
sheets are documented in the appendices.
Program/Hardware Design
Hardware Details
This project involved three main hardware components: building a
miniature mechanical piano, connecting the circuitry of the
microcontroller to the piano, and enabling the microcontroller to
control graphics and audio according to user input. Here, we go into
great detail regarding the implementation of each of these three
undertakings.
Building the Piano
When we set out to
complete this project, we knew we wanted our piano interface to look
like a piano, feel like a piano, and play like a piano, but be scaled
down and have fewer keys for the purpose of our game. As a result, we
decided to narrow our piano down to just one octave with thirteen keys,
spanning from one C to the next C up. We knew a mini-piano following our
specifications must have been built before, so we started researching
other projects where people have constructed similar pianos to see if
there were any helpful tips for building our desired product. We found a
self-documented project on Autodesk Ajvika Labs where an individual 3D
printed and built a 1-octave piano, found
here
. This 3D printed piano fit all of our specifications, although the
documentation for the rest of the project was not the best. This piano
had way more wires than we wanted in ours, many steps regarding its
construction were not easy to follow or even discussed, and we faced
challenges in finding the hardware necessary to recreate the piano that
this individual made. As a result, we decided to attempt building our
piano using the 3D printed pieces in this project, but we built and
implemented everything beyond that from scratch. We did not use any code
from this project and we implemented the mechanics of our keyboard using
our own ideas and hardware we had access to. This source was useful
because we used their published 3D printing files to print the keys and
exterior of our piano, but all actual implementations were completed on
our own.
After 3D printing the
keys and shell of the piano, we found a metal rod in the lab to use as
an axle for the keys to rest on. At this point, all of the piano keys
could move up and down on the axle although they would rest on the table
as if they were being pressed without any springs or elastic to offer
support in the back. We searched through hardware stores like
Lowe’s and Home Depot to find springs to use to hold our keys in
proper position, however we could not find any good options that would
not be very expensive. Thus, we opted to use rubber bands to hold our
keys up and give enough force to spring back into position after being
pressed. To anchor the rubber bands in place, we added M5x20mm screws
through the sockets in the back of all 13 keys, held in place with 3 M5
nuts (with two on top of the key, and one underneath the key). Next, we
tied rubber bands around each of the stumps made by each of the screws
as seen here, and our piano keys were able to be pressed and released
with a very similar feel to a real piano.
Figure 1: Interior mechanics of the piano using rubber bands
A new problem began to
arise however, where the rubber bands would calcify and snap easily
(because they were old), and it would be very difficult to replace a
broken rubber band if it were not on end keys. Therefore, we decided to
take a new approach, using strips of elastic to hold each of the keys in
position. The elastic would be easy to replace, and would not have as
much friction on the desk or piano shell, meaning they would break or
snap a lot less frequently. Next, we used two clamps to hold our piano
to the table and tested our interface. While this elastic allowed our
keys to be pressed similarly to a real piano, a new and unrelated
problem occurred in which some keys would get caught underneath other
keys when they were pressed. This issue only happened on the white keys
that neighbored black keys due to the overhang getting stuck on the next
white key over. To correct this, we added plastic tabs between these
keys to act as dividers and prevent the overhang from getting caught on
the under-shelf of its neighbor. These tabs served as intended, and
their functionality can be seen here:
Figure 2: Plastic dividers between keys with overhangs that would catch
when pressed
Figure 3: Image of finished piano octave with keys held as rest and
capable of being pressed
Now that our piano keys
could be pressed and released similar to the real instrument, the next
step was to find a way for these key presses to be registered by our
microcontroller. To do so, we wanted our keys to act as buttons where
each key would constantly be in contact with either power or ground and
any change in this status could be detected as a press. This approach
would require three main components for each key: a path to power, path
to ground, and connection to the microcontroller to communicate its
status. While the screws and bolts were originally introduced to each
key as a way to anchor the elastic, we decided to take advantage of
these conductive, metal components. By connecting wires to each
key’s screw, we had built a connection to communicate the
key’s status to the microcontroller if we could find a way to
connect these screws to ground or power.
To accomplish this, we decided to introduce one power rail and one
ground rail to embed in the piano’s shell and use for all thirteen
keys.
For the power rail, we
used a solderboard and added a connection to 3.3V that extended the full
length of the octave. We glued this “power strip” to the
roof of the piano’s shell in a position the screws would not come
into contact unless they were pressed pretty far down. This would avoid
false signals and ensure key-motion was not restricted by coming into
contact with a solid strip prematurely. In addition to the power rail,
we need a ground rail to prevent our floating inputs since the mux does
not have pull-down resistors. Without the gr
Technologies used
Hardware components
- RP2040
- Raspberry Pi Pico
- VGA display
- speaker
- DAC
Software & tools
- Python
Project demo video
What you get
- Working project / hardware kit, tested before delivery
- Complete source code with explanation
- Project demo and guidance for your viva
- Project report, PPT and IEEE paper support (on request)
Related Embedded Systems projects
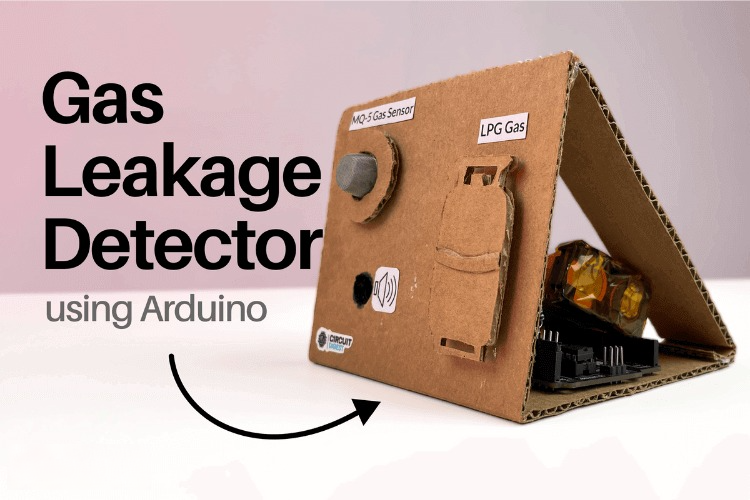
Gas Leakage Detector Using Arduino
A budget-friendly LPG gas leak detector built with an Arduino and MQ-5 gas sensor, triggering a buzzer and LED when unsafe gas levels are de...
View project
Simple Alarm System
A beginner-friendly home alarm with PIR motion sensing, keypad PIN entry, and separate entry/exit timing delays, built to be easy to expand.
View project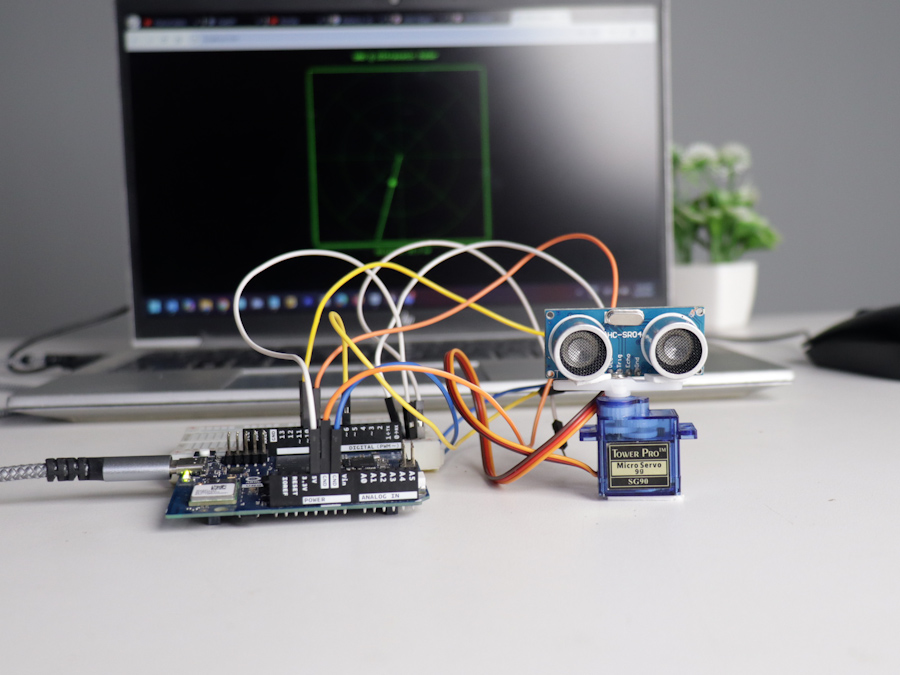
Ultrasonic Sensor Project with Arduino UNO Q
A beginner-friendly first Arduino UNO Q project: a servo-swept ultrasonic sensor that renders a live sweeping radar display in a web browser...
View project
3D Audio Localization
[Fall 2025] We designed a real-time embedded system that localizes sound sources in three dimensions and visualizes them live using a four-m...
View project