Super Mario recreation
[Spring 2025] A retro‐inspired, Super Mario–style side-scroller built on a Raspberry Pi Pico. We designed and built a mini gaming console around the Raspberry Pi Pico to re-create the look and feel of an the original Super Mario Bros. We recreated the entire game from scratch using methods from the first three lab assignments. We heavy relied upon lab 2 (Galton Board) as the base for our game, as it was physics- and animation- heavy. We ended up with a nearly spot-on recreation of the
- Suitable forB.Tech/B.E Embedded Systems students
- Build time4-6 weeks
- LevelBeginner
- Available atAjvika Labs, Kakinada
About this project
A retro‐inspired, Super Mario–style side-scroller built on a Raspberry Pi Pico. We designed and built a mini gaming console around the
Raspberry Pi Pico to re-create the look and feel of an the original Super Mario Bros. We recreated the entire game from scratch using methods from the first three lab assignments.
We heavy relied upon lab 2 (Galton Board) as the base for our game, as it was physics- and animation- heavy. We ended up with a nearly spot-on recreation of the original game, with
some considerations for the restrictions of the provided color palette, and some non-essential features cut due to time and resource constraints.
Players control Mario through four dedicated inputs. Two tactile buttons steer horizontal movement: pressing the left button moves Mario left, while the right button moves him right.
A separate jump button applies an upward velocity impulse against gravity, allowing Mario to clear gaps and enemies. Finally, a reset button instantly clears the screen and restarts the level,
re-initializes scores/enemies/time, giving players a quick way to retry. All inputs are sampled via GPIO each frame and handled in our Protothread–driven main loop to ensure responsive,
flicker-free gameplay.
Quick Gameplay Preview
Your browser doesn’t support HTML5 video.
Figure 1: 11-second gameplay loop of Level 1. Core functionality is demonstrated, including goombas, coin collection,
basic movement, and falling out of the world.
High-Level Design
Rationale & sources:
Where the idea came from
We are both fond of retro, scrolling-style games. We also both particularly enjoyed lab 2 and loved the idea of doing something that you can directly interact with. As such,
we set out to create an as-accurate-as-possible recreation of the original Super Mario Bros. This idea also complemented our strengths well, as Noah is strong in areas dealing
in physics, while Max is much better at front-end and the artistic side of things. This allowed us to each focus on a different part we were stronger at.
Background math:
Key formulas or algorithms
At heart, the physics of the game are rooted in basic mechanics. Our physics core relies on simple Newtonian motion under constant gravitational acceleration, discretized per frame.
We provide a hard-cap of his downward velocity in order to prevent runaway fall speeds. When the jump button is pressed at ground contact, we give Mario an instantaneous upward velocity boost,
after which gravity pulls him back down. Horizontal movement is handled by adding or subtracting a fixed speed each frame when the left or right button is held, but only if the tile-based collision
check indicates no solid block in the way. By converting Mario’s world coordinates into tile indices, we can efficiently test the few tiles around his feet and sides to prevent him from walking or
falling through walls.
To create the illusion of a scrolling world much larger than the 640×480 display, we maintain a single “world_x” offset that follows Mario once he moves past the center threshold. Instead of moving Mario
past that point, we shift the viewport by the same amount he would have moved, then redraw only the tiles and sprites visible in the new window. This technique keeps Mario visually centered while the
background glides by. Enemy Goombas use the same gravity-and-bounce rules as Mario, plus a constant patrol speed that reverses whenever they hit a wall; their sprite frames advance on a simple timer so
that their walking animation stays in sync with the game’s 60 Hz update loop. In order to prevent flashing and lag, we had to tweak the way we redraw.
For Mario, we realized that no matter what, the VGA will draw over old pixels; We used this to our advantage in our Mario animation. Instead of blueing
out the entire sprite, we only blue out the pixels that Mario was previously at that don't overlap with his current hitbox. That way, this avoids the
blue flashing we were initially getting. To fix the lagginess of the scrolling and smooth that out, we only redraw pixels as fast as Mario moves,
rather than re-drawing everything.
One of the things that we really took to heart on recreating mario was the graphics. In order to create accurate sprites and tiles that
were true to the original, Max first downloaded the app PixilArt on his iPad. He was then able to carefully, pixel-by-pixel draw out
the sprites and tiles to figure out exactly which color each pixel needed to be. The next step was to convert them into Python numpy
arrays in order to easily print them out. Since Python and C Arrays were easily converted between one another, this was an easy means
of testing how the graphics were coming along. Yes- Each pixel was hand-coded for every sprite and yes- it took forever!
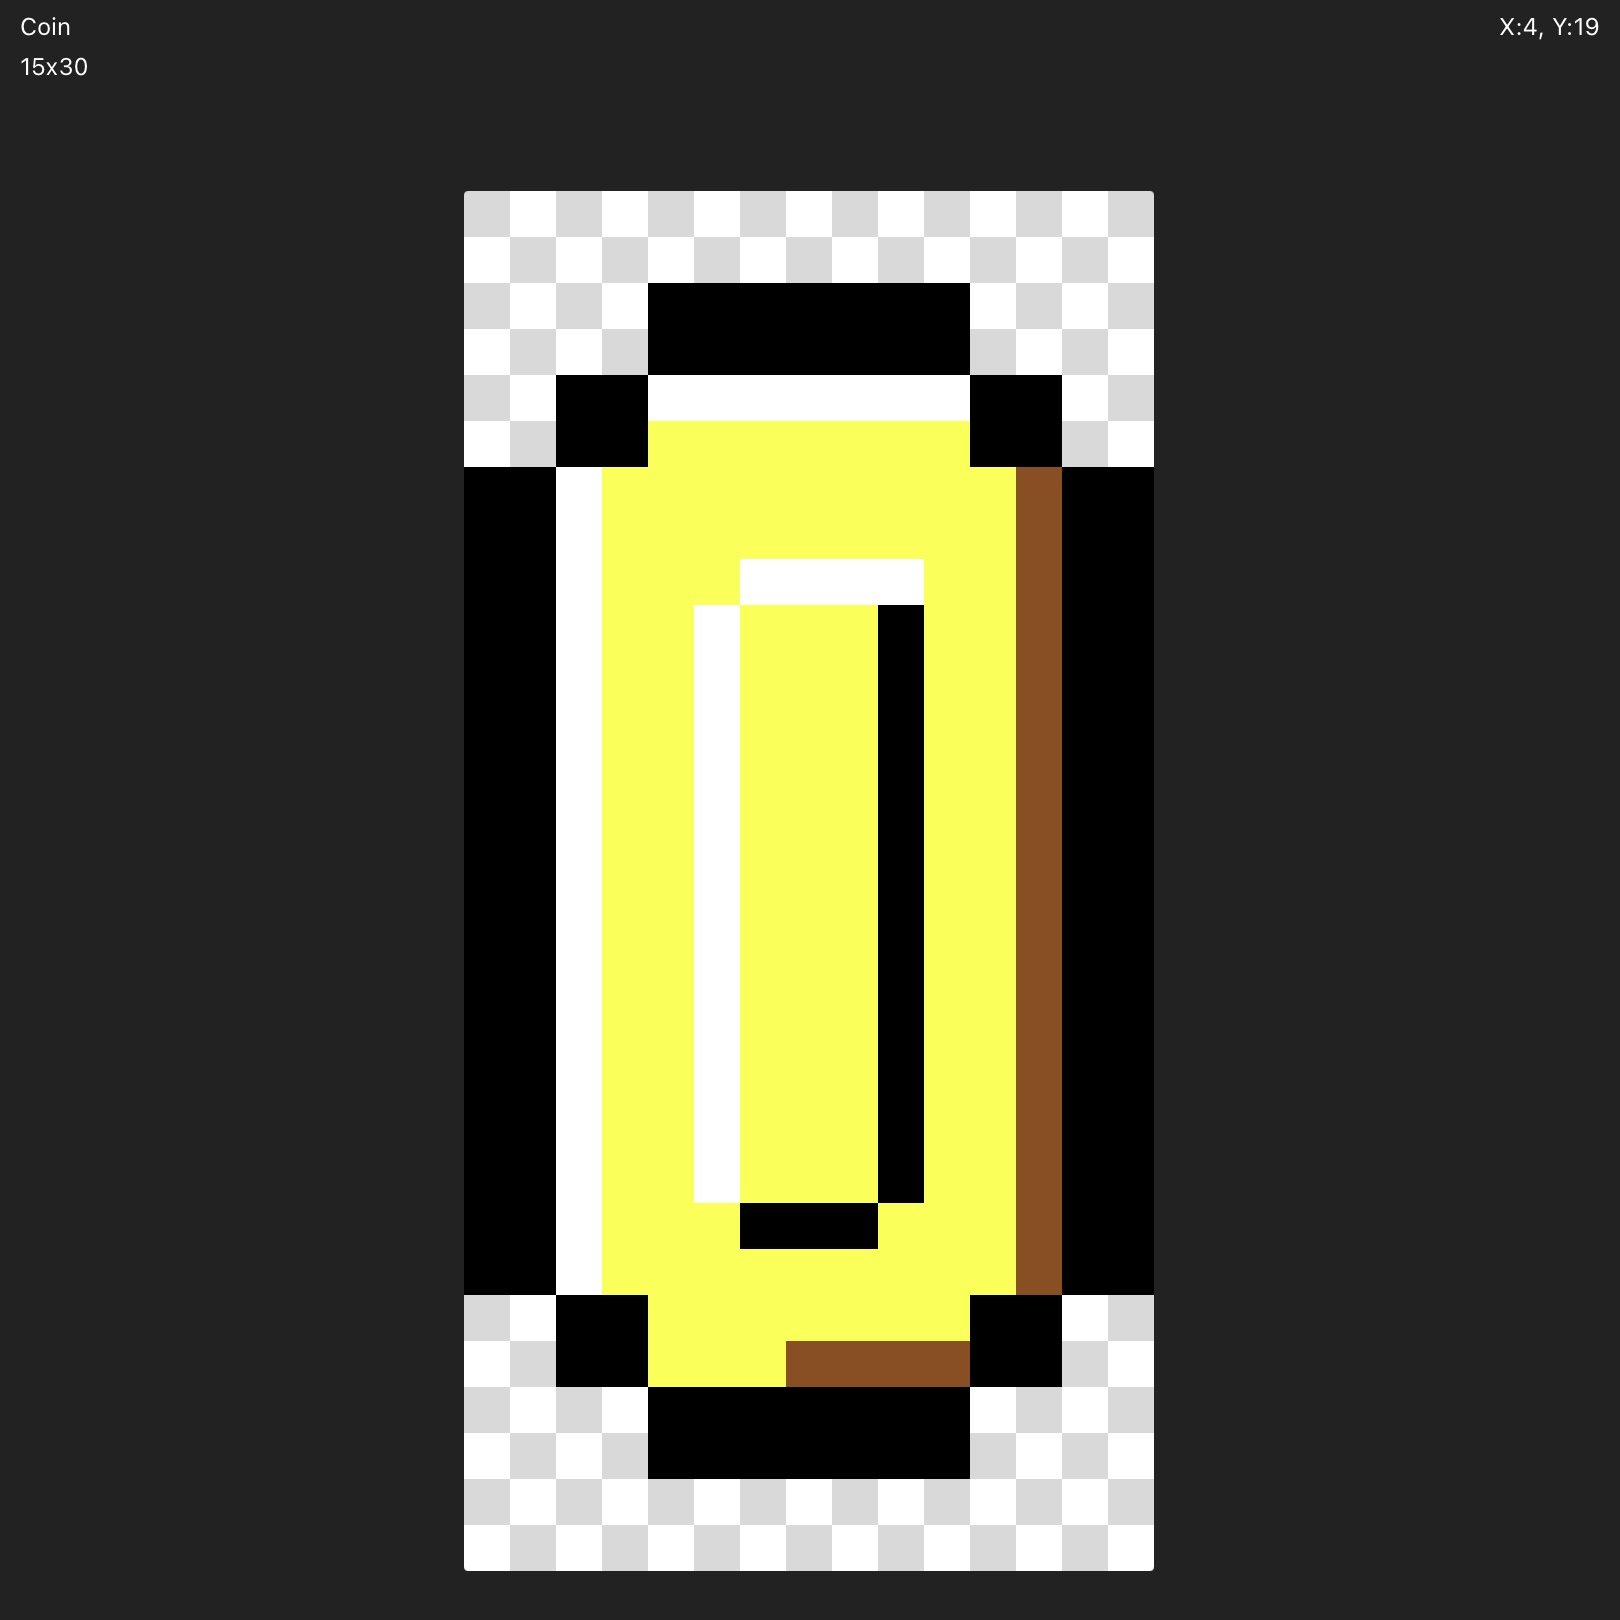
Figure 1: Example image from Pixilart for the coin.
Figure 2: Testing the sprites/tiles on Jupyter Notebook.
Logical structure:
We organized our game into distinct modules for simplicty. Each file was coupled with its own header file for easy compatibility between modules. We repurposed the animation.c file from Lab 2 and used
it to serve as our main file. We have dedicated files for drawing sprites, drawing tiles/screen, collision/movement physics, games states, struct handling, storing level data, as well as a colors
header file where we define our own shorthand definitions for the provided colors to make our arrays cleaner and easier to write/read visually. A summary of each is provided in the table below.
This modularity made the game much more manageable, and we kept adding more modules as we saw fit.
File
Purpose / Description
drawtile.h
Declarations for tile‐map drawing routines and tile bitmap data.
drawtile.c
Implements functions to render individual tiles to the VGA buffer.
colors.h
Defines RGB color constants (e.g.
OB
YL
WT
).
gamestates.h
Enumerates the different game states (e.g.
PLAYING
GAME_OVER
).
gamestates.c
Implements the state‐machine logic for transitioning between menus, play, and game‐over screens. Also
defines the
init_game
function to start up the game
drawsprites.h
Declares sprite rendering functions and animation frame constants.
drawsprites.c
Contains routines to draw and animate Mario, Goombas, coins, and other moving objects. Has
convenience wrappers for each of these for easy access.
drawscreen.h
Function prototypes for drawing the level viewport and status bar.
drawscreen.c
Implements full‐screen redraws, including the scrolling tile window and HUD.
animation.c
Protothread‐based timers and animation schedulers (e.g. enemy walk cycles).
movementphysics.h
Declares physics update functions and constants (gravity, jump velocity).
movementphysics.c
Implements Mario and Goomba kinematics, collision detection, and boundary checks.
initstructs.h
Defines the data structures for characters, enemies, and game state.
initstructs.c
Initializes all game objects (position, velocity, alive flags, etc.) at startup/reset.
leveldata.h
Contains the raw, constant 16×421 tile map for Level 1.
leveldata.c
Copies the flash‐stored map into RAM and handles runtime modifications (e.g., Q‐block hits).
Once we had all these arrays and draw functions declared, the next step was to make sure they looked as we intended on the VGA Screen.
We devised a test palette of all the different game assets and printed it out on a blue screen so we could look for inconsistencies
and get a sense of scale. Below is this initial test palette.
Figure 3: The test palette of sprites and tiles. Note: Green blocks represent pipes, which were scrapped.
To intialize a new game, we created an initgame function. All it does it draw the level, spawn in Mario, the Goombas, set
Mario's starting position to the beginning, and reset the leveldata back to its default configuration. It initializes all
the scoring values to their beginning configuration. It's a clean way of tying the entire game together in main.
When the reset button is pressed, control jumps to a special reset block before the usual physics or game‐over logic.
That block first kills any active coin, then clears the entire screen to the sky‐blue background. It calls init_game()
to reinitialize scores, timers, and level data; recenters the viewport (world_x = 320.0f); and clears your game_over and
game_over_drawn flags. The frame_counter is zeroed to restart the physics cadence, and the level is redrawn. Mario is
re‐initialized to his starting coordinates, and the Protothread timer is re‐initialized so your 1 Hz scheduling starts fresh.
Finally, any Goomba “alive” flags and spawn booleans are all reset to false, ensuring that no enemies carry over from the previous
run. The function then immediately continues the loop, effectively jumping back up to the top and beginning a brand‐new game frame.
This is the same logic that is called when the game_over state is triggered, except the game_over screen pops up instead of
re-drawing the level.
The scoring and timer mechanics are very straightforward. For scoring, whenever Mario hits a mystery box, a short coin animations
goes off, and coins increase by 1 while score increases by 10. The titles for the scoreboard are initialized once at the beginning
of the game and stay permanently; We avoid redrawing the top ~90 pixels of the screen in order to prevent the scoreboard from getting
deleted. When mario destroys a goomba, he gets +20 score. At the end of the game, spare time is added to score and a game over
screen reads out the coin and score totals. To prevent Mario and Coins from accidentally overwriting the scoreboard, we cap their m
Technologies used
Hardware components
- Raspberry Pi Pico
Software & tools
- Python
Project demo video
What you get
- Working project / hardware kit, tested before delivery
- Complete source code with explanation
- Project demo and guidance for your viva
- Project report, PPT and IEEE paper support (on request)
Related Embedded Systems projects

Gas Leakage Detector Using Arduino
A budget-friendly LPG gas leak detector built with an Arduino and MQ-5 gas sensor, triggering a buzzer and LED when unsafe gas levels are de...
View project
Simple Alarm System
A beginner-friendly home alarm with PIR motion sensing, keypad PIN entry, and separate entry/exit timing delays, built to be easy to expand.
View project
Ultrasonic Sensor Project with Arduino UNO Q
A beginner-friendly first Arduino UNO Q project: a servo-swept ultrasonic sensor that renders a live sweeping radar display in a web browser...
View project
3D Audio Localization
[Fall 2025] We designed a real-time embedded system that localizes sound sources in three dimensions and visualizes them live using a four-m...
View project