
Pico Barrier Blitz
[Fall 2023] For our project, we created a fun, one- or two-player, arcade-style game where players can compete to outlast one another, or simply try to set a high score. We replicated a game similar toPico Park Level 12-3. The game offers the choice between a single-player mode or a two-player mode in which each player tries to complete an obstacle course. Similar to Flappy Bird, this game randomly spawns barriers that each player’s character must go through. Colliding with any of the barriers r
- Suitable forB.Tech/B.E Embedded Systems students
- Build time4-6 weeks
- LevelBeginner
- Available atAjvika Labs, Kakinada
About this project
Skip to main content
Skip to navigation
ECE 5730 Final Project: Pico Barrier Blitz
ECE 5730 Final Project:
Pico Barrier Blitz
Introduction
High-Level Design
Rationale and Sources of Project Idea
Background Math
Logical Process: Thread
Hardware Design
Software Design
Start Menu Screen
Player Movement Processing: Joysticks
Spawning Barriers
Updating Barriers
Collision Detection
End Game
Audio
Results
Conclusion
Appendices
Appendix A: Permissions
Appendix B: Program Code
Appendix C: References
Introduction
For our project, we created a fun, one- or two-player, arcade-style game where players can compete to outlast one another, or simply try to set a high score. We replicated a game similar to
Pico Park Level 12-3
. The game offers the choice between a single-player mode or a two-player mode in which each player tries to complete an obstacle course. Similar to Flappy Bird, this game randomly spawns barriers that each player’s character must go through. Colliding with any of the barriers results in the player losing. As the game progresses, the level of difficulty increases: tunnels get narrower, the game speeds up, and so does the background music! The game keeps track of the player’s current score and highest score. In multiplayer mode, the game ends when either player fails to avoid a barrier.
High-Level Design
Rationale and Sources of Project Idea
When discussing ideas for this project, we both agreed that Lab 2 was the most interesting lab of the three labs we completed in class because of the interfacing with the VGA screen. We wanted to implement a two-player obstacle course game visualized on the VGA screen to see which player can get the highest score. We decided to incorporate
into our project
unique aspects from all three labs: the DAC to output sound from Lab 1, the displaying of movement from Lab 2, and the constant updating of the VGA screen from Lab 3.
Background Math
The main piece of math we had to understand was that the VGA screen displays pixels 640 horizontally x 480 vertically, with reference of (0,0) being the top left of the screen, meaning the positive x-direction moves left to right, and the positive y-direction moves downwards. This concept was used almost everywhere to draw barriers, and player models.
Logical Process: Thread
The game is all organized into our thread. The game starts by displaying a start menu, which is done by calling the StartGame() function, which allows for players to select a 1-player mode or 2-player mode. The program saves which mode is highlighted prior to the button push, then spawns the appropriate number of players. The program then enters a while(1) loop for the gameplay to begin.
The program's loop ca
lls UpdateBarriers(), which processes the spawning of barriers and moves them across the screen. The loop also calls MovePlayer1() and MovePlayer2() (if it is in 2-player mode) which processes
player movements by polling the joystick's GPIO pins.
Collision detection is processed in UpdateBarriers() and sends a flag to the thread if a collision occurs. If a collision is detected, the loop breaks, and the game ends. X's are drawn on the eyes of a player that died. The thread plays the death sound, and calls EndGame() to display the end game menu, and the program waits until the button is pressed to bring the game back to the start menu screen. See the
Software Design section below for further details on each function.
Hardware
Design
Figure 1: Pinout of the Raspberry Pi Pico
Figure 2: Real Breadboard
Figure 3: Breadboard Diagram
Table 1: Hardware Components
The main piece of hardware we used was the Raspberry Pi Pico, an RP2040-based microcontroller board which was used to interact with all other components described in Table 1. A breadboard was used to make these connections. Figures 2 and 3 show the connections, in a real picture of our board and in a diagram. Along with HSYNC, VSYNC, and ground, we connect the red, green, and blue VGA pins to the RP2040 through 330 Ohm resistors to create a voltage divider that sends a safe output voltage range to the VGA.
We connected a simple pushbutton that reads 1 when not pressed, and 0 when pressed.
On the start screen, t
his button is used to select single player or two player mode, which starts the game. Upon a player's death, the button is used to return to the menu screen and select mode again.
We used the MCP4822 12-bit DAC with an audio jack and speaker to play our background music, as well as our death sound effect. Our code runs through a digital array of sounds, and the DAC transfers those values to the speaker as an audio output.
Finally, we used two digital joysticks to control the movements of players 1 and 2. The joysticks have 5 connections: down, up, left, right, and ground. For an easier connection, the player 2 joystick is plugged in backwards, so the connections are mirrored compared to player 1. The joysticks are orientated correctly when the wires are coming out of the left side.
Software Design
Start Menu Screen
The StartGame() function is responsible for displaying the start menu and allowing for the selection for 1-player mode or 2-player mode. The program draws an upscaled display of each player's character model and highlights to 1-player by default. If a down joystick movement is detected, the program draws a black box around the current highlight and draws white box around the other mode to switch the highlight. Similarly, this process is done to switch back to 1-player mode by moving the joystick up. Pressing and releasing the button would start the game in that specific mode. See Figure 4 below for a picture of the start menu screen.
Figure 4: Start Menu
Player Movement Processing: Joysticks
As mentioned previously, the joysticks contains 5 pins, 4 of them to move the player up, down, left, right, and one connected to ground. These pins are active-low, meaning a joystick movement in one direction closes a switch and pulls it to ground. Therefore, we know if the player is moving up if (gpio_get(11) == 0). The player's positions are stored in structs, as the boids were in Lab 2. Each struct contained variables for their x and y positions, as seen in Figure 5 below.
Figure 5: Player Struct
Given the pin layout, there are 8 possible
ways
for players to move: straight up, up left, straight left, down left, straight down, down right, straight
right, or up right.
Therefore in MovePlayer1/2() functions we account for all ways for the player to move, and update their x and y positions by 10 accordingly. For example, if a player is moving straight up, we would move the player's y-position by -10, and if they were moving down right, we would move the player's x and y-positions by +10. We also did this to move the player's eyes, adding an offset of +/-3 pixels depending on the direction the player is moving so that the player's eyes looked where the player was moving.
Spawning Barriers
When the game starts, either 1 or 2 players are spawned, along with the first barrier. Each barrier has 6 main parameters: xcoord, barrier_length, tunnel_height, top_height, bottom_height, and gap_length. xcoord traverses the VGA screen right to left, from 640 to 0, drawing the current state of the barrier. barrier_length, the length of one barrier, is a randomized value between 100 and 500 pixels, calculated by finding a random number between 0 and 400, and adding 100 to it. tunnel_height, the vertical distance between the upper and lower barriers, starts at 200 pixels at spawn, but gradually decreases. top_height, the vertical height of the top barrier, is a random value between 0 and 480-tunnel_height. Since the VGA screen has 480 pixels on the y axis, there are 480-tunnel_height pixels left for barriers. After top_height is decided, bottom_height is calculated by (480-tunnel_height) - top_height. Finally, we decided gap_length, the distance between two barriers, would be a random number between 150 and 500 pixels, calculated similarly to barrier_length. Taking the smallest possible values for lengths, with a 100 length barrier followed by a 150 length gap, the most barriers that can appear at once on the VGA screen is 3. Therefore, we stored all these parameters in arrays of length 3, one for each barrier. They are controlled by a different array of length 3, active_barriers, which starts at {1,0,0}, since only the first barrier is active at spawn.
Updating Barriers
After the declarations, the rest of the updating and drawing is done in a for() loop which goes through all 3 potential barriers, and enters the loop if active_barriers[i] = 1. The loop begins by erasing the previously drawn barriers by drawing over them in black. xcoord then travels right to left by a parameter speed, which starts at 5 pixels, but increases as the game progresses. After each movement, the new barriers are drawn in white. Figure 6 shows a frame during gameplay between two barriers.
Once xcoord reaches 0, we can't continue to draw at a negative pixel coordinate, so instead we start decreasing barrier_length[i], so the barrier appears to continue moving right to left, but really it is shrinking. As the barrier fully reaches the left side of the screen, all parameters are reset back to their default values.
When the right edge of a barrier has moved gap_length pixels away from the right side of the screen, the next barrier is activated.
Every 3 barriers passed, tunnel_height decreases by 10, and every 5 barriers passed, the game speed increases by 1.
Figure 6: Gameplay
Collision Detection
Collision detection works slightly differently for 1 player vs 2 player mode. For single player, if the player's x position is past the right edge of the barrier, the counter barriers_passed is incremented once. For two player, if either player's x position passes the barrier, the counter is incremented. barriers_passed also serves as the current score displayed in the top right. The game detec
Technologies used
Hardware components
- RP2040
- Raspberry Pi Pico
- speaker
- DAC
Software & tools
- C
- Arduino IDE
Project demo video
What you get
- Working project / hardware kit, tested before delivery
- Complete source code with explanation
- Project demo and guidance for your viva
- Project report, PPT and IEEE paper support (on request)
Related Embedded Systems projects
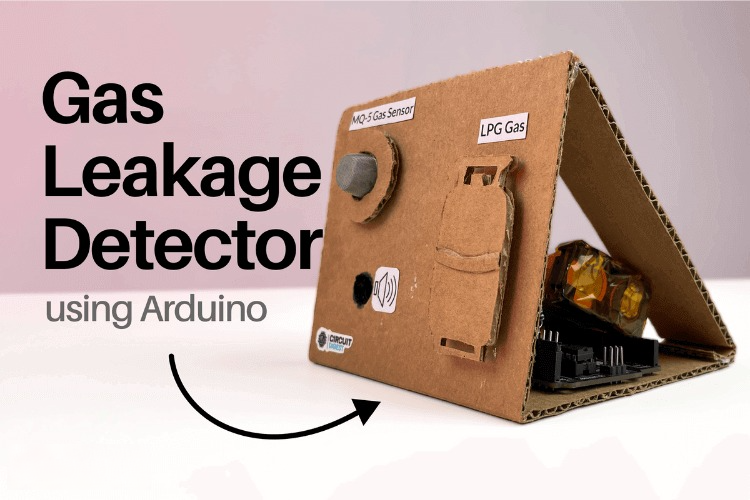
Gas Leakage Detector Using Arduino
A budget-friendly LPG gas leak detector built with an Arduino and MQ-5 gas sensor, triggering a buzzer and LED when unsafe gas levels are de...
View project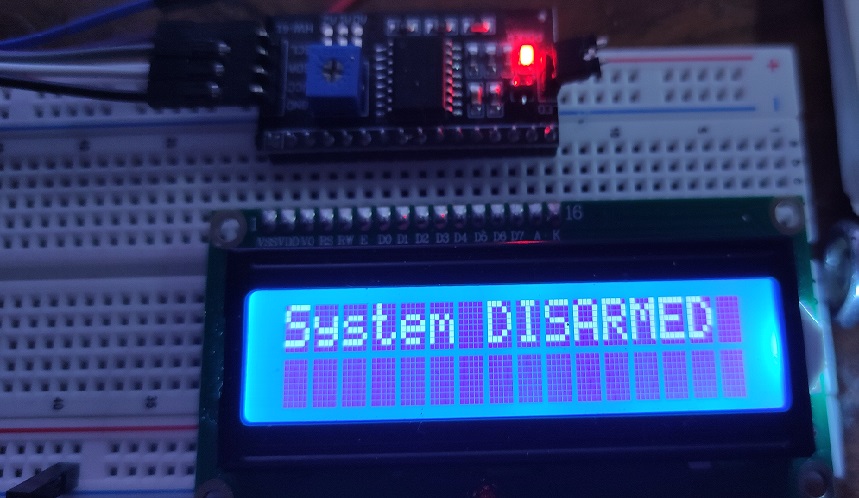
Simple Alarm System
A beginner-friendly home alarm with PIR motion sensing, keypad PIN entry, and separate entry/exit timing delays, built to be easy to expand.
View project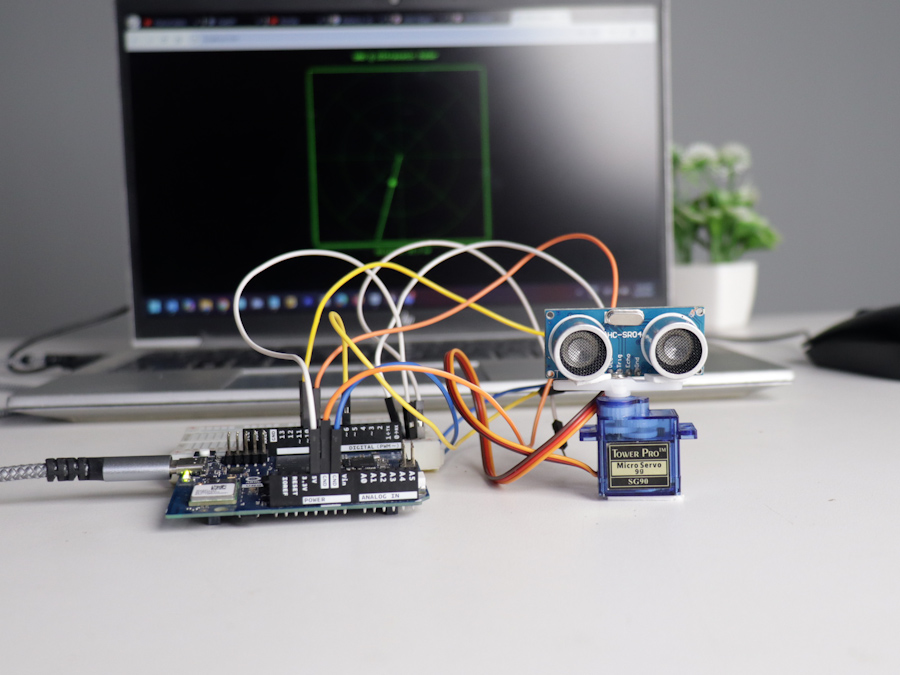
Ultrasonic Sensor Project with Arduino UNO Q
A beginner-friendly first Arduino UNO Q project: a servo-swept ultrasonic sensor that renders a live sweeping radar display in a web browser...
View project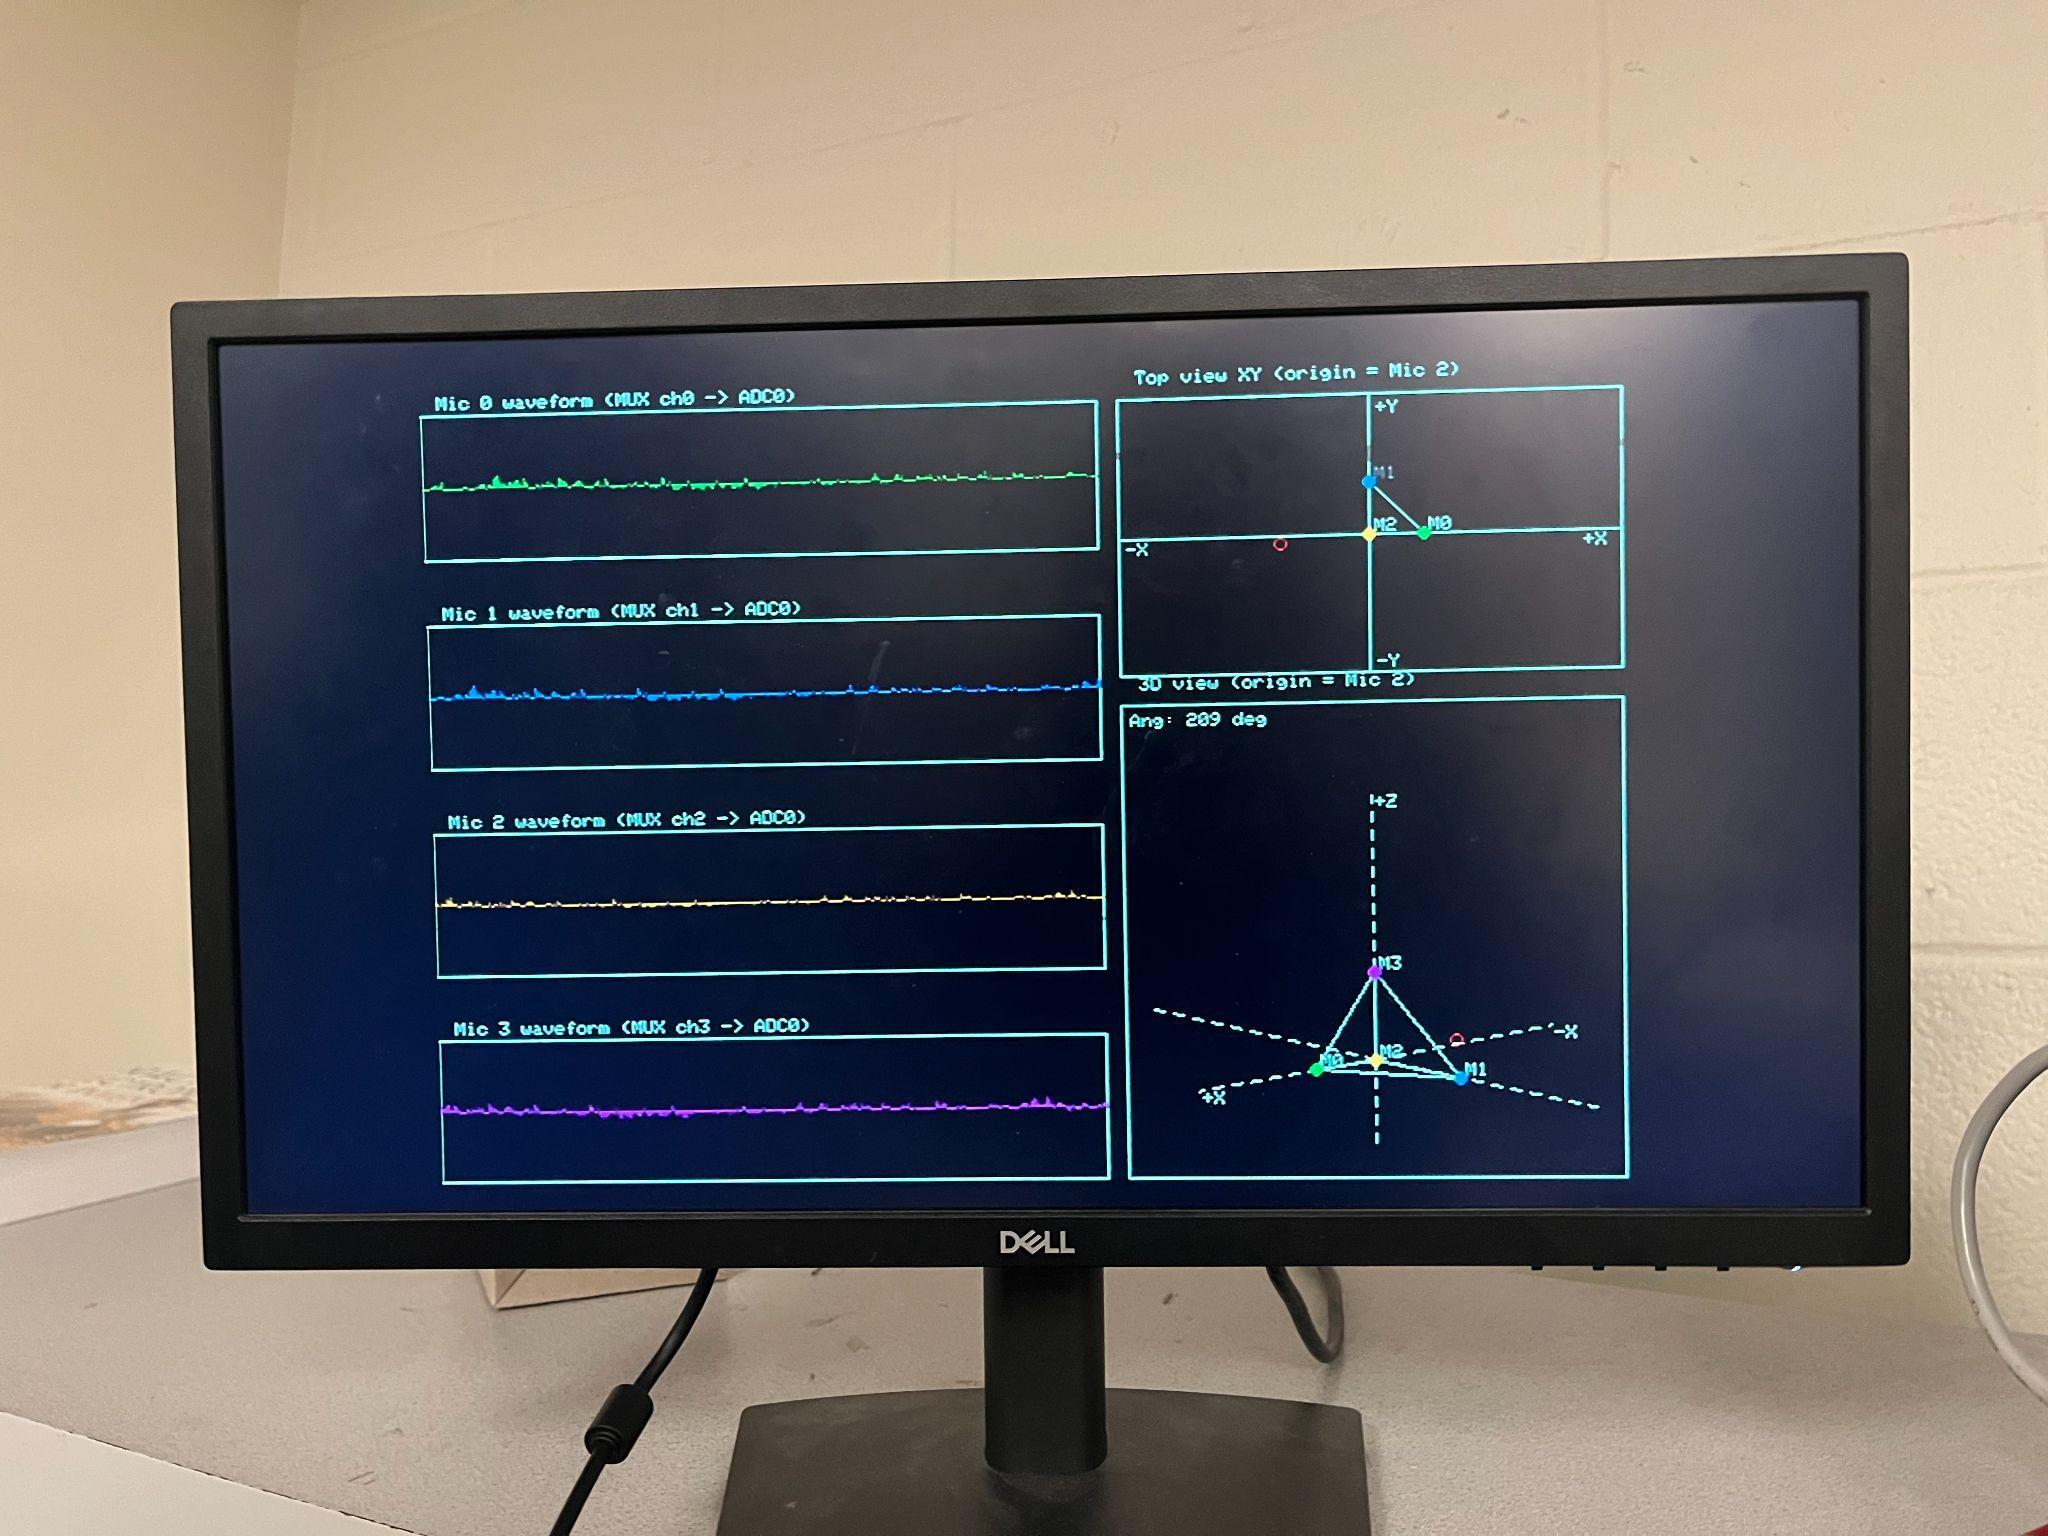
3D Audio Localization
[Fall 2025] We designed a real-time embedded system that localizes sound sources in three dimensions and visualizes them live using a four-m...
View project