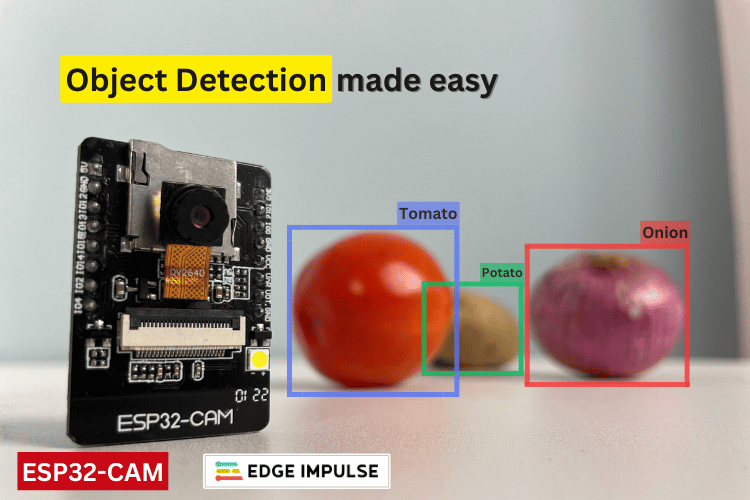


Object Detection using ESP32-CAM and Edge Impulse
Learn how to build an Image recognition project using ESP32-CAM and Edge Impulse. Let us understand in detailed about Object Detection and Identification by building our system using ESP32 CAM module with code and circuit diagram
- Suitable forB.Tech AI students
- Build time4-6 weeks
- LevelAdvanced
- Available atAjvika Labs, Kakinada
About this project
The above image shows a quick working demonstration of our project, you can notice how the ESP32 cam module detects the object in front of it and displays it on the OLED screen below.
Edge computing or AI on Edge is a technology that allows artificial intelligence algorithms to run on small, low-power devices like microcontrollers or microprocessors. This approach aims to reduce costs and enhance system performance by processing data locally, rather than sending it to distant servers. While cloud computing has been popular due to its lower initial setup and maintenance costs, advancements in technology now make edge computing a viable and efficient option. In essence, edge computing brings powerful processing capabilities directly to where the data is generated, making systems faster and more efficient.
What is Object Recognition?
In technical terms “Object recognition is a technology in the field of computer vision and artificial intelligence that involves identifying and labeling objects within an image or a video. This process enables machines to interpret and understand the visual world much like humans do.” Also do know that the terms like object detection or object recognition or image recognition are often used interchangeably because they mean the same. In this esp32 cam object detection project we are going to show you how to recognize the type of vegetable in front of the ESP32 cam modules camera, namely if its an onion, potato or tomato.
Let's understand the processes required for a system to recognize objects in an image.
Data Acquisition: The process starts with data acquisition. Collect multiple images of the object you want the system to recognize.
Data Acquisition: The process starts with data acquisition. Collect multiple images of the object you want the system to recognize.
Preprocessing the Acquired Data: The collected images are then preprocessed to support the next steps. This usually involves noise reduction, contrast enhancement, and scaling.
Preprocessing the Acquired Data: The collected images are then preprocessed to support the next steps. This usually involves noise reduction, contrast enhancement, and scaling.
Feature Extraction: Key features of the image, such as texture, shape, color, and edges, are extracted for use in training the system.
Feature Extraction: Key features of the image, such as texture, shape, color, and edges, are extracted for use in training the system.
Training the Model: Machine learning models, like Convolutional Neural Networks (CNNs), are trained on a large dataset of labeled images. The model learns to associate extracted features with specific objects.
Training the Model: Machine learning models, like Convolutional Neural Networks (CNNs), are trained on a large dataset of labeled images. The model learns to associate extracted features with specific objects.
Testing the Model: After training, the model is ready for testing and deployment. The model recognizes individual objects and compares them with the extracted features from the training dataset. It then plots the location and names the detected objects. To improve accuracy, train the model with a larger dataset.
Testing the Model: After training, the model is ready for testing and deployment. The model recognizes individual objects and compares them with the extracted features from the training dataset. It then plots the location and names the detected objects. To improve accuracy, train the model with a larger dataset.
Deployment of the Model: Based on system constraints, the trained model's format is converted and run on the system. Here, it's expected to have more accuracy in the detection; otherwise, we need to concentrate more on data acquisition and training the model.
Deployment of the Model: Based on system constraints, the trained model's format is converted and run on the system. Here, it's expected to have more accuracy in the detection; otherwise, we need to concentrate more on data acquisition and training the model.
Now, let’s look at the components required to do our experiment.
Components Required for ESP32 CAM Object Detection Project
As testing hardware, we selected the ESP32-CAM, which is a low-cost microcontroller with a built-in camera. Since we selected the ESP32-CAM, we need an additional programmer, which is a USB to Serial Converter. Additionally, I selected some vegetables for performing object recognition. Initially, it looks simple, but it is tougher than I thought. The rest of the story will be discussed below. Now, let's look at the list of components we need:
USB to Serial Converter x1
USB to Serial Converter x1
0.96” OLED Display x1 (optional)
0.96” OLED Display x1 (optional)
Jumper wires (required quantity)
Jumper wires (required quantity)
Some vegetables - I am using tomato, potato, and onion, 3 each
Some vegetables - I am using tomato, potato, and onion, 3 each
In the software part, there are two main things we are going to look at: Edge Impulse and Arduino IDE. Edge Impulse is where I am going to use it for all ML purposes, and Arduino IDE is for programming and debugging the ESP32-CAM. As a list, you can see below:
Circuit Diagram for ESP32CAM Image Recogniton
The circuit diagram need for this object detection project is very simple as there are not many components here. The OLED is optional, so it depends on your preference. I used the OLED so that easy to demonstrate the working of the project. If you are looking to keep it simple, you can use the serial monitor to view the results of the object detection.
Follow the above circuit diagram and make the connections accordingly. We have also shown how the FTDI programmer (red board) is connected to the ESP32 for programming. If you are completely new to using ESP32CAM module, you can visit our article covering \" How to Program the ESP32-CAM? \", which will help you understand everything about programming the ESP32-CAM.
Introduction to Edge Impulse
Edge Impulse is a revolutionary platform designed for developers to seamlessly create, optimize, and deploy machine learning models directly onto edge devices. By harnessing its intuitive interface and powerful tools, developers can efficiently collect data, train models, and integrate them into real-world applications-all while benefiting from Edge Impulse's robust support for various hardware platforms and sensors.
This enables rapid innovation in the field of edge computing, facilitating smarter and more responsive devices across industries such as IoT, robotics, and mobile technology. To learn more about Edge Impulse and explore its powerful features, visit their official website. You can also check out our Edge Impulse Projects if you need more tutorials on how to build using Edge Impulse.
ESP32 CAM Edge Impulse
Hope you understand something about Edge Impulse; that's why we are going to use Edge Impulse to create an Object Detection System using the cheapest camera module out there in the market, which is ESP32-CAM. So, to make it a simple tutorial on this concept, we selected the concept of vegetable classification. We are going to classify three vegetables, namely Potato, Tomato, and Onion. You can use whatever objects to make an object recognition.
What we are going to do is:
Collecting the dataset directly using ESP32-CAM with its built-in camera.
Collecting the dataset directly using ESP32-CAM with its built-in camera.
Utilizing Edge Impulse to build a machine-learning model that is compatible with ESP32-CAM.
Utilizing Edge Impulse to build a machine-learning model that is compatible with ESP32-CAM.
Verifying and testing the machine learning model in real time.
Verifying and testing the machine learning model in real time.
Remember that we will not be covering all the features of Edge Impulse. There is already well-written documentation by Edge Impulse. If you wish to learn more, kindly visit their official website, which is Edge Impulse Documentation.
How to use ESP32 CAM for Object Recognition
These procedures can be split into three main parts: Data Acquisition, Building the ML Model using Edge Impulse, and Testing the Prototype.
Data acquisition can be done in three general ways. You can follow whichever process you feel comfortable with.
Check List to Remember:
Need to collect at least 50 images of each object that we are looking to classify. More images mean more accuracy; that’s the universal rule.
Need to collect at least 50 images of each object that we are looking to classify. More images mean more accuracy; that’s the universal rule.
The object can have any background, but a plain, empty background is preferred.
The object can have any background, but a plain, empty background is preferred.
Higher resolution takes more time for training, so select an optimum resolution. In our case, 256x256px is sufficient.
Higher resolution takes more time for training, so select an optimum resolution. In our case, 256x256px is sufficient.
Our concentration in this article is going to be on vegetables, especially tomatoes, potatoes, and onions.
Option 1: Searching for DataSets online
The first and easiest way for data acquisition is finding the dataset directly on the internet. There are sites like Kaggle, Google Dataset Search, OpenML, etc. You can search there directly. In our case, we are going to classify vegetables, so we need images of tomatoes, potatoes, and onions.
As discussed, search for the dataset on any of the websites and find the dataset suitable for your needs. Just remember to adhere to the checklist while collecting the dataset. In the above image, you can see the search results of the data I searched for on Kaggle. It may take some time to choose the right one. However, I am not going to collect data using this method due to some factors that we will discuss soon.
Technologies used
Hardware components
- Raspberry Pi
- USB Camera
- Pi Camera
- Jetson Nano
Software & tools
- Python
- TensorFlow
- OpenCV
- Jupyter Notebook
- Google Colab
Project demo video
What you get
- Working project / hardware kit, tested before delivery
- Complete source code with explanation
- Project demo and guidance for your viva
- Project report, PPT and IEEE paper support (on request)
Related AI projects

ESP32 CAM Object Detection using Edge Impulse TinyML
Deploy a custom TinyML object detection model trained on Edge Impulse on ESP32-CAM to identify objects like vegetables, gestures or products...
View project
ESP32 Real-Time Face Recognition Attendance System
Build a face recognition attendance system using ESP32-CAM that automatically logs attendance with timestamp to Firebase when a registered f...
View project
C++ Programming Language
C++ Programming Language — a beginner AI project built with HTML5, CSS3, JavaScript, complete with design details, implementation steps and...
View project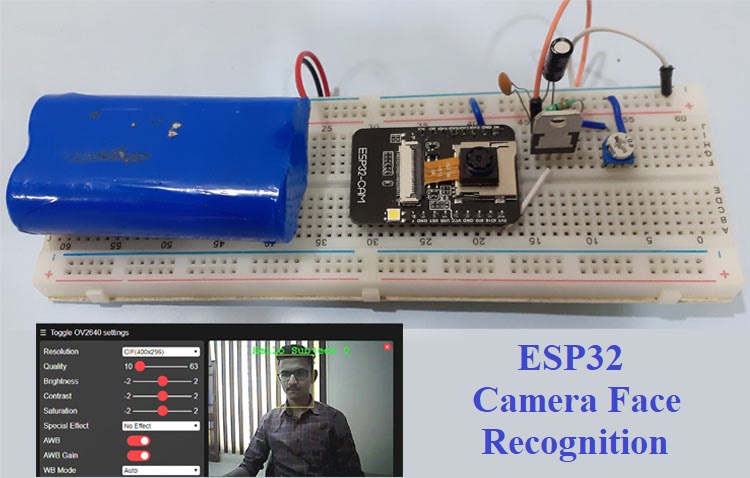
How to use ESP32 Camera Module for Video Streaming and Face Recognition
In this project, we are going to build a Face Recognition System using ESP32-CAM which will also work as an ESP32-CAM Security system by rec...
View project