

OBD-II Data Logger with IoT Dashboard and Dashcam
All-in-One Car Accessory System combines a dashcam, OBD-II data logger, GNSS tracker and IoT connectivity into a single device. It records video, monitors vehicle health, track location, stores data on an SD card and enables remote access through an IoT dashboard, simplifying car accessory setups.
- Suitable forB.Tech IoT students
- Build time3-4 weeks
- LevelIntermediate
- Available atAjvika Labs, Kakinada
About this project
Have you ever thought about how many gadgets people use in their cars? There are dashcams to record what's happening on the road, OBD (On-Board Diagnostics) scanners to check how the car is running, and GPS (GNSS) trackers to follow the car's location. Each of these is a separate device that you need to buy and set up in your car. Wouldn't it be easier if all of these functions were combined into one device? That's exactly what I set out to create!
What My Project Does?
My project is a smart car system that combines multiple accessories into a single device. It can:
- Act as a dashcam , recording video while you're driving.
- Monitor your car’s health using OBD - II (the port in your car that mechanics plug into to get vehicle data like speed, engine temperature, and much more).
- Track your car’s location with a GNSS module (which is like GPS).
- Save all this information on an SD card for easy access later.
- Send the collected data to an IoT dashboard over the internet, so you can see it remotely.
Maixduino Kit for AI+IoT
Maixduino Kit for AI+IoT
OBD-II CAN-BUS DEVELOPMENT KIT
OBD-II CAN-BUS DEVELOPMENT KIT
DC-DC buck converter
DC-DC buck converter
Portable Router / LTE Module(optional)
Portable Router / LTE Module(optional)
At the heart of the project is a device called the Maixduino . This board is like a small computer that connects to all the different parts of the system. Here’s a breakdown of what’s connected to it:
- A camera captures real-time video. This video is saved onto the SD card.
- The OBD - II connector is hooked up to the car’s diagnostic system. This lets the system capture important data from the car like engine health, speed, and fuel levels.
- A GNSS module tracks the car’s location, so you can always know where your vehicle is.
- All the information from the camera and car sensors is stored on an SD card .
- Onboard ESP32 Wroom module allows the system to send data to an IoT dashboard via WiFi/Hotspot device. This means you can access your car's data, like video and diagnostics, remotely through the internet.
Why This Project is Special?
What makes this project unique is that instead of having multiple devices in your car, you only need this one system. It takes care of everything—recording video, tracking your car’s health, knowing where it is, and storing all that information safely. Plus, because we’re using the Maixduino , this system has the potential for future upgrades. Imagine adding features like a touchscreen , a voice assistant , or even a music system !
In the future, this project could become even more advanced. With more work, we could develop it into a complete car entertainment and control system, handling things like navigation, playing music, or even helping the driver with AI-powered assistance.
I have made 2 different codes from the example codes to have an idea of functionality. Following codes are just simple compiled version of separate codes of different functions. It needs to be tested and validated according to proper libraries and hardware connection changes once Hardware is in hand. Since the Maixduino AI module (M1AI / K210) and the ESP32 module are separate components with different functionalities, there are two separate codes:
Maixduino AI Module (M1 AI) : This module will handle camera (dashcam) functionality, video recording, and SD card storage.
Maixduino AI Module (M1 AI) : This module will handle camera (dashcam) functionality, video recording, and SD card storage.
ESP32 Module: This module will manage CAN bus (OBD-II) data collection, GPS tracking, and data transmission to the IoT dashboard.
ESP32 Module: This module will manage CAN bus (OBD-II) data collection, GPS tracking, and data transmission to the IoT dashboard.
Code for Maixduino AI Module (M1 AI) (Handles Camera, TFT display, and SD Card Recording)
#include `Sipeed_OV2640.h` #include `Sipeed_SD.h` #include `Sipeed_FS.h` #include `Maix_Speech_Recognition.h` #include `TFT_eSPI.h` // TFT display library for Maixduino Sipeed_OV2640 camera; // Camera module File videoFile; // File object for SD card video TFT_eSPI tft = TFT_eSPI(); // TFT display object void setup() { Serial.begin(115200); // Initialize TFT display tft.begin(); tft.setRotation(3); // Adjust orientation as needed tft.fillScreen(TFT_BLACK); // Clear the screen tft.setTextColor(TFT_WHITE, TFT_BLACK); tft.setTextSize(2); tft.setCursor(10, 10); tft.println(\"Initializing Camera...\"); // Initialize camera if (!camera.begin(QVGA)) { // Use QVGA resolution (320x240) Serial.println(\"Failed to initialize camera\"); tft.println(\"Camera initialization failed!\"); while (1); } Serial.println(\"Camera initialized\"); tft.println(\"Camera initialized\"); // Initialize SD card if (!SD.begin()) { Serial.println(\"Failed to initialize SD card\"); tft.println(\"SD card init failed!\"); while (1); } tft.println(\"SD card initialized\"); // Open video file videoFile = SD.open(\"/dashcam_video.avi\", FILE_WRITE); if (!videoFile) { Serial.println(\"Failed to open video file\"); tft.println(\"Failed to open video file\"); while (1); } Serial.println(\"SD card initialized and video file opened\"); tft.println(\"Video file opened\"); } void loop() { // Capture a video frame camera.run(); uint8_t* img = camera.getfb(); // Get frame buffer // Display the camera feed on TFT screen tft.pushImage(0, 0, camera.width(), camera.height(), (uint16_t*)img); // Write video frame to SD card videoFile.write(img, camera.width() * camera.height()); // Save frame to file // Display status on Serial (Optional for debugging) Serial.println(\"Frame captured\"); delay(100); // Capture at 10 FPS }
Code for ESP32 Module (Handles OBD-II Data, GPS, and IoT Dashboard)
#include `mcp_can.h` #include `SPI.h` #include `Wire.h` #include `WiFi.h` #include `HTTPClient.h` #include <TinyGPS++.h> // CAN Bus (OBD-II) const int SPI_CS_PIN = 10; MCP_CAN CAN(SPI_CS_PIN); // Set SPI CS pin for CAN module // Wi-Fi Configuration const char* ssid = \"your-SSID\"; const char* password = \"your-password\"; const char* serverUrl = \"http://your-iot-dashboard.com/data\"; // GNSS Module (TinyGPS++) TinyGPSPlus gps; HardwareSerial ss(1); // Use Serial1 for GNSS (RX=4, TX=3) // Global Variables for OBD-II Data int rpm = 0; int temperature = 0; // Function to send OBD-II and GNSS data to IoT dashboard void sendDataToDashboard(int rpm, int temperature, float latitude, float longitude) { if (WiFi.status() == WL_CONNECTED) { HTTPClient http; http.begin(serverUrl); http.addHeader(\"Content-Type\", \"application/json\"); String jsonData = \"{\"rpm\":\" + String(rpm) + \",\"temperature\":\" + String(temperature) + \",\"latitude\":\" + String(latitude, 6) + \",\"longitude\":\" + String(longitude, 6) + \"}\"; int httpResponseCode = http.POST(jsonData); if (httpResponseCode > 0) { String response = http.getString(); Serial.println(\"Data sent successfully: \" + response); } else { Serial.println(\"Error sending data\"); } http.end(); } } // Setup Function void setup() { Serial.begin(115200); // Initialize CAN bus (OBD-II) if (CAN.begin(CAN_500KBPS) == CAN_OK) { Serial.println(\"CAN Bus Initialized\"); } else { Serial.println(\"CAN Bus Initialization Failed\"); while (1); } // Connect to Wi-Fi WiFi.begin(ssid, password); while (WiFi.status() != WL_CONNECTED) { delay(1000); Serial.println(\"Connecting to WiFi...\"); } Serial.println(\"Connected to WiFi\"); // Initialize GNSS (GPS) ss.begin(9600, SERIAL_8N1, 4, 3); // RX=4, TX=3 for GPS module } // Main Loop void loop() { // Fetch OBD-II data from CAN bus if (CAN_MSGAVAIL == CAN.checkReceive()) { long unsigned int rxId; unsigned char len = 0; unsigned char rxBuf[8]; CAN.readMsgBuf(&rxId, &len, rxBuf); // Example: Parse OBD-II data (modify based on your PID values) rpm = (rxBuf[0] << 8) | rxBuf[1]; // Example: Calculate RPM temperature = rxBuf[2]; // Example: Temperature data // Print OBD-II data to Serial Serial.print(\"RPM: \"); Serial.println(rpm); Serial.print(\"Temp: \"); Serial.println(temperature); } // Fetch GNSS (GPS) data while (ss.available() > 0) { gps.encode(ss.read()); } // If GPS location is available, print and send data if (gps.location.isUpdated()) { float latitude = gps.location.lat(); float longitude = gps.location.lng(); Serial.print(\"Latitude: \"); Serial.println(latitude, 6); Serial.print(\"Longitude: \"); Serial.println(longitude, 6); // Send OBD-II and GPS data to IoT dashboard sendDataToDashboard(rpm, temperature, latitude, longitude); } delay(1000); // Update data every second }
Explanation of the Two Codes
Maixduino AI Module (M1 AI) Code:
TFT Initialization : We initialize the TFT display using the TFT_eSPI library. The screen is cleared and a message is displayed to let the user know the camera and SD card are being initialized.
TFT Initialization : We initialize the TFT display using the TFT_eSPI library. The screen is cleared and a message is displayed to let the user know the camera and SD card are being initialized.
Camera Feed Display : In the loop() function, after capturing a frame from the camera, the frame is displayed in real-time on the TFT display using the tft.pushImage() function.
Camera Feed Display : In the loop() function, after capturing a frame from the camera, the frame is displayed in real-time on the TFT display using the tft.pushImage() function.
Video Frame to SD Card : The captured frame is also written to the SD card simultaneously.
Video Frame to SD Card : The captured frame is also written to the SD card simultaneously.
OBD-II Data via CAN Bus : This code uses the MCP_CAN library to read the OBD-II data from the car's CAN bus. In this example, it fetches the RPM and temperature, but this can be expanded to include other parameters like speed, fuel consumption, etc.
OBD-II Data via CAN Bus : This code uses the MCP_CAN library to read the OBD-II data from the car's CAN bus. In this example, it fetches the RPM and temperature, but this can be expanded to include other parameters like speed, fuel consumption, etc.
GNSS (GPS) Data: The TinyGPS++ library reads data from the GNSS module, which provides real-time latitude and longitude. It is updated continuously and sent to the IoT dashboard.
GNSS (GPS) Data: The TinyGPS++ library reads data from the GNSS module, which provides real-time latitude and longitude. It is updated continuously and sent to the IoT dashboard.
Wi-Fi IoT Communication: The ESP32 connects to the IoT dashboard via Wi-Fi. The OBD-II data and GPS coordinates are sent to the server using HTTP POST requests.
Wi-Fi IoT Communication: The ESP32 connects to the IoT dashboard via Wi-Fi. The OBD-II data and GPS coordinates are sent to the server using HTTP POST requests.
Technologies used
Hardware components
- ESP32
- ESP8266
- Arduino
- DHT22
- Relay
- OLED
- NodeMCU
Software & tools
- Arduino IDE
- Blynk
- Firebase Console
- Node-RED
- MQTT Broker
What you get
- Working project / hardware kit, tested before delivery
- Complete source code with explanation
- Project demo and guidance for your viva
- Project report, PPT and IEEE paper support (on request)
Related IoT projects

DIY IoT Plant Watering System using Arduino
A remote plant-watering system that monitors soil moisture and lets you trigger a water pump from anywhere through the Blynk app, with LED-m...
View project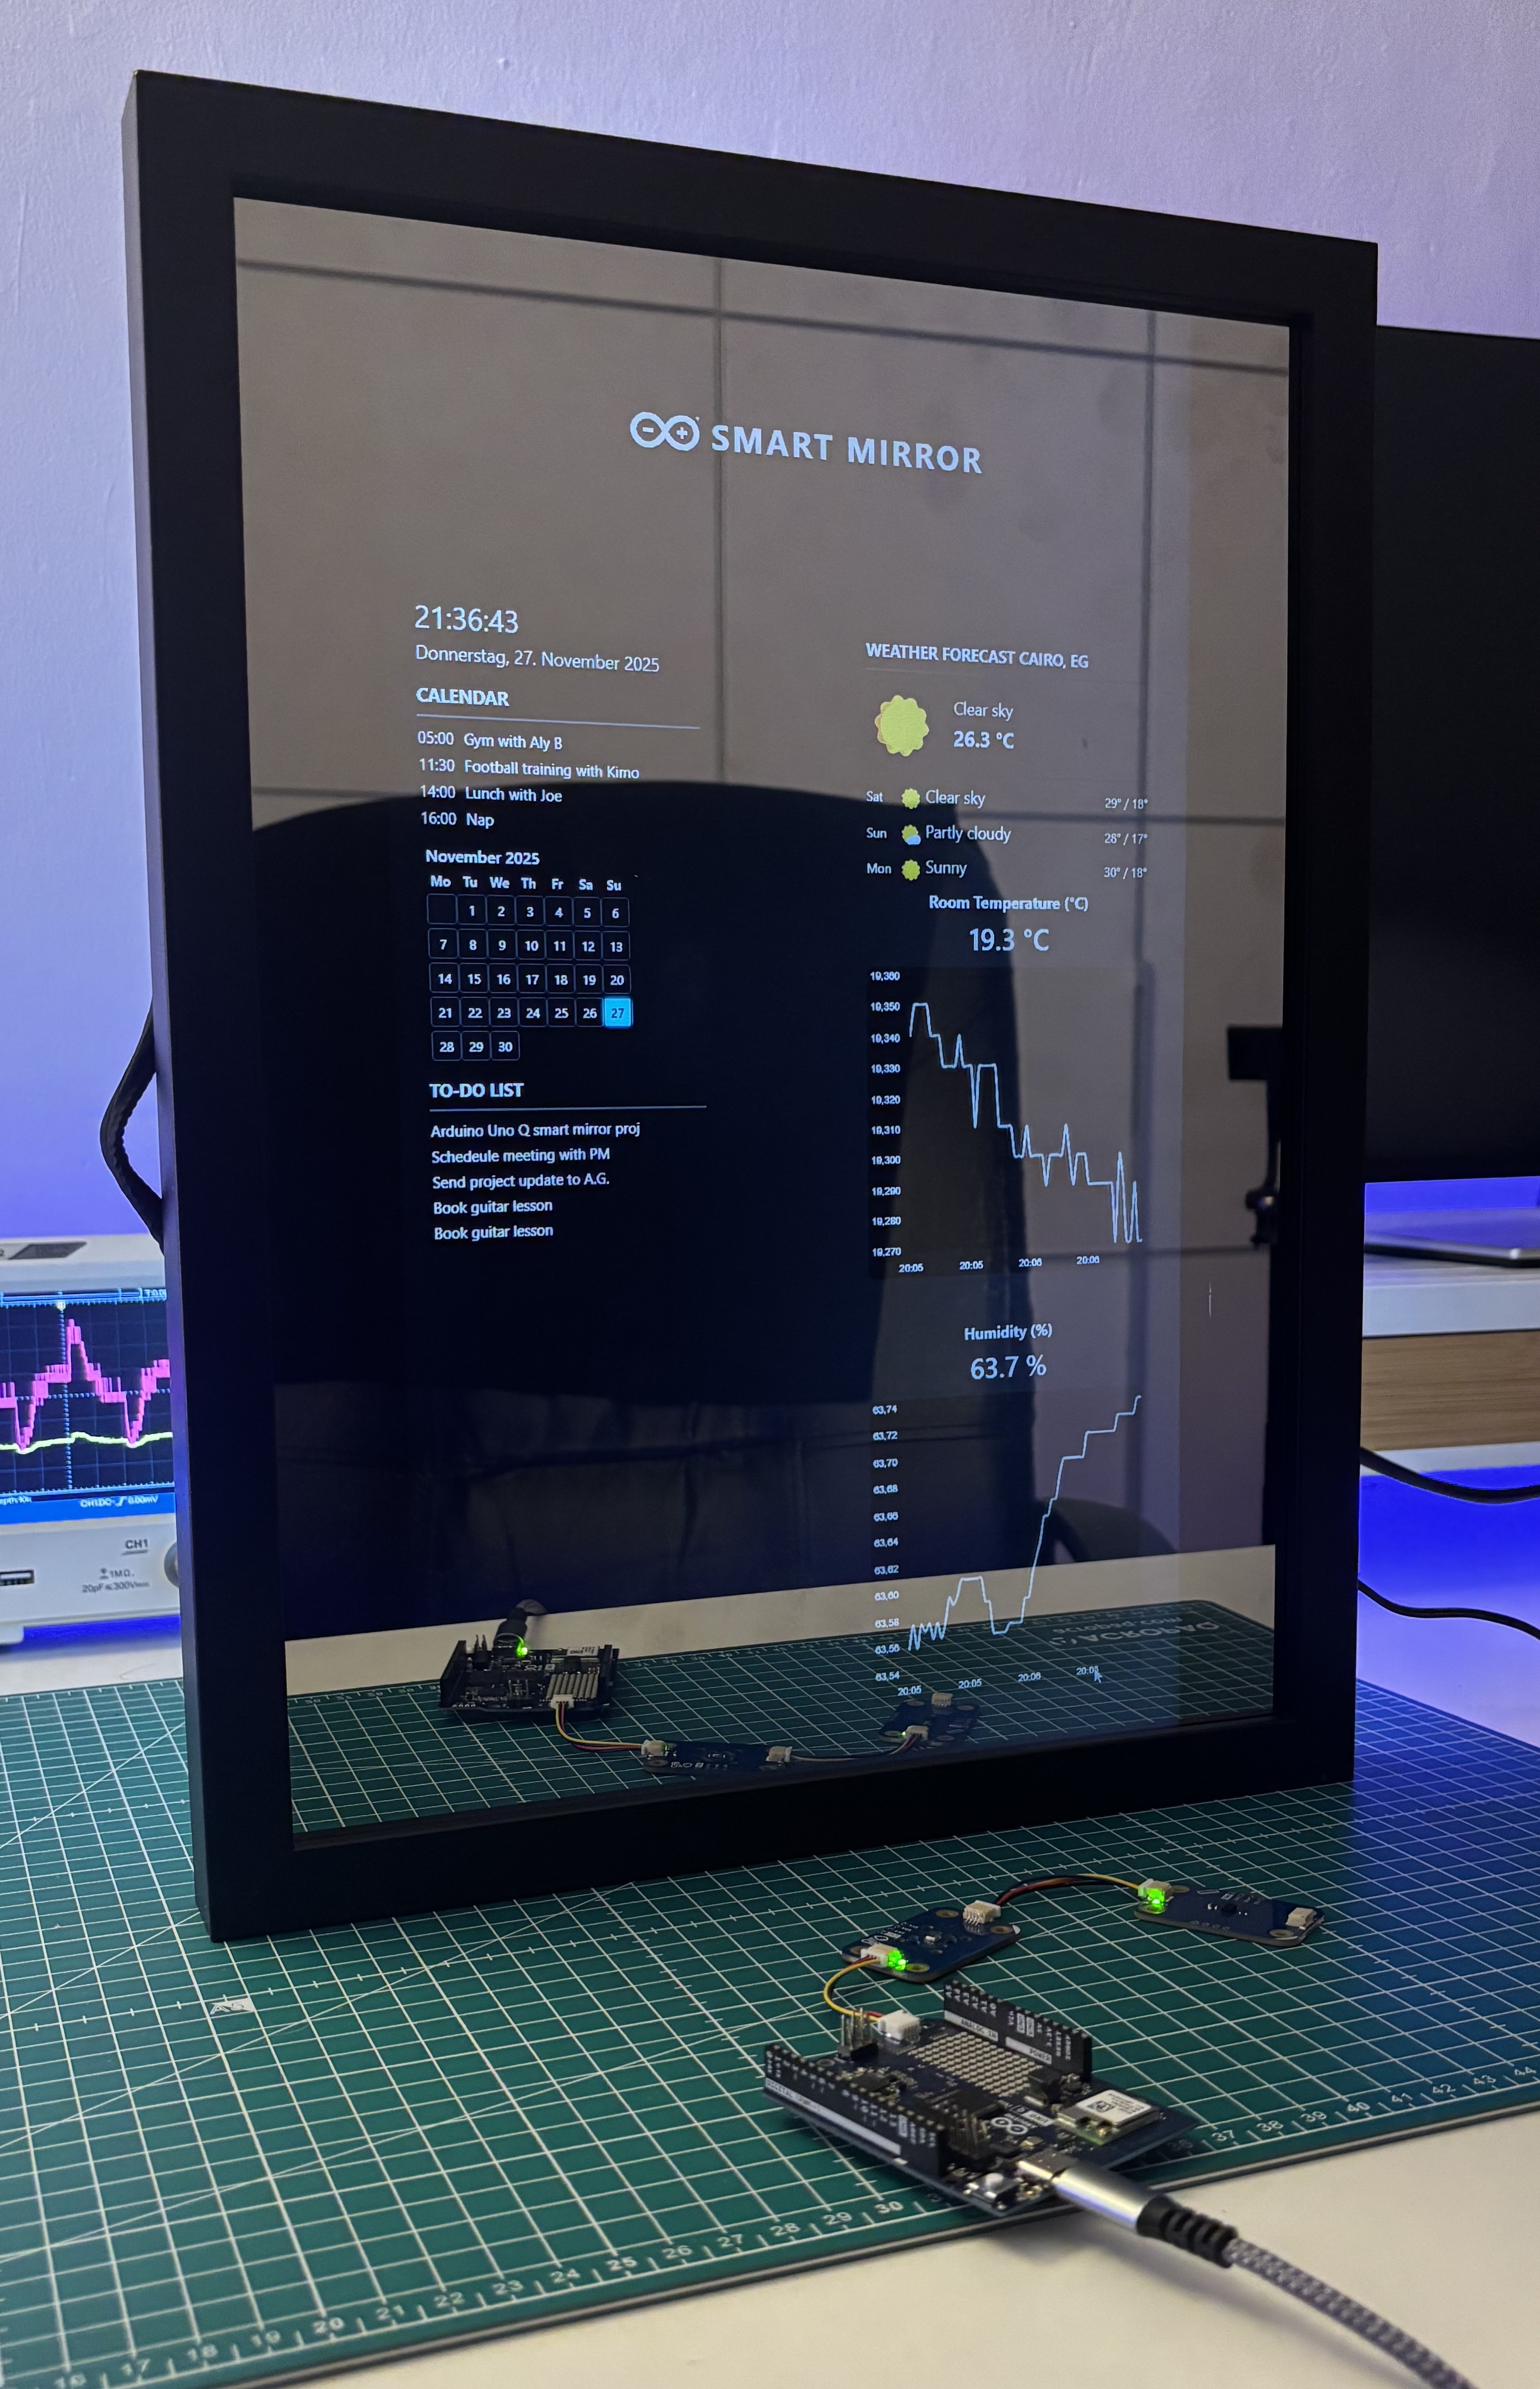
Build a smart mirror with an Arduino UNO Q
A wall-mounted smart mirror that shows the time, calendar, to-do list, room temperature/humidity and weather forecast behind a two-way glass...
View project
ESP32 Patient Health Monitor ECG SpO2 BPM Live Dashboard
Build a complete patient health monitoring system using ESP32 with AD8232 ECG sensor, MAX30102 pulse oximeter, BME280 and live web dashboard...
View project
IoT AC Energy Meter with PZEM-004T and ESP32 WebServer
Build an IoT-based AC energy meter using ESP32 and PZEM-004T to measure voltage, current, power, frequency and energy with live web dashboar...
View project