


ESP32 Interrupt Tutorial
ESP32 has a total of 32 interrupts for it’s each core. Each interrupt has a certain priority level. The major classification of interrupts in ESP32 is based on the interrupt source. And they are Hardware Interrupts and Software interrupts.
- Suitable forB.Tech IoT students
- Build time3-4 weeks
- LevelIntermediate
- Available atAjvika Labs, Kakinada
About this project
LED Control Using ESP32 GPIO Interrupt - Quick Overview
Build Time: 1-2 hours | Cost: $10-20 | Difficulty: Beginner
What You'll Learn: ESP32 GPIO interrupts, ISR programming, Digital I/O, Debouncing
Applications: Button-based LED control, Home automation, Event-driven systems, Real-time input monitoring
What are ESP32 Interrupts and How Do They Work?
└ ESP32 Interrupt Pins and Capabilities
Types of Interrupts in ESP32
└ External or Hardware Interrupts
└ Software Interrupts
Commonly Asked Questions
Pins and GPIO Configuration
└ Using attachInterrupt() Function
How to Disable ESP32 Interrupts?
└ Interrupt Service Routine or ISR
└ Practical ESP32 GPIO Interrupt Example
ESP32 Touch Interrupt Implementation
Programming Best Practices
Troubleshooting Guide
What are ESP32 Interrupts and How Do They Work?
ESP32 interrupt classification is based on interrupt sources, leading to a distinction between hardware interrupts and software interrupts, essential knowledge for programming interrupts on the ESP32.
Rising, Falling, Change, Low, High
GPIO 0, 2, 4, 12-15, 27, 32-33
Capacitive touch detection
Analog + digital capability
GPIO 0, 2, 4, 12-15, 25-27, 32-39
Deep sleep wake-up support
Types of Interrupts in ESP32
ESP32 interrupt classification depends primarily on interrupt sources, divided into hardware interrupts and software interrupts, for comprehensive ESP32 interrupt programming. All ESP32 interrupt pins can generate GPIO interrupts, and 10 of these pins can also provide touch interrupt capabilities.
Hardware interrupts occur in response to an external hardware event. For example, there is a Touch Interrupt, which happens when touch is detected and a GPIO interrupt when the state of a GPIO pin is changed. GPIO interrupts and touch interrupts come under this category. All ESP32 interrupt pins support GPIO interrupts, with 10 pins additionally supporting touch interrupt functionality. Timer interrupts are an example of the software interrupts described earlier in ESP32 interrupt programming; timer interrupts allow exhaustive timing control over applications that require operations to be scheduled on a \"when\" necessary basis.
This type of interrupt occurs when a software event is triggered, such as a timer overflow. Timer interrupts are an example of software interrupts. We will discuss more about Timers in the upcoming dedicated tutorial for ESP32 Timers.
Commonly Asked Questions about ESP32 Interrupts
⇥ How many interrupts can ESP32 handle? The ESP32 offers up to 32 interrupt slots for each core.
⇥ How to use the external interrupt in ESP32? You can attach the desired pin to an interrupt and assign an ISR for the same with the help of the attachInterrupt function.
⇥ In ESP32, which pins support an External interrupt? All of them support GPIO interrupt, and 10 of them support touch interrupt.
⇥ What are the GPIO interrupt modes ESP32 have? ESP32 has five types of interrupt events and are LOW, HIGH, CHANGE, FALLING, and RISING.
⇥ What pins on ESP32 are interrupt-capable and can drive external interrupts? ESP32 GPIO pins have support for GPIO interrupts, which offers flexibility with interrupt-based applications. Ten of these pins will also have capacitive touch interrupts, GPIO 0, 2, 4, 12-15, 27 (touch pin), 32-33 (touch pins).
⇥ Can interrupts in ESP32 wake it from deep sleep mode? Yes, ESP32 has deep sleep external interrupt capability on selected pins (RTC_GIO). When in deep sleep, touch interrupts, timer interrupts, or the ULP coprocessor can wake up the ESP32 to conserve battery power.
ESP32 Interrupt Pins and GPIO Configuration
Basics for ESP32 GPIO Interrupt Programming ESP32 GPIO interrupts can be configured so that any GPIO pin can act as a hardware interrupt signal source. To enable interrupts on specific pins, the pins are wired to an associated ISR function with the ESP32 attachInterrupt function. This allows you to handle interrupts as needed and as flexibly as you want from all available ESP32 interrupt pins.
With ESP32, we can configure all the GPIO pins as hardware interrupt sources. We can enable an interrupt on any of these GPIO pins by attaching them to a corresponding ISR. To attach an interrupt, we will use the attachInterrupt () macro. The usage of the attachInterrupt() macro is as follows-
The attachInterrupt() function takes in three arguments:
GPIOpin: This parameter indicates the GPIO PIN to which the interrupt is to be attached.
ISR: The second parameter is the name of the function that will be called every time the interrupt is triggered.
Event: The third parameter indicates at which event the interrupt should be triggered. The five possible events are the following.
LOW: Triggers interrupt whenever the pin is LOW
LOW: Triggers interrupt whenever the pin is LOW
HIGH: Triggers interrupt whenever the pin is HIGH
HIGH: Triggers interrupt whenever the pin is HIGH
CHANGE: Triggers interrupt whenever the pin changes value, from HIGH to LOW or LOW to HIGH
CHANGE: Triggers interrupt whenever the pin changes value, from HIGH to LOW or LOW to HIGH
FALLING: Triggers interrupt when the pin goes from HIGH to LOW
FALLING: Triggers interrupt when the pin goes from HIGH to LOW
RISING: Triggers interrupt when the pin goes from LOW to HIGH
RISING: Triggers interrupt when the pin goes from LOW to HIGH
So, for example, to trigger an interrupt whenever the state of GPIO4 changes, we can use the attachInterrupt function as follows:
How to Disable ESP32 Interrupts?
In some situations, we will have to disable the interrupt temporarily. For such cases, we can use the detachInterrupt function. Once this function is called for a specific pin, the interrupt that is attached to that pin will be disabled until the attachInterrupt function is called again or the system is rebooted. The syntax for using it is as follows-
This will be the function that will be called upon when the specific interrupt is triggered. The syntax is as follows:
Where ISR is the function name, and the statements are the tasks that should be completed when this function is called. Since the ISR is blocking the main program, it is recommended to use it to do tasks that are as small as possible. The parameter IRAM_ATTR will ensure that the ISR function is placed in the IRAM area instead of the flash area. This will ensure that the ISR function loads faster.
Technologies used
Hardware components
- ESP32
- ESP8266
- Arduino
- DHT22
- Relay
- OLED
- NodeMCU
Software & tools
- Arduino IDE
- Blynk
- Firebase Console
- Node-RED
- MQTT Broker
What you get
- Working project / hardware kit, tested before delivery
- Complete source code with explanation
- Project demo and guidance for your viva
- Project report, PPT and IEEE paper support (on request)
Related IoT projects

DIY IoT Plant Watering System using Arduino
A remote plant-watering system that monitors soil moisture and lets you trigger a water pump from anywhere through the Blynk app, with LED-m...
View project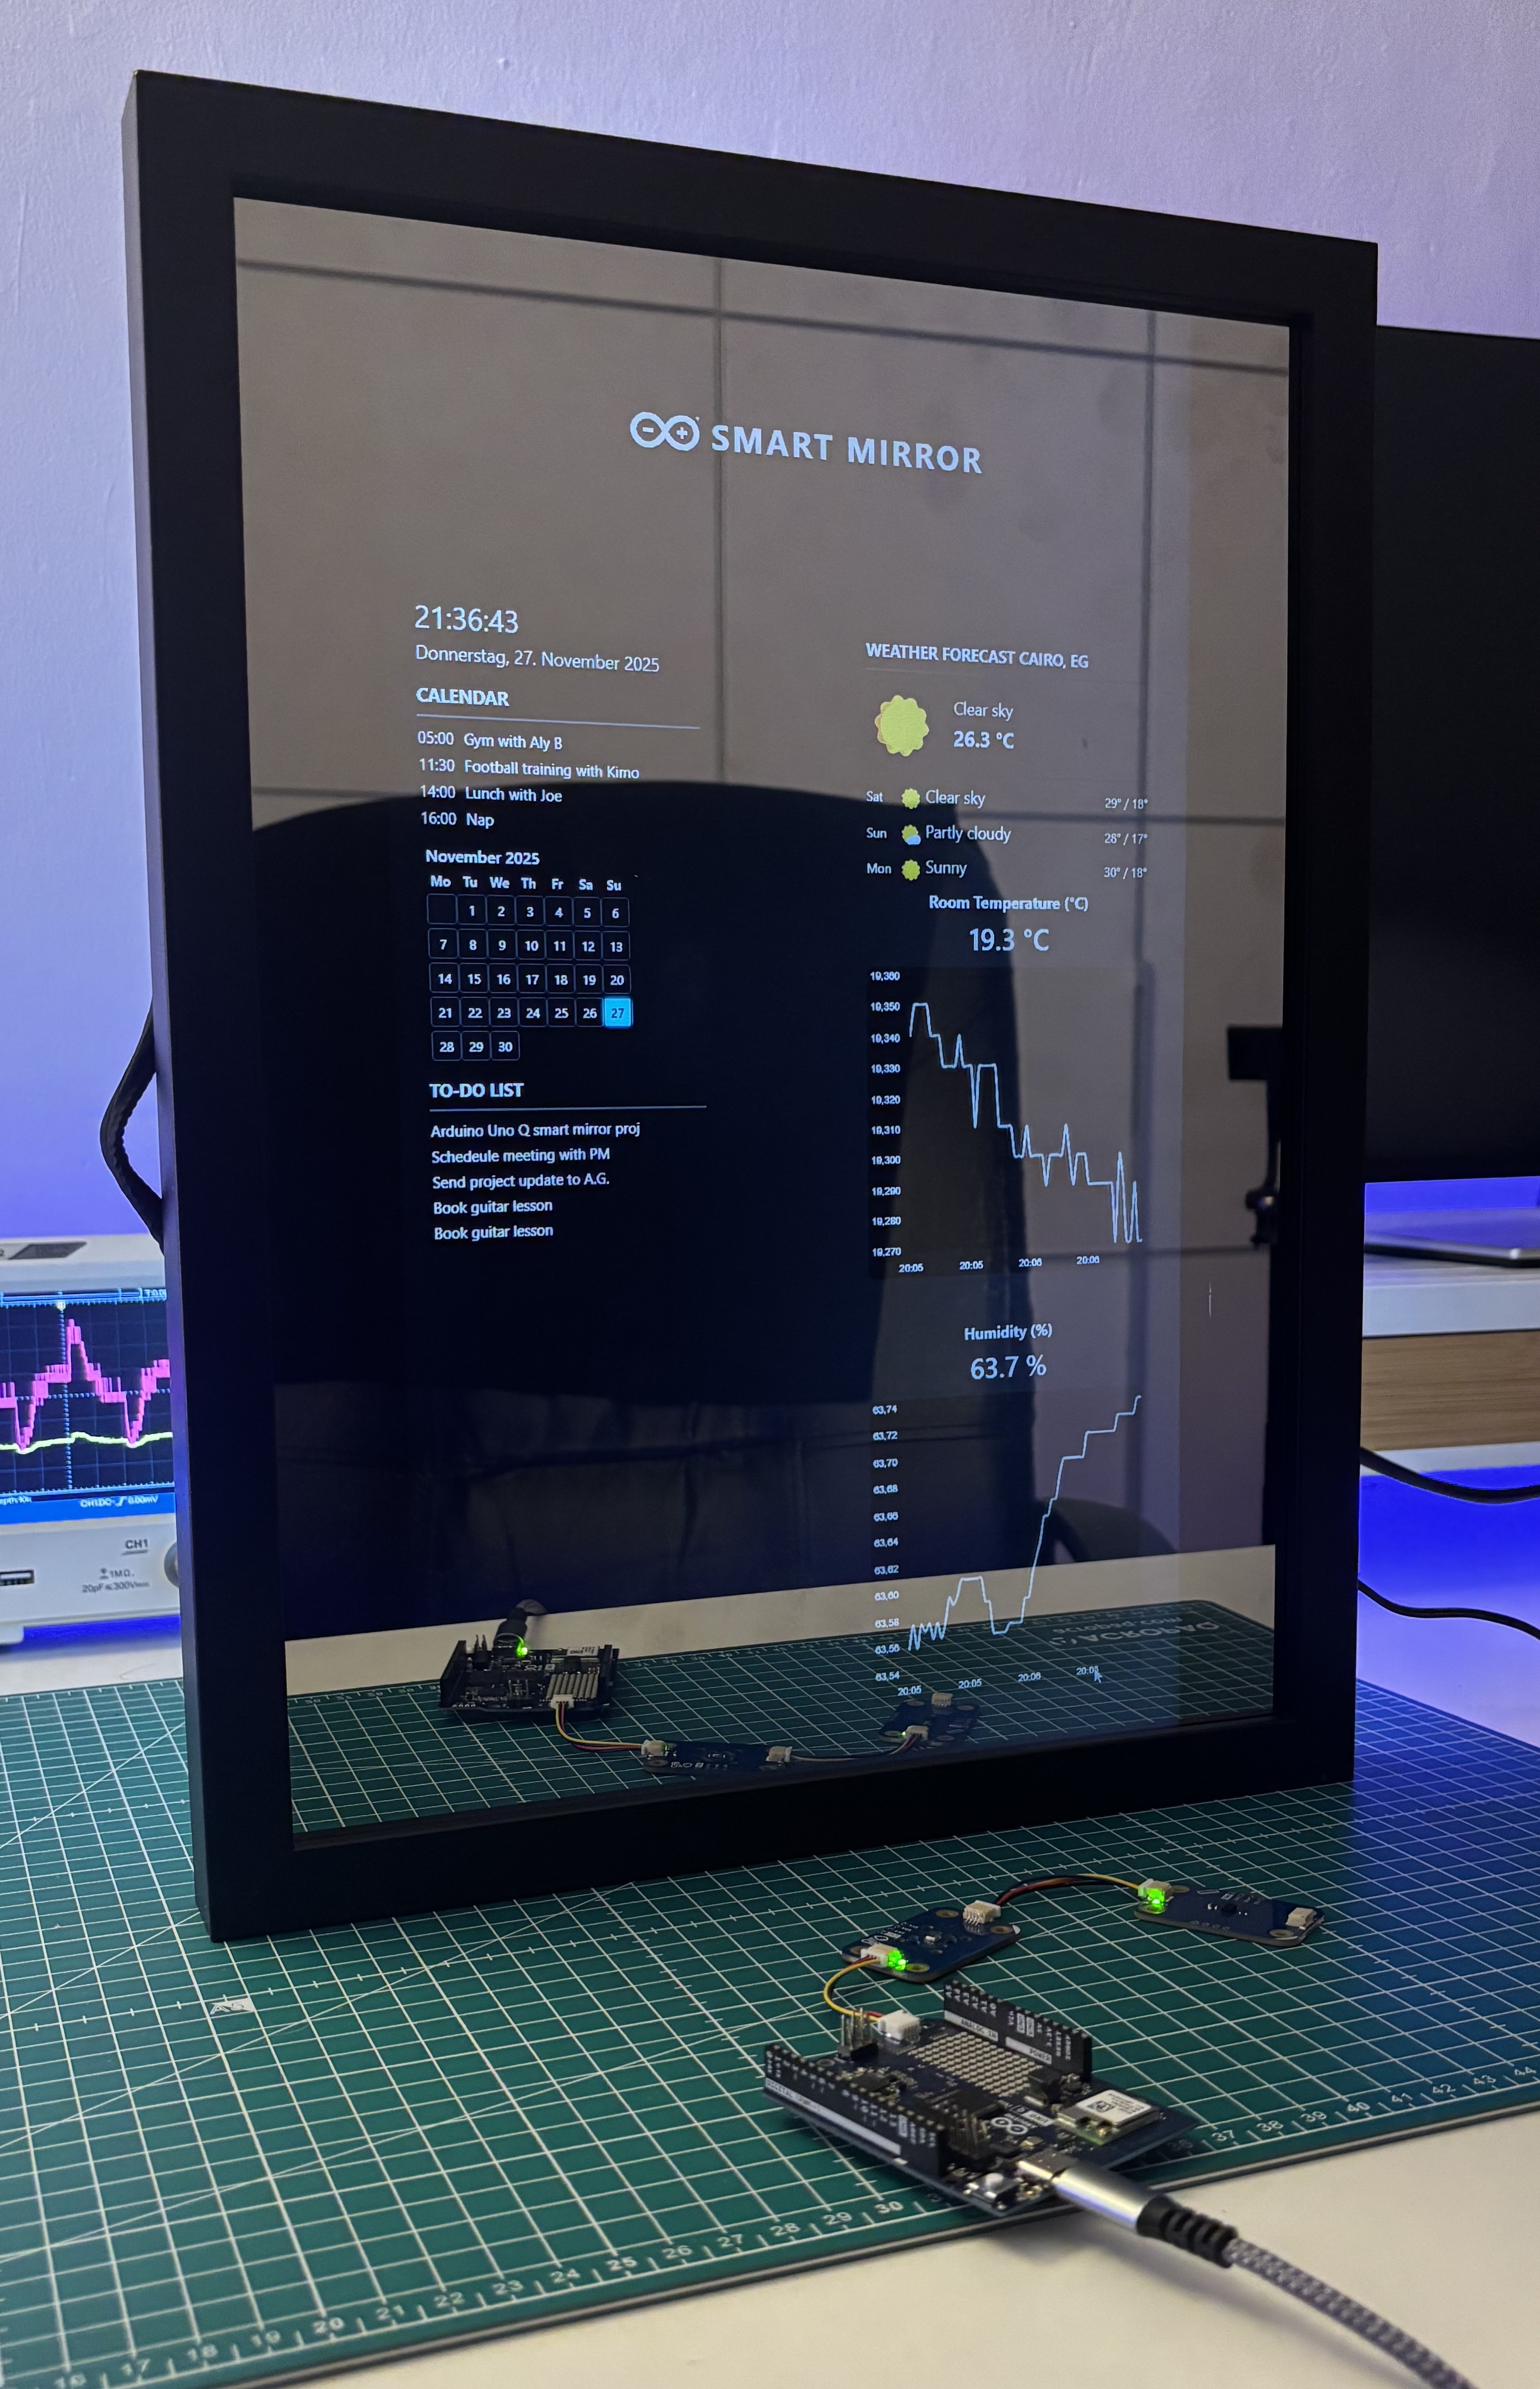
Build a smart mirror with an Arduino UNO Q
A wall-mounted smart mirror that shows the time, calendar, to-do list, room temperature/humidity and weather forecast behind a two-way glass...
View project
ESP32 Patient Health Monitor ECG SpO2 BPM Live Dashboard
Build a complete patient health monitoring system using ESP32 with AD8232 ECG sensor, MAX30102 pulse oximeter, BME280 and live web dashboard...
View project
IoT AC Energy Meter with PZEM-004T and ESP32 WebServer
Build an IoT-based AC energy meter using ESP32 and PZEM-004T to measure voltage, current, power, frequency and energy with live web dashboar...
View project