
ESP32 Estimate Velocity with GPS MPU6050 Dead Reckoning
Use GPS combined with MPU6050 IMU and ESP32 for accurate velocity estimation using sensor fusion and dead reckoning algorithm.
- Suitable forB.Tech IoT students
- Build time5-7 weeks
- LevelAdvanced
- Available atAjvika Labs, Kakinada
About this project
Advanced navigation project combines NEO-M8N GPS module, MPU-6050 6-axis IMU, and ESP32 to estimate velocity with higher accuracy than GPS alone using sensor fusion. When GPS signal lost (tunnel, garage), MPU-6050 accelerometer data integrated over time (dead reckoning) estimates position and velocity. Kalman filter fuses GPS velocity and IMU-derived velocity for smooth accurate output. MPU-6050 bias calibration runs at startup. GPS at 10Hz update rate via UART. Fused velocity, heading, position, and acceleration logged to SD card (CSV format) and displayed on 2.4-inch TFT with live speedometer gauge. Web dashboard shows real-time track on OpenStreetMap. Libraries: TinyGPS++, MPU6050_tockn, Kalman, SPI, SD, TFT_eSPI.
Detailed Project Description
ESP32 Estimate Velocity with GPS MPU6050 Dead Reckoning records position/motion data over time and presents it as a track or log that can be reviewed later.
How It Works
1. The positioning sensor provides coordinates/motion at a fixed rate.
2. Points are filtered and stored (SD card, cloud or database) with timestamps.
3. A map or chart renders the track; live position can be viewed remotely.
4. Geofence or speed alerts are optional.
Key Components and Their Role
- ESP32: dual-core Wi-Fi + Bluetooth microcontroller that runs the firmware, reads the sensors and hosts the network connection.
- MPU6050: 6-axis accelerometer + gyroscope IMU used for motion, tilt and gesture sensing.
- TFT display: colour graphical display (SPI) used for the on-device user interface.
- GPS module (NEO-6M): receiver that provides latitude, longitude, speed and time over UART/NMEA.
- microSD card module: storage for logs, audio or images over SPI.
Implementation Steps
1. Collect the components and study each module's datasheet (pin-out, voltage, interface).
2. Wire the circuit on a breadboard following the pin mapping; power sensors from the correct rail (3.3 V / 5 V).
3. Install Arduino IDE, TinyGPS++ Library, MPU6050_tockn Library and the required libraries; flash a minimal test sketch for each module separately.
4. Write the main firmware: read sensors → process → drive outputs / send data.
5. Configure network or cloud credentials and test communication end-to-end.
6. Calibrate thresholds, add error handling (reconnect, sensor time-out) and run a long-duration test.
7. Finalise on a PCB / enclosure and document wiring, code and results.
Key Features
- Live location
- Track history
- Map view
- Alerts
Expected Output
On completion the student will have a map trace of where the device has been, with speed and time for each point.
Deliverables
- Complete source code with comments
- Circuit diagram and pin mapping
- Project report with screenshots and results
- Demonstration-ready build
Technologies used
Hardware components
- ESP32 DevKit
- NEO-M8N GPS Module
- MPU-6050 IMU
- 2.4 inch TFT Display
- MicroSD Card Module
Software & tools
- Arduino IDE
- TinyGPS++ Library
- MPU6050_tockn Library
- Kalman Filter Library
What you get
- Working project / hardware kit, tested before delivery
- Complete source code with explanation
- Project demo and guidance for your viva
- Project report, PPT and IEEE paper support (on request)
Delivery & Payment
Delivery takes a minimum of two weeks from the date your inquiry is confirmed.
Payment is in two parts:
• 50% advance to start the project
• Remaining 50% before delivery
Note:
• Documentation and PPT are not included by default
• If you need documentation/PPT, it can be arranged for extra time and cost
We'll confirm the exact timeline and cost with you after reviewing your requirements.
Related IoT projects

IoT
DIY IoT Plant Watering System using Arduino
A remote plant-watering system that monitors soil moisture and lets you trigger a water pump from anywhere through the Blynk app, with LED-m...
View project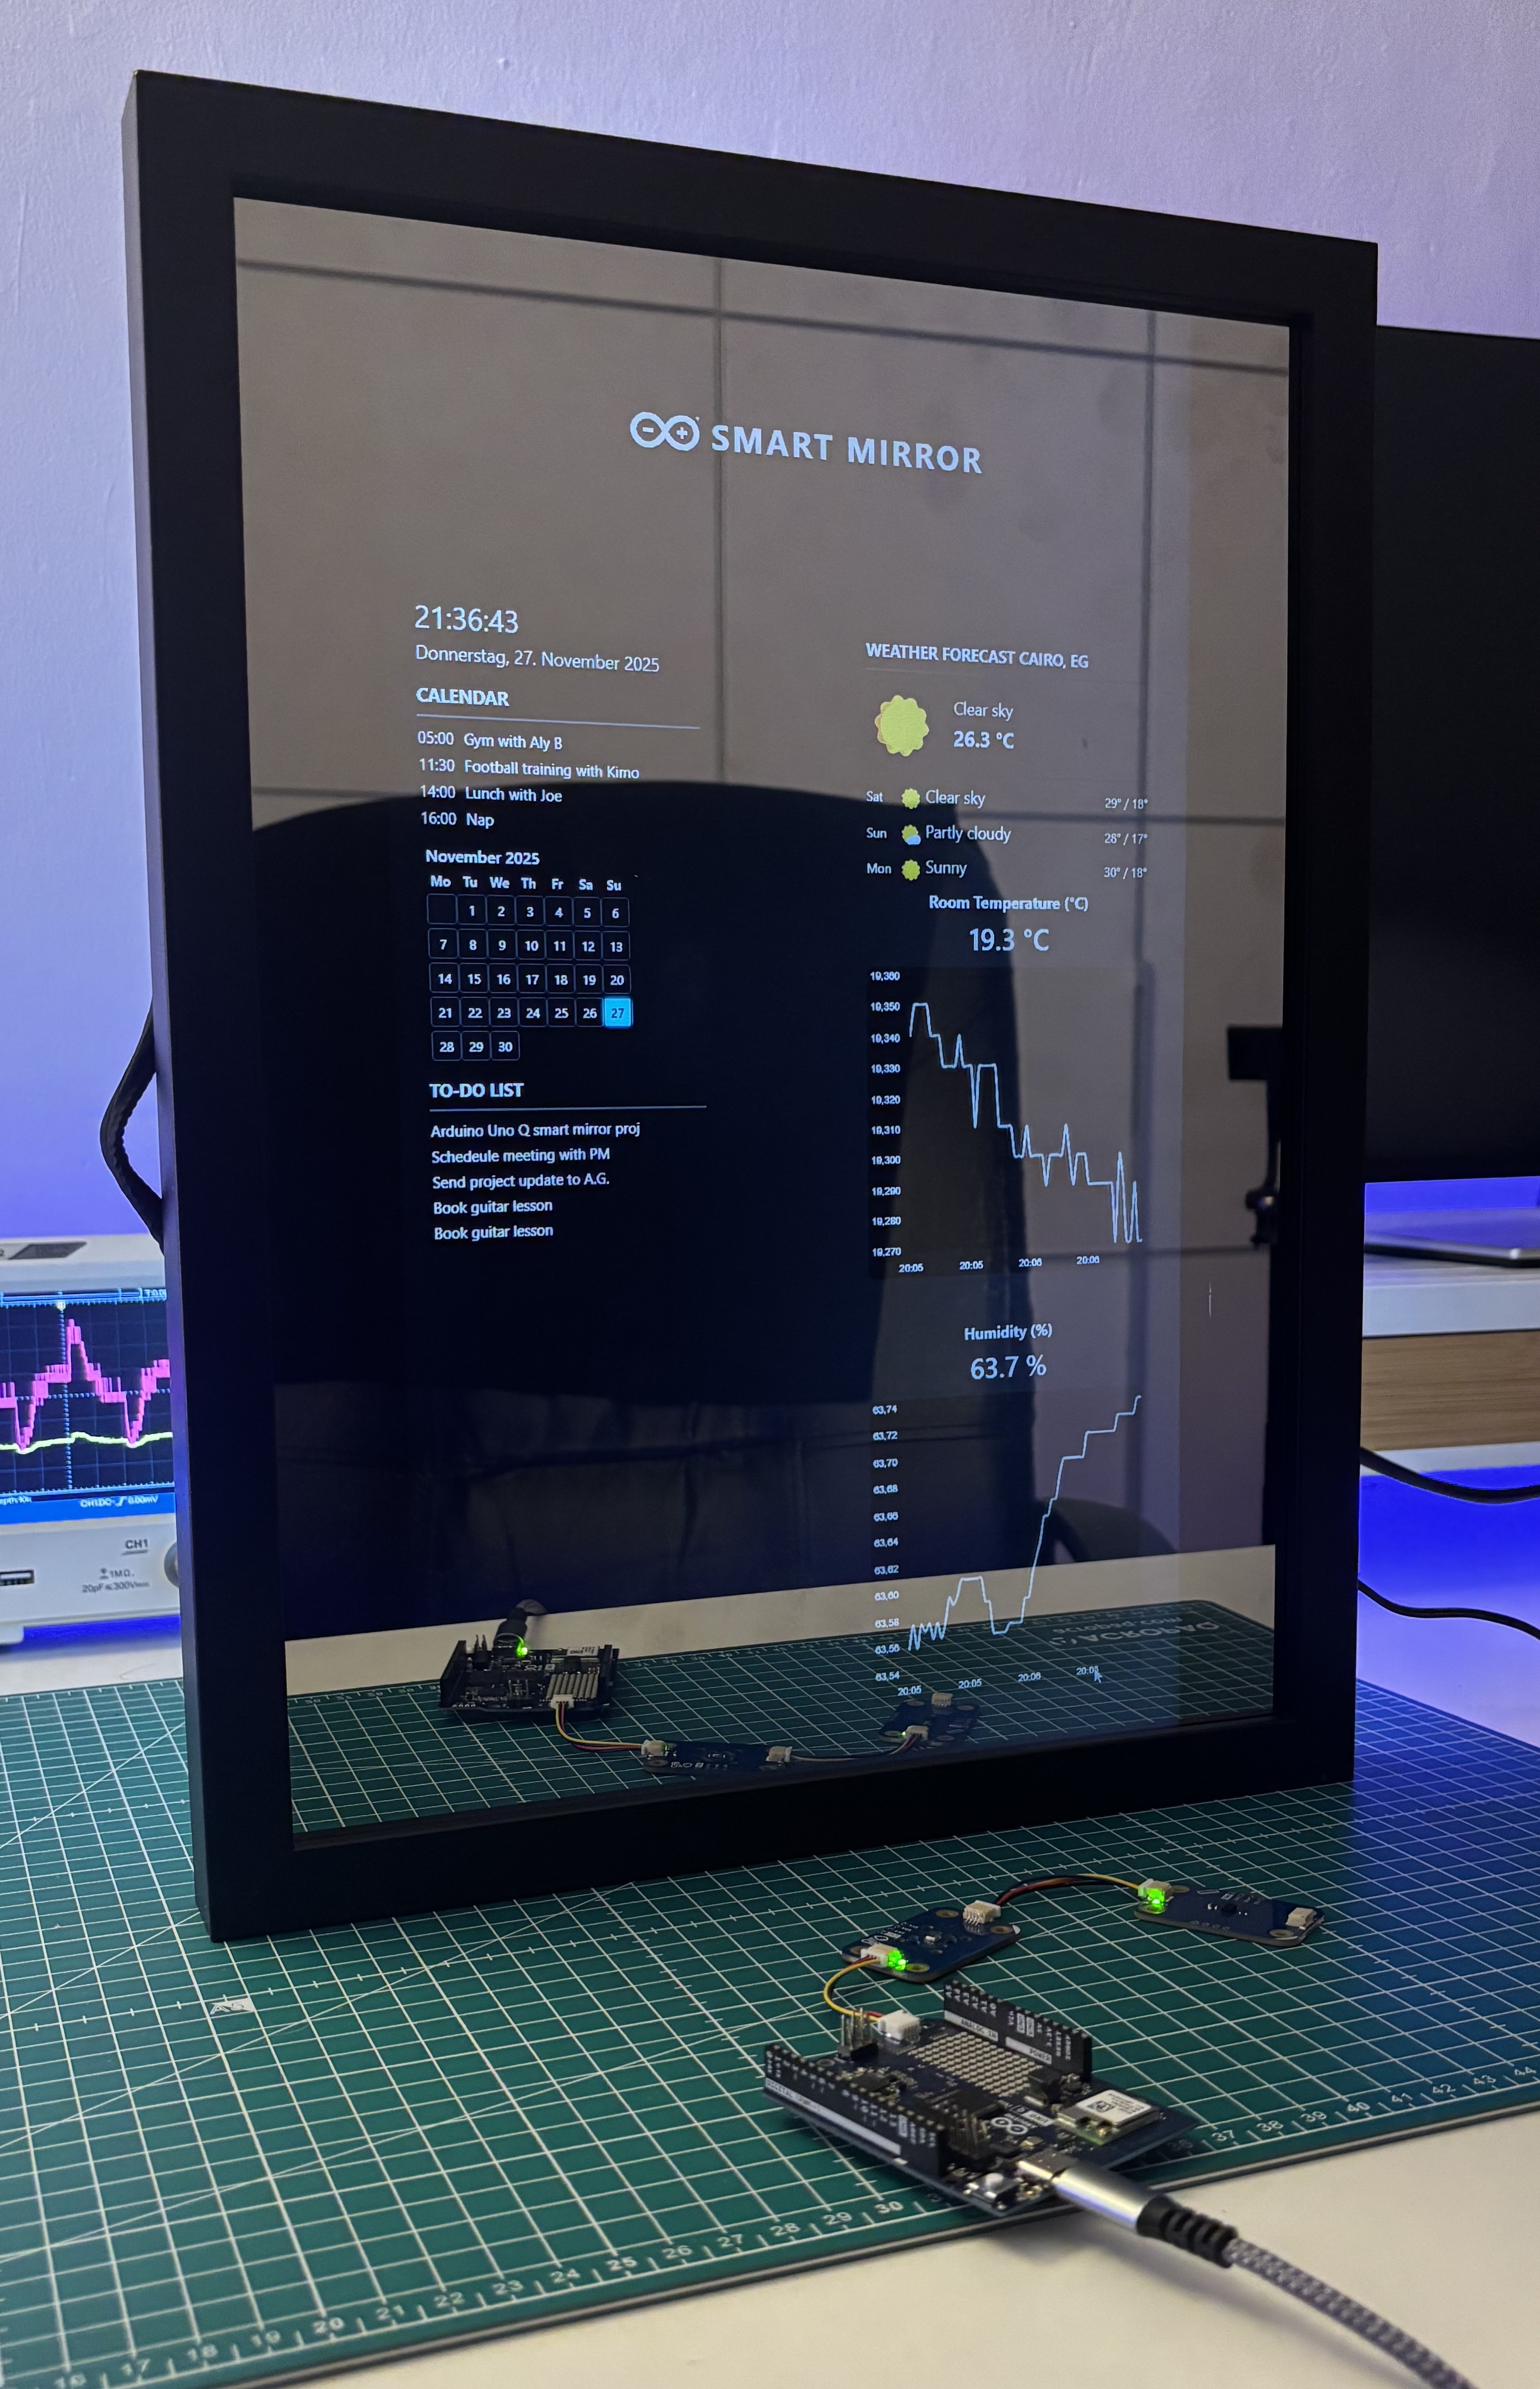
IoT
Build a smart mirror with an Arduino UNO Q
A wall-mounted smart mirror that shows the time, calendar, to-do list, room temperature/humidity and weather forecast behind a two-way glass...
View project
IoT
ESP32 Patient Health Monitor ECG SpO2 BPM Live Dashboard
Build a complete patient health monitoring system using ESP32 with AD8232 ECG sensor, MAX30102 pulse oximeter, BME280 and live web dashboard...
View project
IoT
IoT AC Energy Meter with PZEM-004T and ESP32 WebServer
Build an IoT-based AC energy meter using ESP32 and PZEM-004T to measure voltage, current, power, frequency and energy with live web dashboar...
View project