
ESP32 DHT11 DHT22 Sensor Web Server
Create a web server with ESP32 to display DHT11 or DHT22 temperature and humidity readings on a clean auto-refreshing web page.
- Suitable forB.Tech IoT students
- Build time1-2 weeks
- LevelBeginner
- Available atAjvika Labs, Kakinada
About this project
Beginner-friendly project to get started with ESP32 IoT web servers. An ESP32 hosts a web page that displays temperature and humidity readings from a DHT11 or DHT22 sensor. Page auto-refreshes every 30 seconds (configurable). Web interface features clean card-based design with color-coded icons. Readings displayed in Celsius and Fahrenheit simultaneously. Web server handles multiple simultaneous browser connections. Static web page served from program memory (PROGMEM). JSON endpoint at /temperature and /humidity for easy integration with other systems. DHT11 vs DHT22: DHT22 is more accurate but more expensive. DHT11 connections: data pin -> GPIO4 with 10k Ohm pull-up to 3.3V. IP address shown on serial monitor after connection. Libraries: WiFi, WebServer, DHT, ArduinoJson.
Detailed Project Description
ESP32 DHT11 DHT22 Sensor Web Server connects an embedded device to the network so its data can be viewed and its outputs controlled from a browser, app or cloud service.
How It Works
1. The device joins the network and registers with the server/cloud (or hosts its own web page).
2. Sensor values are published and outputs are controlled through HTTP, MQTT, BLE or a cloud SDK.
3. A web/app front-end shows live values in gauges and charts and offers control buttons.
4. Data is stored for history and the firmware can be updated over the air where supported.
Key Components and Their Role
- ESP32: dual-core Wi-Fi + Bluetooth microcontroller that runs the firmware, reads the sensors and hosts the network connection.
- DHT11: digital temperature and humidity sensor (1-wire style protocol).
- DHT22: digital temperature and humidity sensor with better accuracy than DHT11.
Implementation Steps
1. Collect the components and study each module's datasheet (pin-out, voltage, interface).
2. Wire the circuit on a breadboard following the pin mapping; power sensors from the correct rail (3.3 V / 5 V).
3. Install Arduino IDE, DHT Library, WiFi Library and the required libraries; flash a minimal test sketch for each module separately.
4. Write the main firmware: read sensors → process → drive outputs / send data.
5. Configure network or cloud credentials and test communication end-to-end.
6. Calibrate thresholds, add error handling (reconnect, sensor time-out) and run a long-duration test.
7. Finalise on a PCB / enclosure and document wiring, code and results.
Key Features
- Live data in the browser/app
- Remote control
- History storage
- Secure access
Expected Output
On completion the student will have a responsive web/app dashboard reflecting the device state in real time.
Deliverables
- Complete source code with comments
- Circuit diagram and pin mapping
- Project report with screenshots and results
- Demonstration-ready build
Technologies used
Hardware components
- ESP32 DevKit
- DHT22 Temperature Sensor
- 10K Ohm Resistor
- Breadboard
- Jumper Wires
Software & tools
- Arduino IDE
- DHT Library
- WiFi Library
- WebServer Library
What you get
- Working project / hardware kit, tested before delivery
- Complete source code with explanation
- Project demo and guidance for your viva
- Project report, PPT and IEEE paper support (on request)
Delivery & Payment
Delivery takes a minimum of two weeks from the date your inquiry is confirmed.
Payment is in two parts:
• 50% advance to start the project
• Remaining 50% before delivery
Note:
• Documentation and PPT are not included by default
• If you need documentation/PPT, it can be arranged for extra time and cost
We'll confirm the exact timeline and cost with you after reviewing your requirements.
Related IoT projects

IoT
DIY IoT Plant Watering System using Arduino
A remote plant-watering system that monitors soil moisture and lets you trigger a water pump from anywhere through the Blynk app, with LED-m...
View project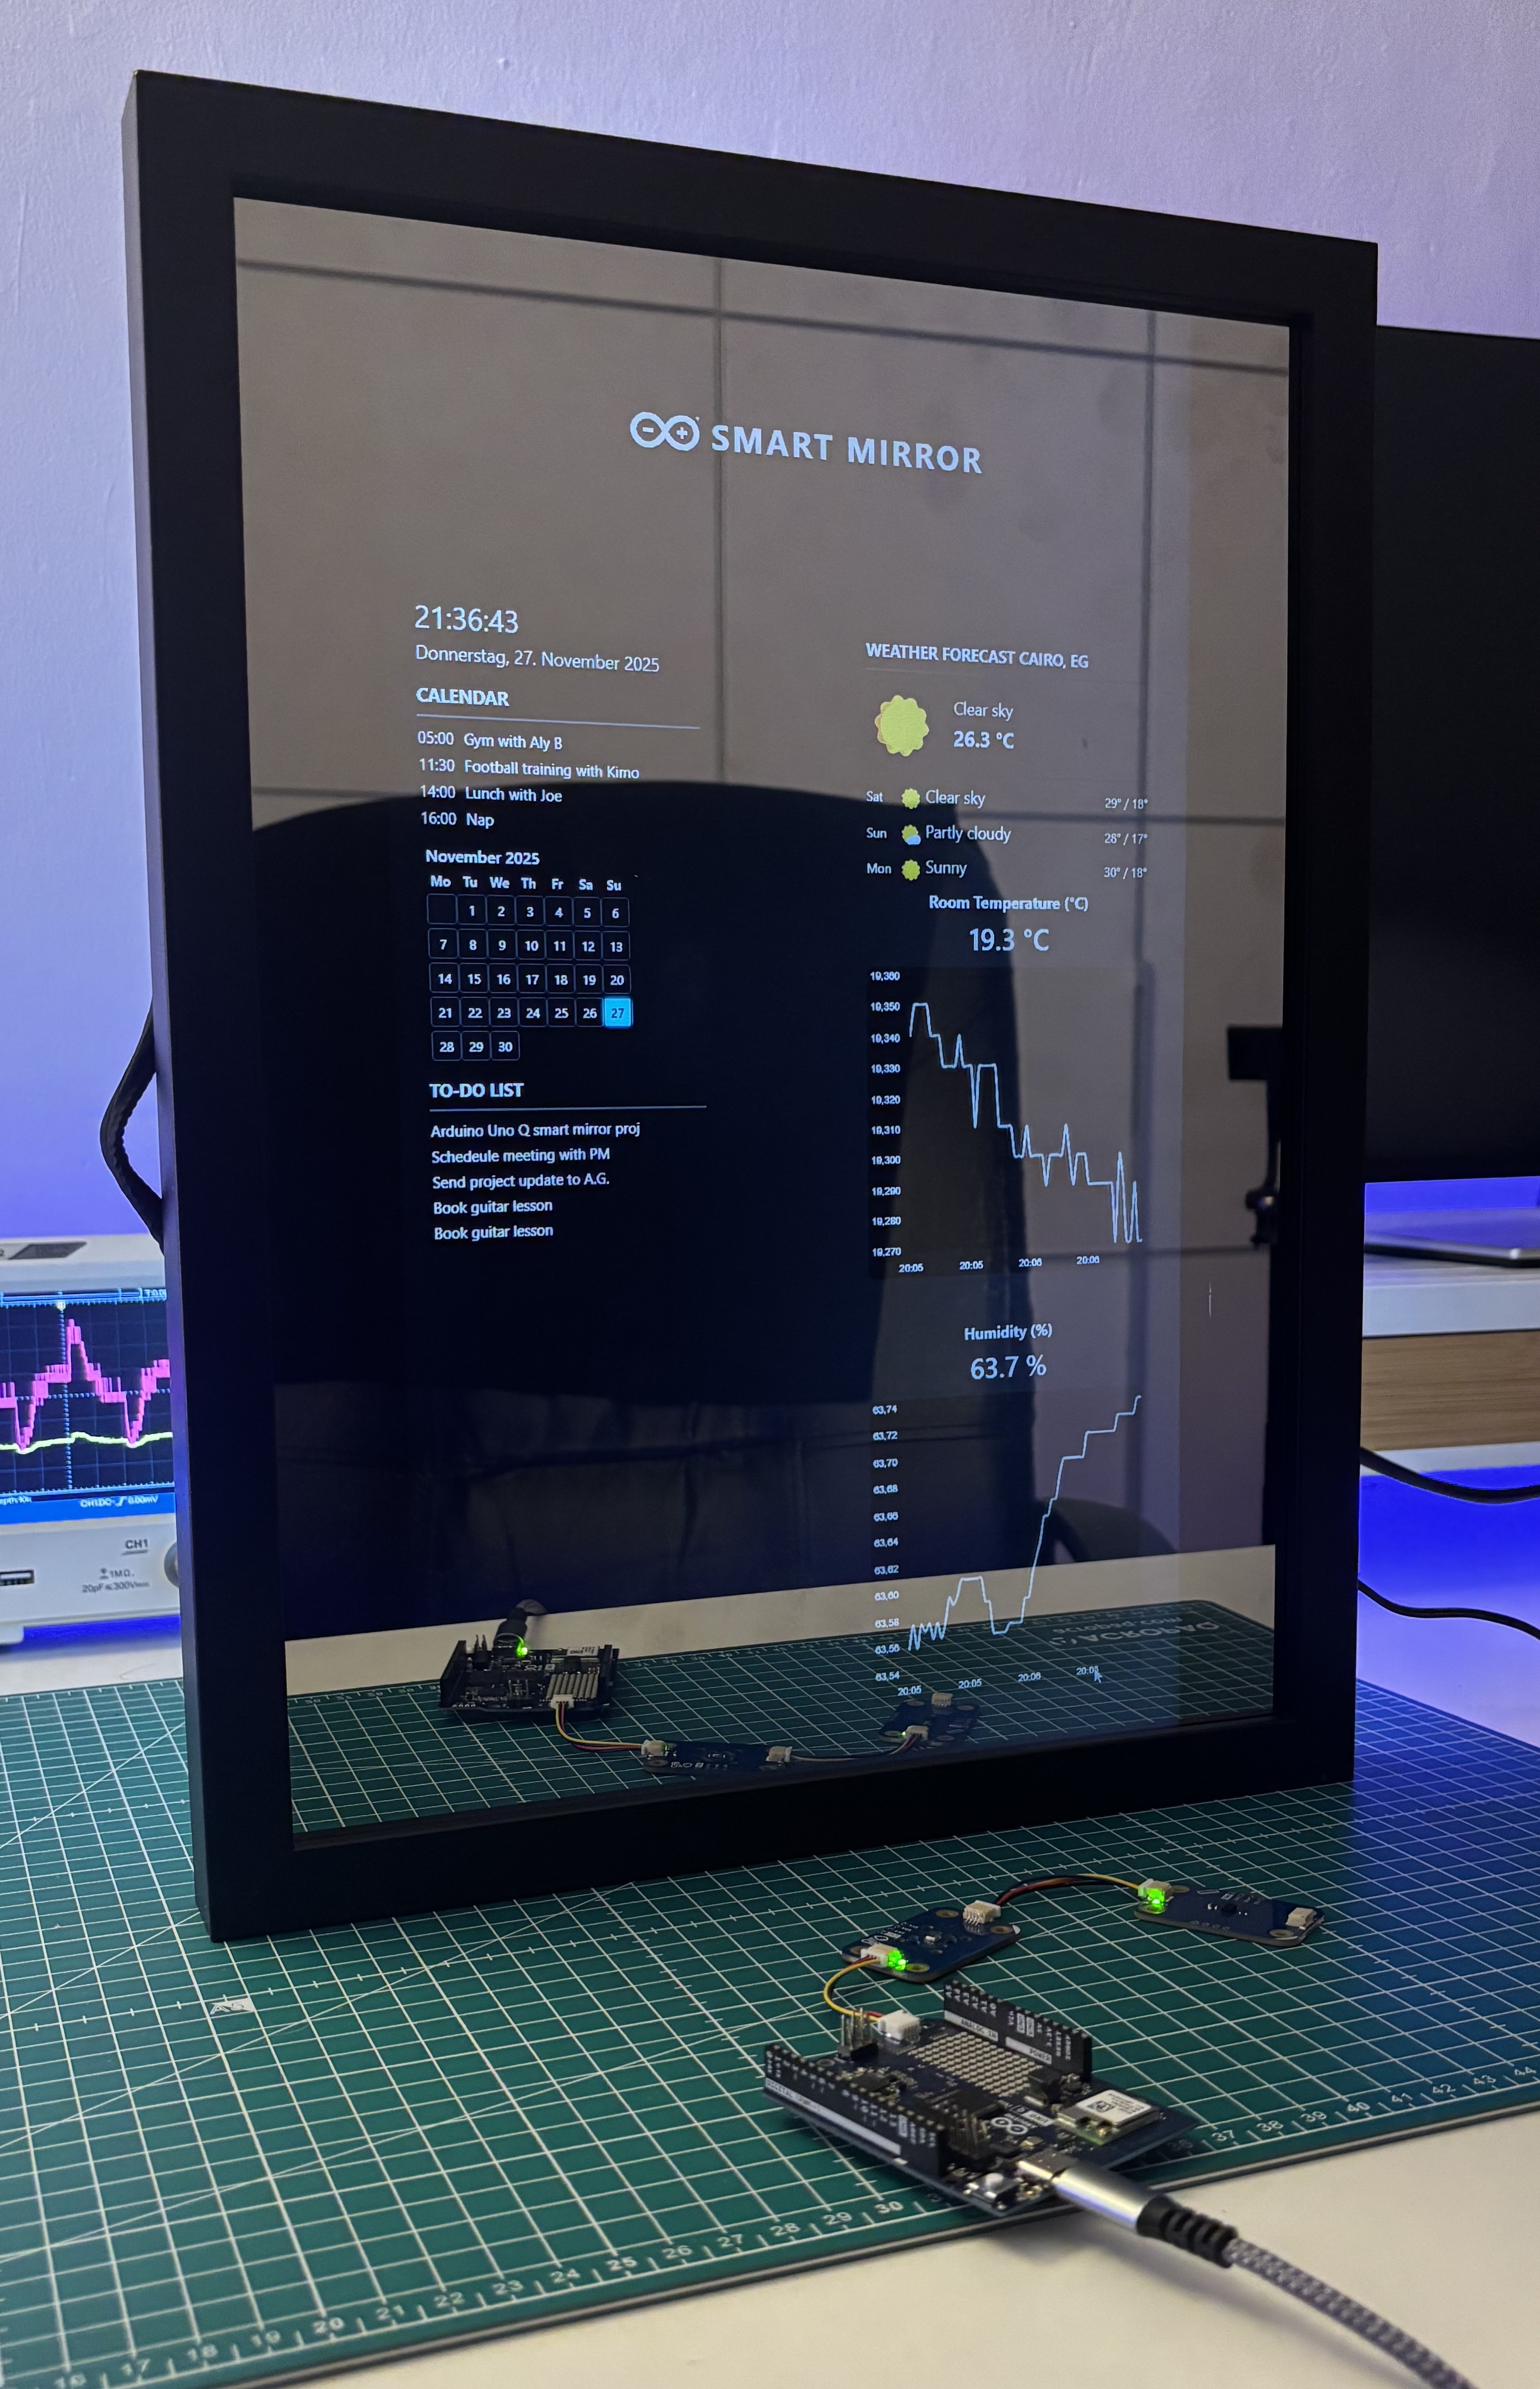
IoT
Build a smart mirror with an Arduino UNO Q
A wall-mounted smart mirror that shows the time, calendar, to-do list, room temperature/humidity and weather forecast behind a two-way glass...
View project
IoT
ESP32 Patient Health Monitor ECG SpO2 BPM Live Dashboard
Build a complete patient health monitoring system using ESP32 with AD8232 ECG sensor, MAX30102 pulse oximeter, BME280 and live web dashboard...
View project
IoT
IoT AC Energy Meter with PZEM-004T and ESP32 WebServer
Build an IoT-based AC energy meter using ESP32 and PZEM-004T to measure voltage, current, power, frequency and energy with live web dashboar...
View project