
ESP32-CAM Video Streaming Web Server
Stream live video from ESP32-CAM to any web browser over WiFi with adjustable resolution, brightness, and camera settings.
- Suitable forB.Tech IoT students
- Build time1-2 weeks
- LevelBeginner
- Available atAjvika Labs, Kakinada
About this project
Turns ESP32-CAM into a live video streaming web server. Camera streams MJPEG video to any browser on local network. Web interface includes live video feed, camera controls (resolution QQVGA to UXGA, brightness, contrast, saturation, special effects), flash LED control, and snapshot capture (saves JPEG to SD card). Resolution options: QQVGA 160x120 (fastest), VGA 640x480 (default), SVGA 800x600, XGA 1024x768, UXGA 1600x1200 (highest quality). ESP32-CAM uses OV2640 2MP camera. FTDI programmer needed for first upload (GPIO0 to GND during flash). Power requirement: 5V 2A stable supply (camera draws 500mA during streaming). Frame rate at VGA: ~20fps. mDNS: access via http://esp32cam.local instead of IP address. Libraries: esp_camera, WiFi, WebServer.
Detailed Project Description
ESP32-CAM Video Streaming Web Server applies computer vision to camera frames to detect or recognise what is in view and act on the result automatically.
How It Works
1. The camera captures frames continuously.
2. Frames are pre-processed and fed to the detection/recognition model.
3. Detections are drawn on the output and used to trigger the required action (log, alert, unlock, count).
4. Results and images are stored or streamed to a browser/dashboard.
Key Components and Their Role
- ESP32-CAM: ESP32 module with an OV2640 camera used to capture images or stream video.
- microSD card module: storage for logs, audio or images over SPI.
- Camera module: image sensor used for capture, streaming or computer vision.
Implementation Steps
1. Collect the components and study each module's datasheet (pin-out, voltage, interface).
2. Wire the circuit on a breadboard following the pin mapping; power sensors from the correct rail (3.3 V / 5 V).
3. Install Arduino IDE, ESP32 Camera Library, ESP32 Board Package and the required libraries; flash a minimal test sketch for each module separately.
4. Write the main firmware: read sensors → process → drive outputs / send data.
5. Configure network or cloud credentials and test communication end-to-end.
6. Calibrate thresholds, add error handling (reconnect, sensor time-out) and run a long-duration test.
7. Finalise on a PCB / enclosure and document wiring, code and results.
Key Features
- Real-time detection
- Annotated output
- Event logging
- Adjustable confidence threshold
Expected Output
On completion the student will have a live video/image feed with detected objects highlighted and the corresponding actions logged.
Deliverables
- Complete source code with comments
- Circuit diagram and pin mapping
- Project report with screenshots and results
- Demonstration-ready build
Technologies used
Hardware components
- ESP32-CAM Module
- FTDI USB-Serial Programmer
- 5V 2A Power Supply
- MicroSD Card
- Antenna
Software & tools
- Arduino IDE
- ESP32 Camera Library
- ESP32 Board Package
What you get
- Working project / hardware kit, tested before delivery
- Complete source code with explanation
- Project demo and guidance for your viva
- Project report, PPT and IEEE paper support (on request)
Delivery & Payment
Delivery takes a minimum of two weeks from the date your inquiry is confirmed.
Payment is in two parts:
• 50% advance to start the project
• Remaining 50% before delivery
Note:
• Documentation and PPT are not included by default
• If you need documentation/PPT, it can be arranged for extra time and cost
We'll confirm the exact timeline and cost with you after reviewing your requirements.
Related IoT projects

IoT
DIY IoT Plant Watering System using Arduino
A remote plant-watering system that monitors soil moisture and lets you trigger a water pump from anywhere through the Blynk app, with LED-m...
View project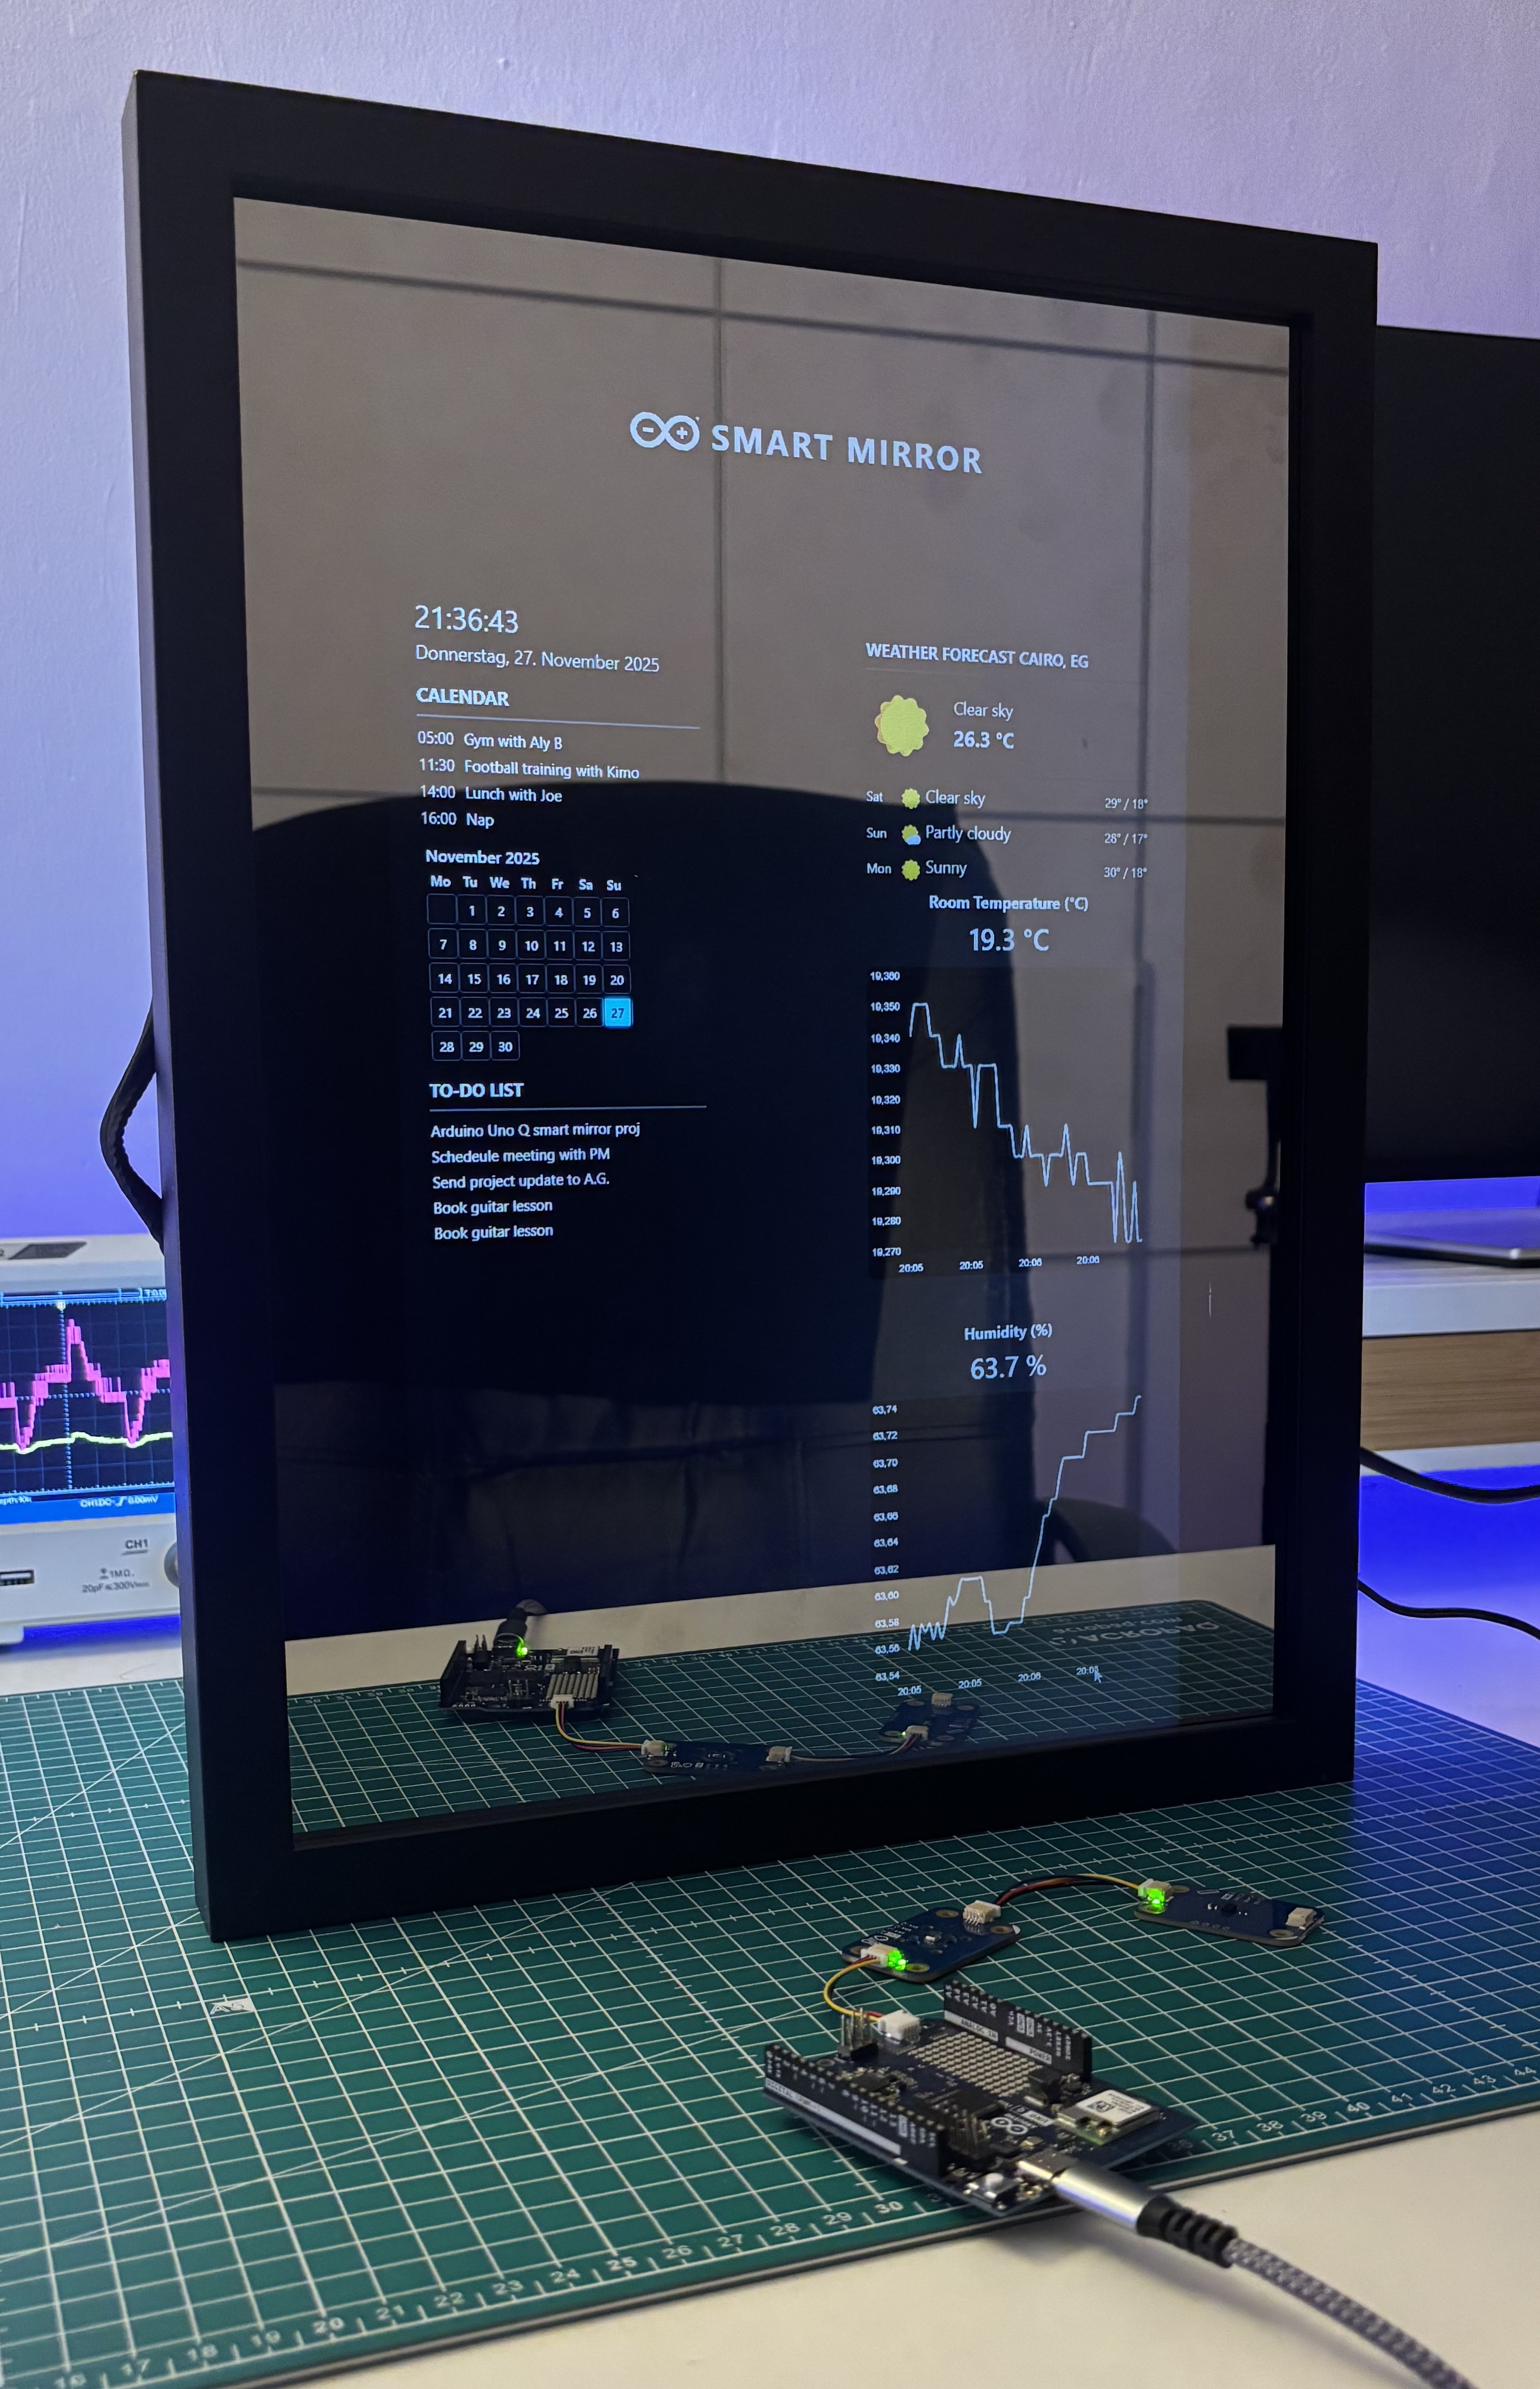
IoT
Build a smart mirror with an Arduino UNO Q
A wall-mounted smart mirror that shows the time, calendar, to-do list, room temperature/humidity and weather forecast behind a two-way glass...
View project
IoT
ESP32 Patient Health Monitor ECG SpO2 BPM Live Dashboard
Build a complete patient health monitoring system using ESP32 with AD8232 ECG sensor, MAX30102 pulse oximeter, BME280 and live web dashboard...
View project
IoT
IoT AC Energy Meter with PZEM-004T and ESP32 WebServer
Build an IoT-based AC energy meter using ESP32 and PZEM-004T to measure voltage, current, power, frequency and energy with live web dashboar...
View project