


ESP32 based Temperature Sensitive Smart Fan Regulator
In this project, we will build a smart temperature sensitive fan regulator using esp32. We have made an automatic AC dimmer circuit following the zero cross detection technique.
- Suitable forB.Tech IoT students
- Build time3-4 weeks
- LevelIntermediate
- Available atAjvika Labs, Kakinada
About this project
Do you feel disturbed when you need to adjust the temperature? The wait is over, the solution is here! We often feel uncomfortable while sleeping due to certain changes in room temperature, but we don’t want to get up from sleep and regulate fan/AC due to lethargy. This hampers our sleep and may put a negative effect on our health. We will use Arduino IDE to program ESP32. Check out our previously built ESP32 based projects.
Previously, we have worked on some smart fan projects,
Build an Automatic Motion Controlled Smart Fan using ATmega328 and Motion Sensor
IoT Based AC Fan Speed Control using Smart Phone with NodeMCU and Google Firebase
Simple Fan Regulator Circuit to Control the Speed of AC Fan
Temperature Controlled DC Fan using Thermistor
Component Required for Smart Fan Regulator
Project Used Hardware
ESP32, HC05, LM35, DHT11, TP4056, Arduino Nano, TRIAC, Optocoupler,3.7V Li-Po battery, 5V boost module, Bridge rectifier, LEDs, Resistors, Push to ON SPST, micro-USB type B female, Wires
Project Used Software
Kodular Creator, Google Firebase, Arduino IDE
Project Hardware/Software Selection
ESP32: ESP32 is used for its built in WIFI and Bluetooth feature along with its powerful circuit controlling ability.
HC05 : HC05 is one of the most popular Bluetooth module out there and its easily available.
LM35: LM35 temperature sensor is being selected for its small and compact size.
DHT11 : DHT11 is being used as room temperature and humidity sensor. We selected it due to its compact size and easy availability.
TP4056 : TP4056 is used for charging the Li-Po battery inside the temperature tracker.
Arduino Nano : Arduino Nano is used as the medium for recording the body temperature and sending that data to control unit. We selected for its small and compact size so that we can fit it into the box (though Arduino Pro Mini could have been used).
TRIAC : TRIAC is used for controlling the AC motor of fan.
Optocoupler : Optocoupler is a part of TRIAC based dimming circuit.
3.7V Li-Po battery : This is used for small and compact size.
5V boost module : Boost module is being used for boosting the 3.7V of battery to 5V and to power the Arduino board.
Kodular creator : We selected Kodular for building the application, its free and popular.
Google Firebase : Google Firebase is one of the most popular and free database.
Smart Fan Regulator Circuit Diagram
We have made an automatic AC dimmer circuit following the zero cross detection technique. We have used LM35 as the temperature sensor for sensing body temperature and DHT11 for sensing both room temperature and humidity. Arduino Nano and HC05 is used for bluetooth communication between temperature tracker and main control unit(ESP32). Data collected from these sensors are processed by ESP32 and it controls the fan speed accordingly.
Complete Project Code
Technologies used
Hardware components
- ESP32
- ESP8266
- Arduino
- DHT22
- Relay
- OLED
- NodeMCU
Software & tools
- Arduino IDE
- Blynk
- Firebase Console
- Node-RED
- MQTT Broker
Project demo video
What you get
- Working project / hardware kit, tested before delivery
- Complete source code with explanation
- Project demo and guidance for your viva
- Project report, PPT and IEEE paper support (on request)
Delivery & Payment
Delivery takes a minimum of two weeks from the date your inquiry is confirmed.
Payment is in two parts:
• 50% advance to start the project
• Remaining 50% before delivery
Note:
• Documentation and PPT are not included by default
• If you need documentation/PPT, it can be arranged for extra time and cost
We'll confirm the exact timeline and cost with you after reviewing your requirements.
Related IoT projects

IoT
DIY IoT Plant Watering System using Arduino
A remote plant-watering system that monitors soil moisture and lets you trigger a water pump from anywhere through the Blynk app, with LED-m...
View project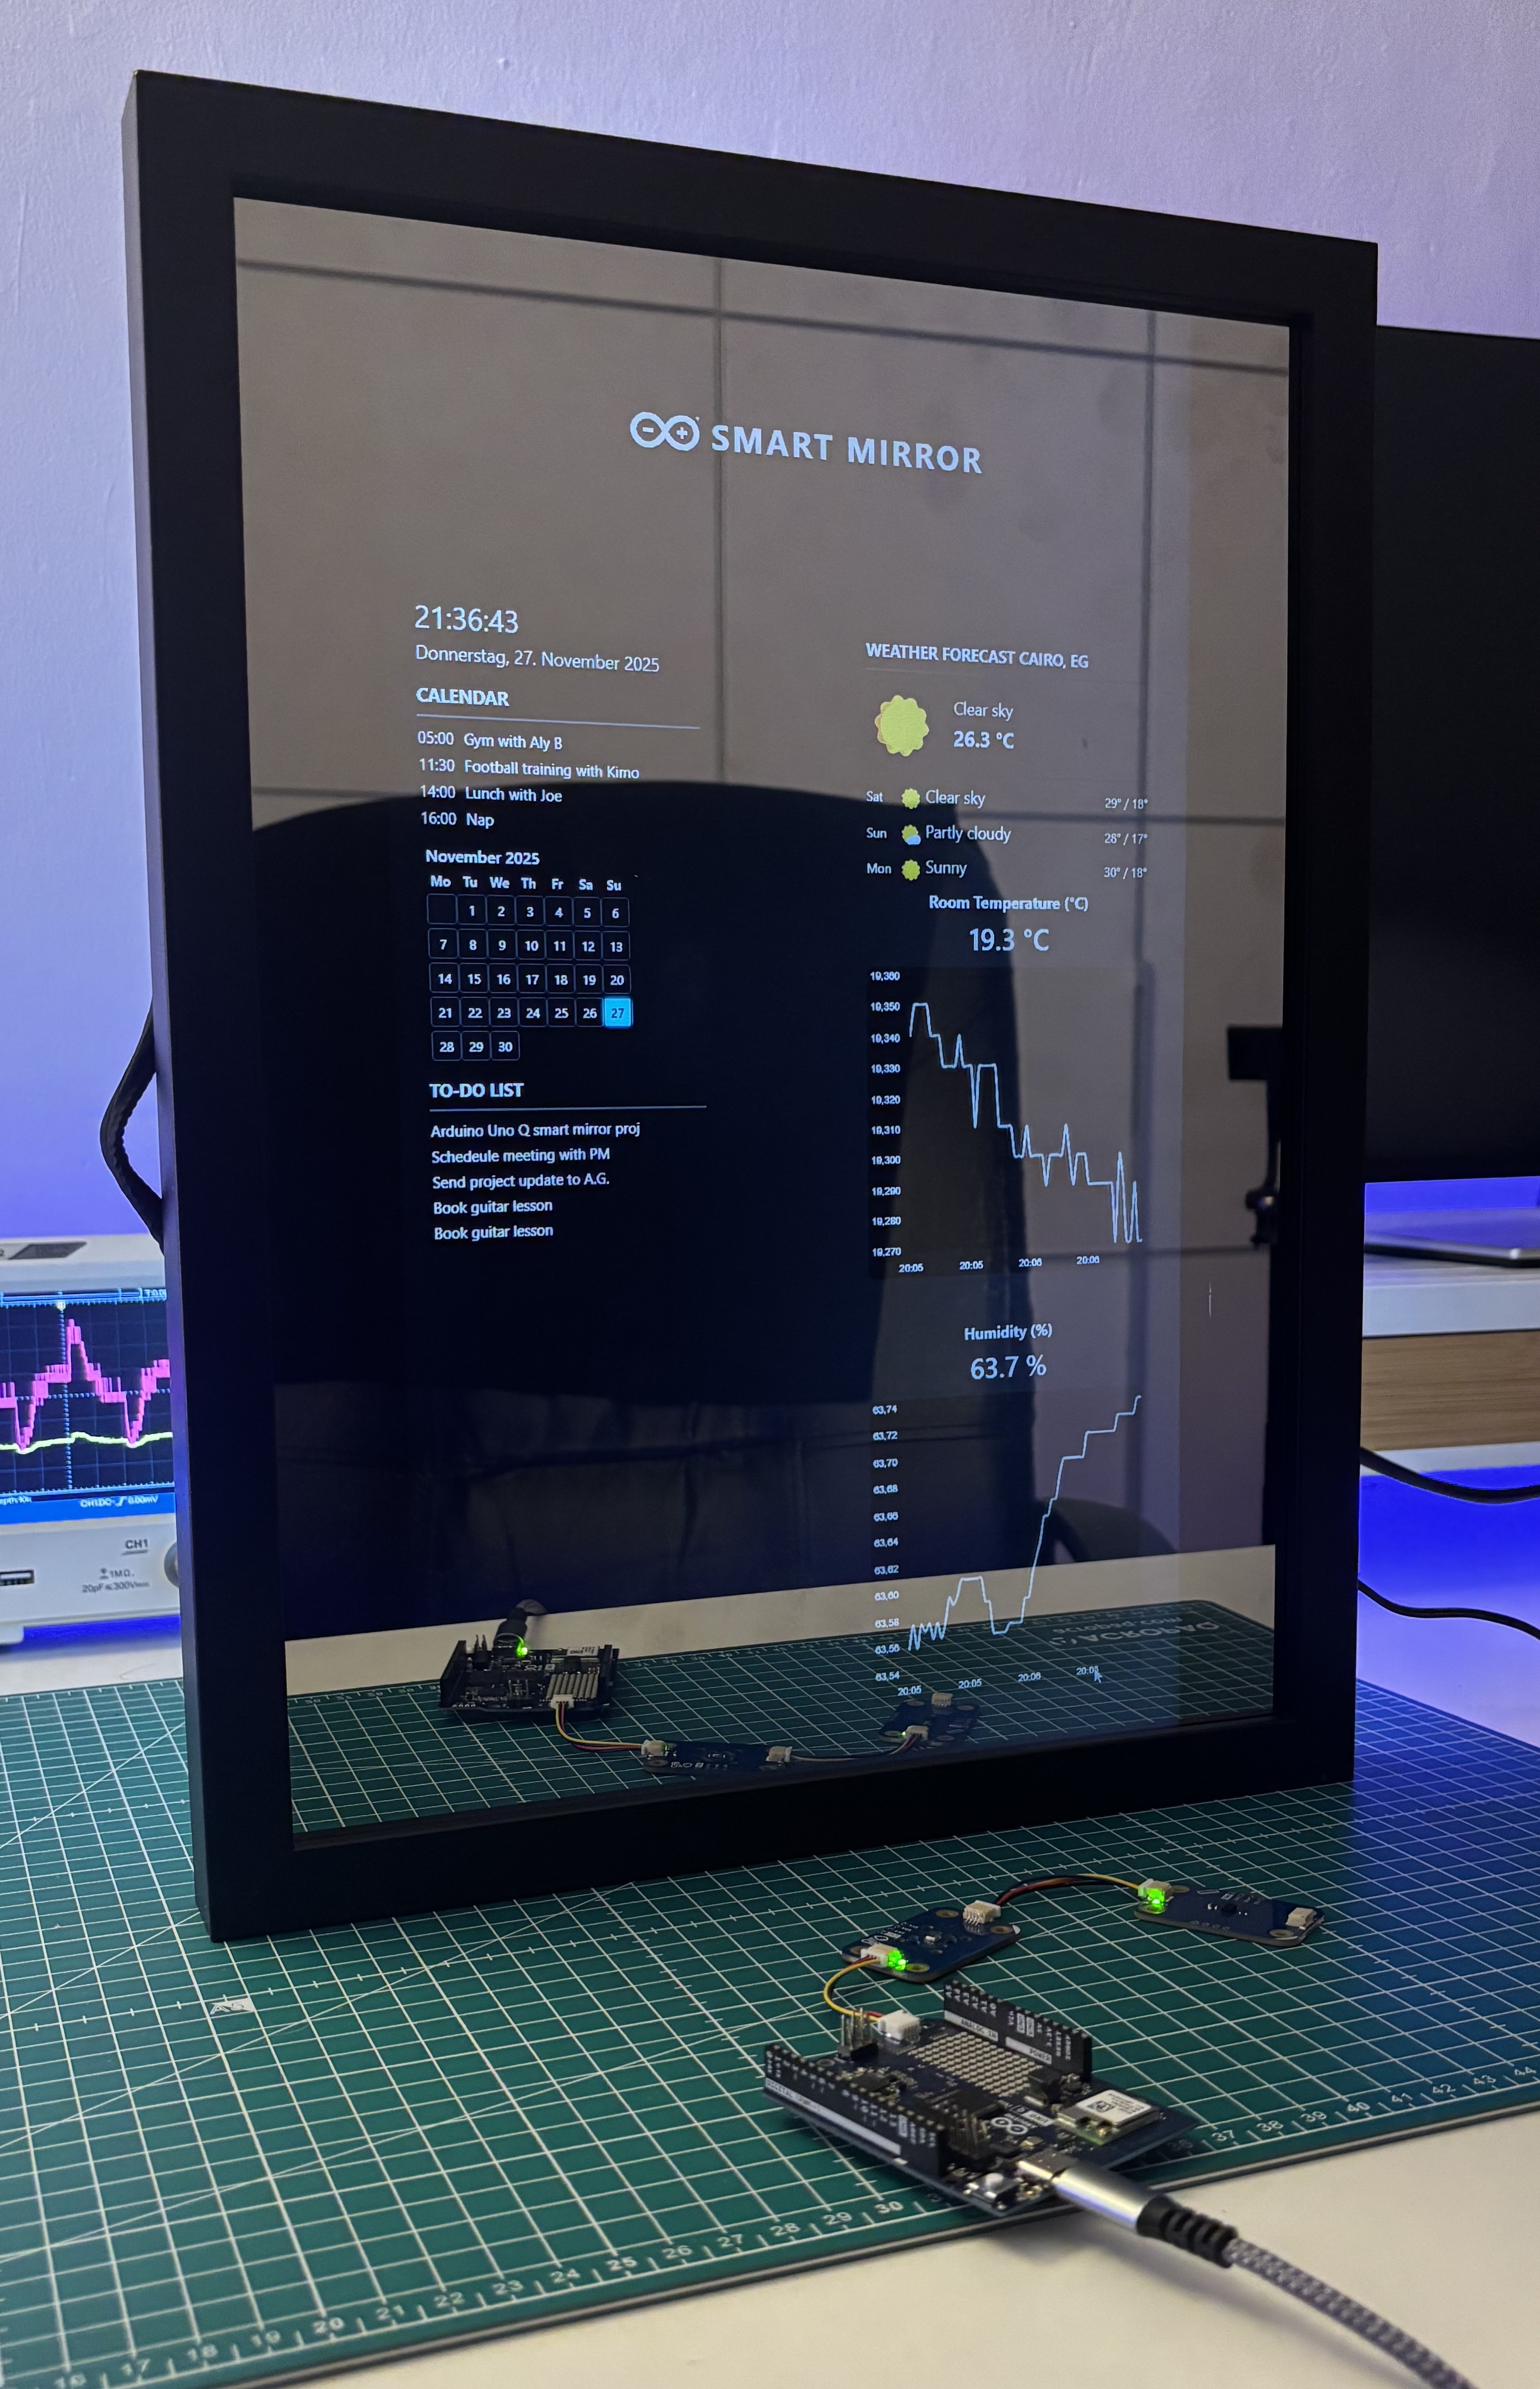
IoT
Build a smart mirror with an Arduino UNO Q
A wall-mounted smart mirror that shows the time, calendar, to-do list, room temperature/humidity and weather forecast behind a two-way glass...
View project
IoT
ESP32 Patient Health Monitor ECG SpO2 BPM Live Dashboard
Build a complete patient health monitoring system using ESP32 with AD8232 ECG sensor, MAX30102 pulse oximeter, BME280 and live web dashboard...
View project
IoT
IoT AC Energy Meter with PZEM-004T and ESP32 WebServer
Build an IoT-based AC energy meter using ESP32 and PZEM-004T to measure voltage, current, power, frequency and energy with live web dashboar...
View project