


Designing a Smartwatch using ESP32 Part 2 - Ambient Light and Heart Rate Sensors
In this tutorial, we will be looking at how to interface some sensors to our smartwatch. We will be interfacing the BH1750 ambient light sensor and the MAX30102 Heart rate sensor.
- Suitable forB.Tech IoT students
- Build time3-4 weeks
- LevelIntermediate
- Available atAjvika Labs, Kakinada
About this project
Prerequisites – Installing Necessary Libraries
All the required libraries are provided in the GitHub repository given below the article. Download them and extract them to the library folder in the Arduino document folder. If you have already installed them, you don’t need to do the previous step except for the display library. For display, you must use the attached TFT_eSPI library. Once it’s done let’s move forward with the interface.
TFT_eSPI Library (Modified)
BH1750 library by Christopher Laws
SparkFun MAX3010X Pulse and Proximity Sensor Library
Interfacing Ambient Light Sensor
First, let’s look at how to interface the ambient light sensor. We will later use this sensor for automatic brightness adjustment. For the ambient light sensor, we have selected the popular BH1750 sensor. BH1750 is pretty cheap and easy to interface with. Not only that, they provide very good accuracy too. Let’s look at the specifications of the sensor itself.
The BH1750 is a 16-bit ambient light sensor that communicates via the I2C protocol. It outputs luminosity measurements in lux. It can measure a minimum of 1 lux and a maximum of 65535 lux. Here’s a list of the BH1750 sensor features.
Spectral responsibility is approximately human eye response
Illuminance to digital converter
Range: 1 – 65535 lux
Low current by power down function
50Hz / 60Hz Light noise reject-function
It is possible to select 2 different I2 C slave addresses
Small measurement variation (+/- 20%)
The influence of infrared is very small
Supports continuous measurement mode
Supports one-time measurement mode
The sensor supports two different measurement modes: continuous measurement mode, and one-time measurement mode. In continuous measurement mode, the sensor continuously measures ambient light values. In one-time measurement mode, the sensor measures the ambient light value once, and then it goes to power down mode. Each mode supports three different resolution modes.
16ms measurement time
High-Resolution Mode
120ms measurement time
High-Resolution Mode 2
120ms measurement time
BH1750 Module Pinout
The BH1750 module has a total of 5 pins. In which at least 4 pins are necessary for the interfacing. The pinout of the BH1750 module is as follows:
GND Ground connection for the module. Connect to the GND pin of the ESP32.
VCC Provides power for the module. Connect to the 3.3V pin of the ESP32.
SCL Serial Clock pin. Used for providing clock pulse for I2C Communication.
SDA Serial Data pin. Used for transferring Data through I2C communication.
ADDR Address Select pin. Used for configuring I2C communication address.
Circuit Diagram to Interface Ambient Light Sensor with ESP32
For testing, connect the Ambient light sensor module along with the display module to the ESP32 Devkit as per the Circuit diagram below. Connect the sensor to the I2C line and the display to the SPI bus as we have already done in part one of this project.
Testing the Ambient Light Sensor
Once all the connections are done, compile the BH1750 example file and upload it to the ESP32. The example will show the light intensity in lux. You can see them below.
Interfacing Heart Rate Sensor
We are going to use the MAX30102 for measuring heart rate. The MAX30102 is a very versatile sensor, and it can also measure body temperature other than heart rate and blood oxygen level. It features two LEDs (one Infrared and one Red), a photodetector, optics, and a low-noise signal processing unit to detect pulse oximetry (SPO2) and heart rate (HR) signals.
The MAX30102 Sensor shines both the light through the skin and measures the reflection with the photodetector. This method of pulse detection through light is called Photoplethysmogram. The working of the sensor can be divided into two parts: heart rate measurement and blood oxygen level measurement.
The oxygen in the haemoglobin has a specific characteristic that it can absorb IR light. The higher the concentration of haemoglobin, the redder the blood which simply means it can absorb more IR light. As the blood is pumped through the veins in the finger the amount of reflected light changes creating an oscillating waveform. And by measuring this wave we can get a heartbeat reading. Blood oxygen level measurement works on the principle that Red and IR light varies depending upon the oxygen level in your blood. Deoxygenated blood absorbs more RED light while blood with more sufficient oxygen absorbs more IR light. By measuring the ratio between the two we can measure oxygen level.
MAX30102 Module Pinout
The MAX30102 module has a total of 8 pins. This sensor module’s pins are all digital, except VCC and Ground. The pinout of the MAX30102 module is as follows:
GND Ground connection for the module. Connect to the GND pin of the ESP32.
VCC Provides power for the module. Connect to the 3.3V pin of the ESP32.
SCL Serial Clock pin. Used for providing clock pulse for I2C Communication.
SDA Serial Data pin. Used for transferring Data through I2C communication.
IRD This is the pin connected to the module’s IR LED. This module has a built-in LED driver. Use this pin if you want to manually drive the LED with code, otherwise leave the pin open.
RD The function of this pin is similar to the IRD pin the only difference is that a RED LED is connected to this pin. Leave it untouched if you don't want to drive the LED yourself.
INT Interrupt pin can be programmed to generate an Interrupt on each pulse. This pin is an open drain in nature, so it's pulled high through an onboard resistor. When there is an interrupt, this pin goes low and stays low until the interrupt is cleared.
Circuit Diagram to Interface Heart Rate Sensor with ESP32
For testing connect the Heart Rate SPO2 sensor module along with the display module to the ESP32 Devkit as per the Circuit diagram below. Connect the sensor to the I2C line and the display to the SPI bus as before.
Testing the Heart Rate Sensor
Once all the connections are done compile the MAX30102 example file and upload it to the ESP32. The example will show your heart rate once you place your finger on the sensor for enough time. You can see them below.
In the next part, we will be looking at how to interface the remaining sensors with our smartwatch. You can download all the required files including the libraries from the Circuit Digest GitHub Repo.
Complete Project Code
Technologies used
Hardware components
- ESP32
- ESP8266
- Arduino
- DHT22
- Relay
- OLED
- NodeMCU
Software & tools
- Arduino IDE
- Blynk
- Firebase Console
- Node-RED
- MQTT Broker
What you get
- Working project / hardware kit, tested before delivery
- Complete source code with explanation
- Project demo and guidance for your viva
- Project report, PPT and IEEE paper support (on request)
Related IoT projects

DIY IoT Plant Watering System using Arduino
A remote plant-watering system that monitors soil moisture and lets you trigger a water pump from anywhere through the Blynk app, with LED-m...
View project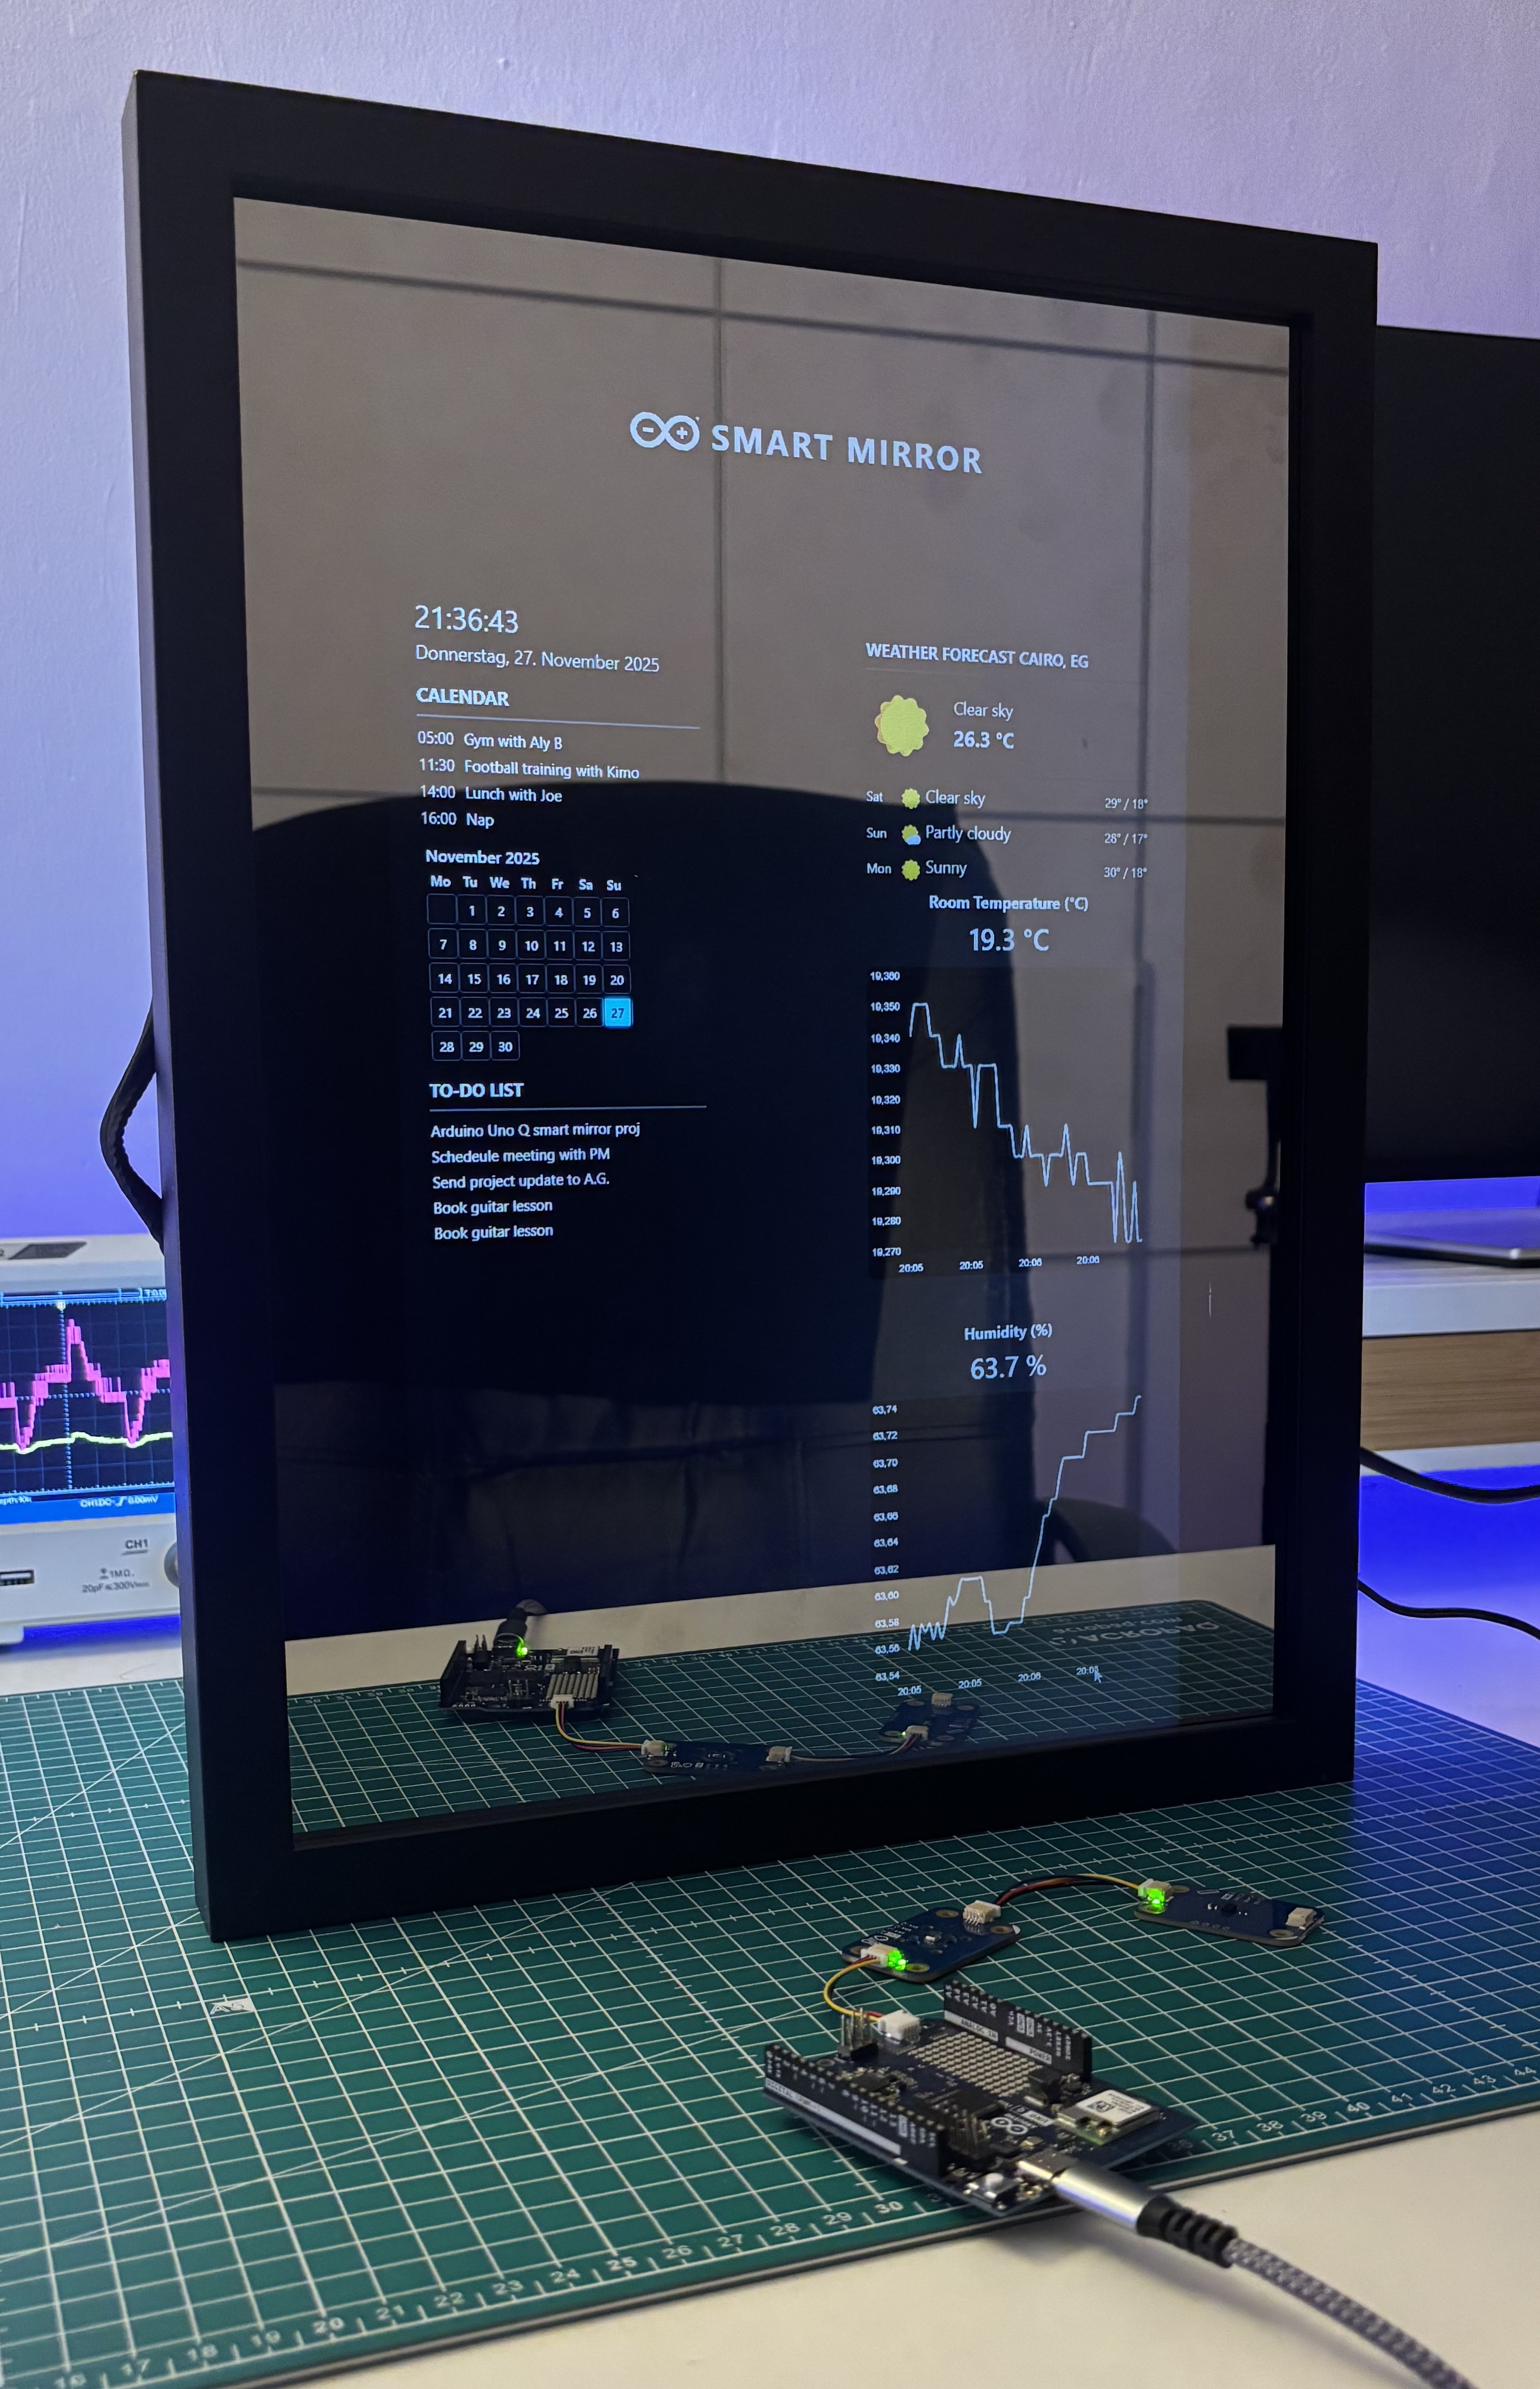
Build a smart mirror with an Arduino UNO Q
A wall-mounted smart mirror that shows the time, calendar, to-do list, room temperature/humidity and weather forecast behind a two-way glass...
View project
ESP32 Patient Health Monitor ECG SpO2 BPM Live Dashboard
Build a complete patient health monitoring system using ESP32 with AD8232 ECG sensor, MAX30102 pulse oximeter, BME280 and live web dashboard...
View project
IoT AC Energy Meter with PZEM-004T and ESP32 WebServer
Build an IoT-based AC energy meter using ESP32 and PZEM-004T to measure voltage, current, power, frequency and energy with live web dashboar...
View project