


AUTOmelette Automated Articulated Omelets Cooking Robot
In this article, we are explaining how we made an automated omelet cooking robot. We made this robot with high torque servo motors, esp8266 module, and other easily available components.
- Suitable forB.Tech IoT students
- Build time3-4 weeks
- LevelIntermediate
- Available atAjvika Labs, Kakinada
About this project
Also, we took it to the next step by accepting the challenge to start the cooking process by accepting commands through Google Assistant and serving the food hot when the respective person reaches home. If you want to learn more about such kinds of amazing projects, then you should check out IoT Projects, Arduino Projects, Raspberry Pi Projects, and many more.
Components Required for AUTOmelette
3 x 20 Kgcm High Torque Servo Motors (Robokits)
3 x 20 Kgcm High Torque Servo Motors (Robokits)
2 x MG996R motors with 10Kgcm.
2 x MG996R motors with 10Kgcm.
SG90 motor with 2kgcm (locking system.)
SG90 motor with 2kgcm (locking system.)
Robokits servo motor controller board.
Robokits servo motor controller board.
0-12 Volts Variable Power Supply
0-12 Volts Variable Power Supply
Silicon Brush(for oil)
Silicon Brush(for oil)
Steel Measure Cup(60ml), ETC (Only Main components mentioned, other miscellaneous)
Steel Measure Cup(60ml), ETC (Only Main components mentioned, other miscellaneous)
Motors Selection - While designing we considered stepper Motors as our first preference as the required torque was high, but these are quite bulky and robust, which results to huge cost of motors, also it was not possible to design an arm consisting of stepper motors with low budget. Thus, we went for Servo Motors which would go in our budget. We have selected 3 * 20 Kg/cm high torque motors from which 1 motor is at the base for 1st axial rotation of the arm and other 2 motors are used for 2nd and 3rd axial movement of upper and lower arm. 2 * 10Kgcm is used for axial movement of wrist of the Arm. One 2Kgcm motors is used for locking mechanism of attachable equipment like Spoon, Oil brush and Spatula.
Controller Selection - At the beginning, we selected Arduino Uno as our main control board, but it was not feasible to control the positions of arm in real-time which would also take large amount of time for programming the same. Thus, we changed to ARDUINO UNO BASED USB 18 SERVO CONTROLLER which consist of Onboard ATMEGA 328p chip with I2C interface for up to 18 servos. This board was easy to program with a GUI for controlling each servo in real-time which eventually saved our time for programming. Also, an ESP8266-01 is interfaced with this controller board for communication with ADAFRUIT cloud. Whenever the order is placed by user the ESP sends signal to controller to begin the cooking process.
SOLIDWORKS – We found the best software till now for creating 3d models is SOLIDWORKS, Hence as we were familiar with it since diploma, we managed well with this software.
EasyEDA – The most popular & makers' favorite software for creating schematics & playing with PCBs EasyEDA was used to design the schematic of this project.
Robokits Servo Controller Software – It's GUI used to control servos in real-time, which means whenever you establish a connection with this board & open their GUI, we can freely move any of the servos among 18 to any angle & also record the steps for future use. This saved a lot of time for programming & also it was literally not possible to admin/upload code, then check whether the servo angle is correct or not, vice versa. This software does most of the work done.
Arduino IDE - It is an Integrated Development Environment software used to compile and admin/upload codes to any Arduino board.
Google Assistant – It is an artificial intelligence powered virtual assistant developed by Google which can take commands or questions (commands for our project) and respond to them accordingly. In our project, it triggers the IFTTT on saying – “Hey Google” and then “Prepare an omelette i am hungry” command.
IFTTT – We have used it as a mediator between Google Assistant and Adafruit service. Whenever the Google Assistant receives a predefined command, it triggers the IFTTT which in turn triggers the adafruit io button. Also, we have used the geolocation tracking service to trigger the adafruit button when the user enters a predefined area.
Adafruit IO – It responds to the trigger of IFTTT by setting the button as HIGH which is further read by ESP01 which is constantly observing the state of buttons.
AutOmelette Circuit Diagram
AutOmelette Explanation
All the servo motors are connected to Arduino via servo control board. But we have used Arduino Uno Based USB 18 Servo Controller board practically which is capable of interfacing servos. Esp8266-01 controller is used to for the IoT part of our project, the GPIO 2 pin is connected to D4 pin of Arduino. The pin is high when esp01 receives command from adafruit io which is read by Arduino and further cooking processes are carried out. In order to provide a good user experience, an LCD and Voice playback module can be interfaced with the controller. LCD will display the current cooking process being carried out and also the time remaining to complete the cooking process. There is no as such explanation in the circuit diagram, everything else used is open source. An APR33A3 Voice Record & Playback Module can be used to provide audio playback of the cooking process being carried out, also it can inform user after the completion of cooking process.
This is a prototype model, real ones need a little high investment, but through completions like this, we hope we would stand better in the future & keep working on this research. Further, we are eager to work on this, more deeply & dive into AI Kitchens driven by Robots. This invention, which is now in the prototype phase, would benefit people living out of their city, college students, college campuses, industry areas, meeting rooms, conference halls, etc. It's just like a Coffee machine fitted everywhere, the same way this robot can also be taken into applications in a variety of areas in a few bucks. If you have any queries related to this project, then ask in the comment section or forum.
Complete Project Code
Technologies used
Hardware components
- ESP32
- ESP8266
- Arduino
- DHT22
- Relay
- OLED
- NodeMCU
Software & tools
- Arduino IDE
- Blynk
- Firebase Console
- Node-RED
- MQTT Broker
Project demo video
What you get
- Working project / hardware kit, tested before delivery
- Complete source code with explanation
- Project demo and guidance for your viva
- Project report, PPT and IEEE paper support (on request)
Related IoT projects

DIY IoT Plant Watering System using Arduino
A remote plant-watering system that monitors soil moisture and lets you trigger a water pump from anywhere through the Blynk app, with LED-m...
View project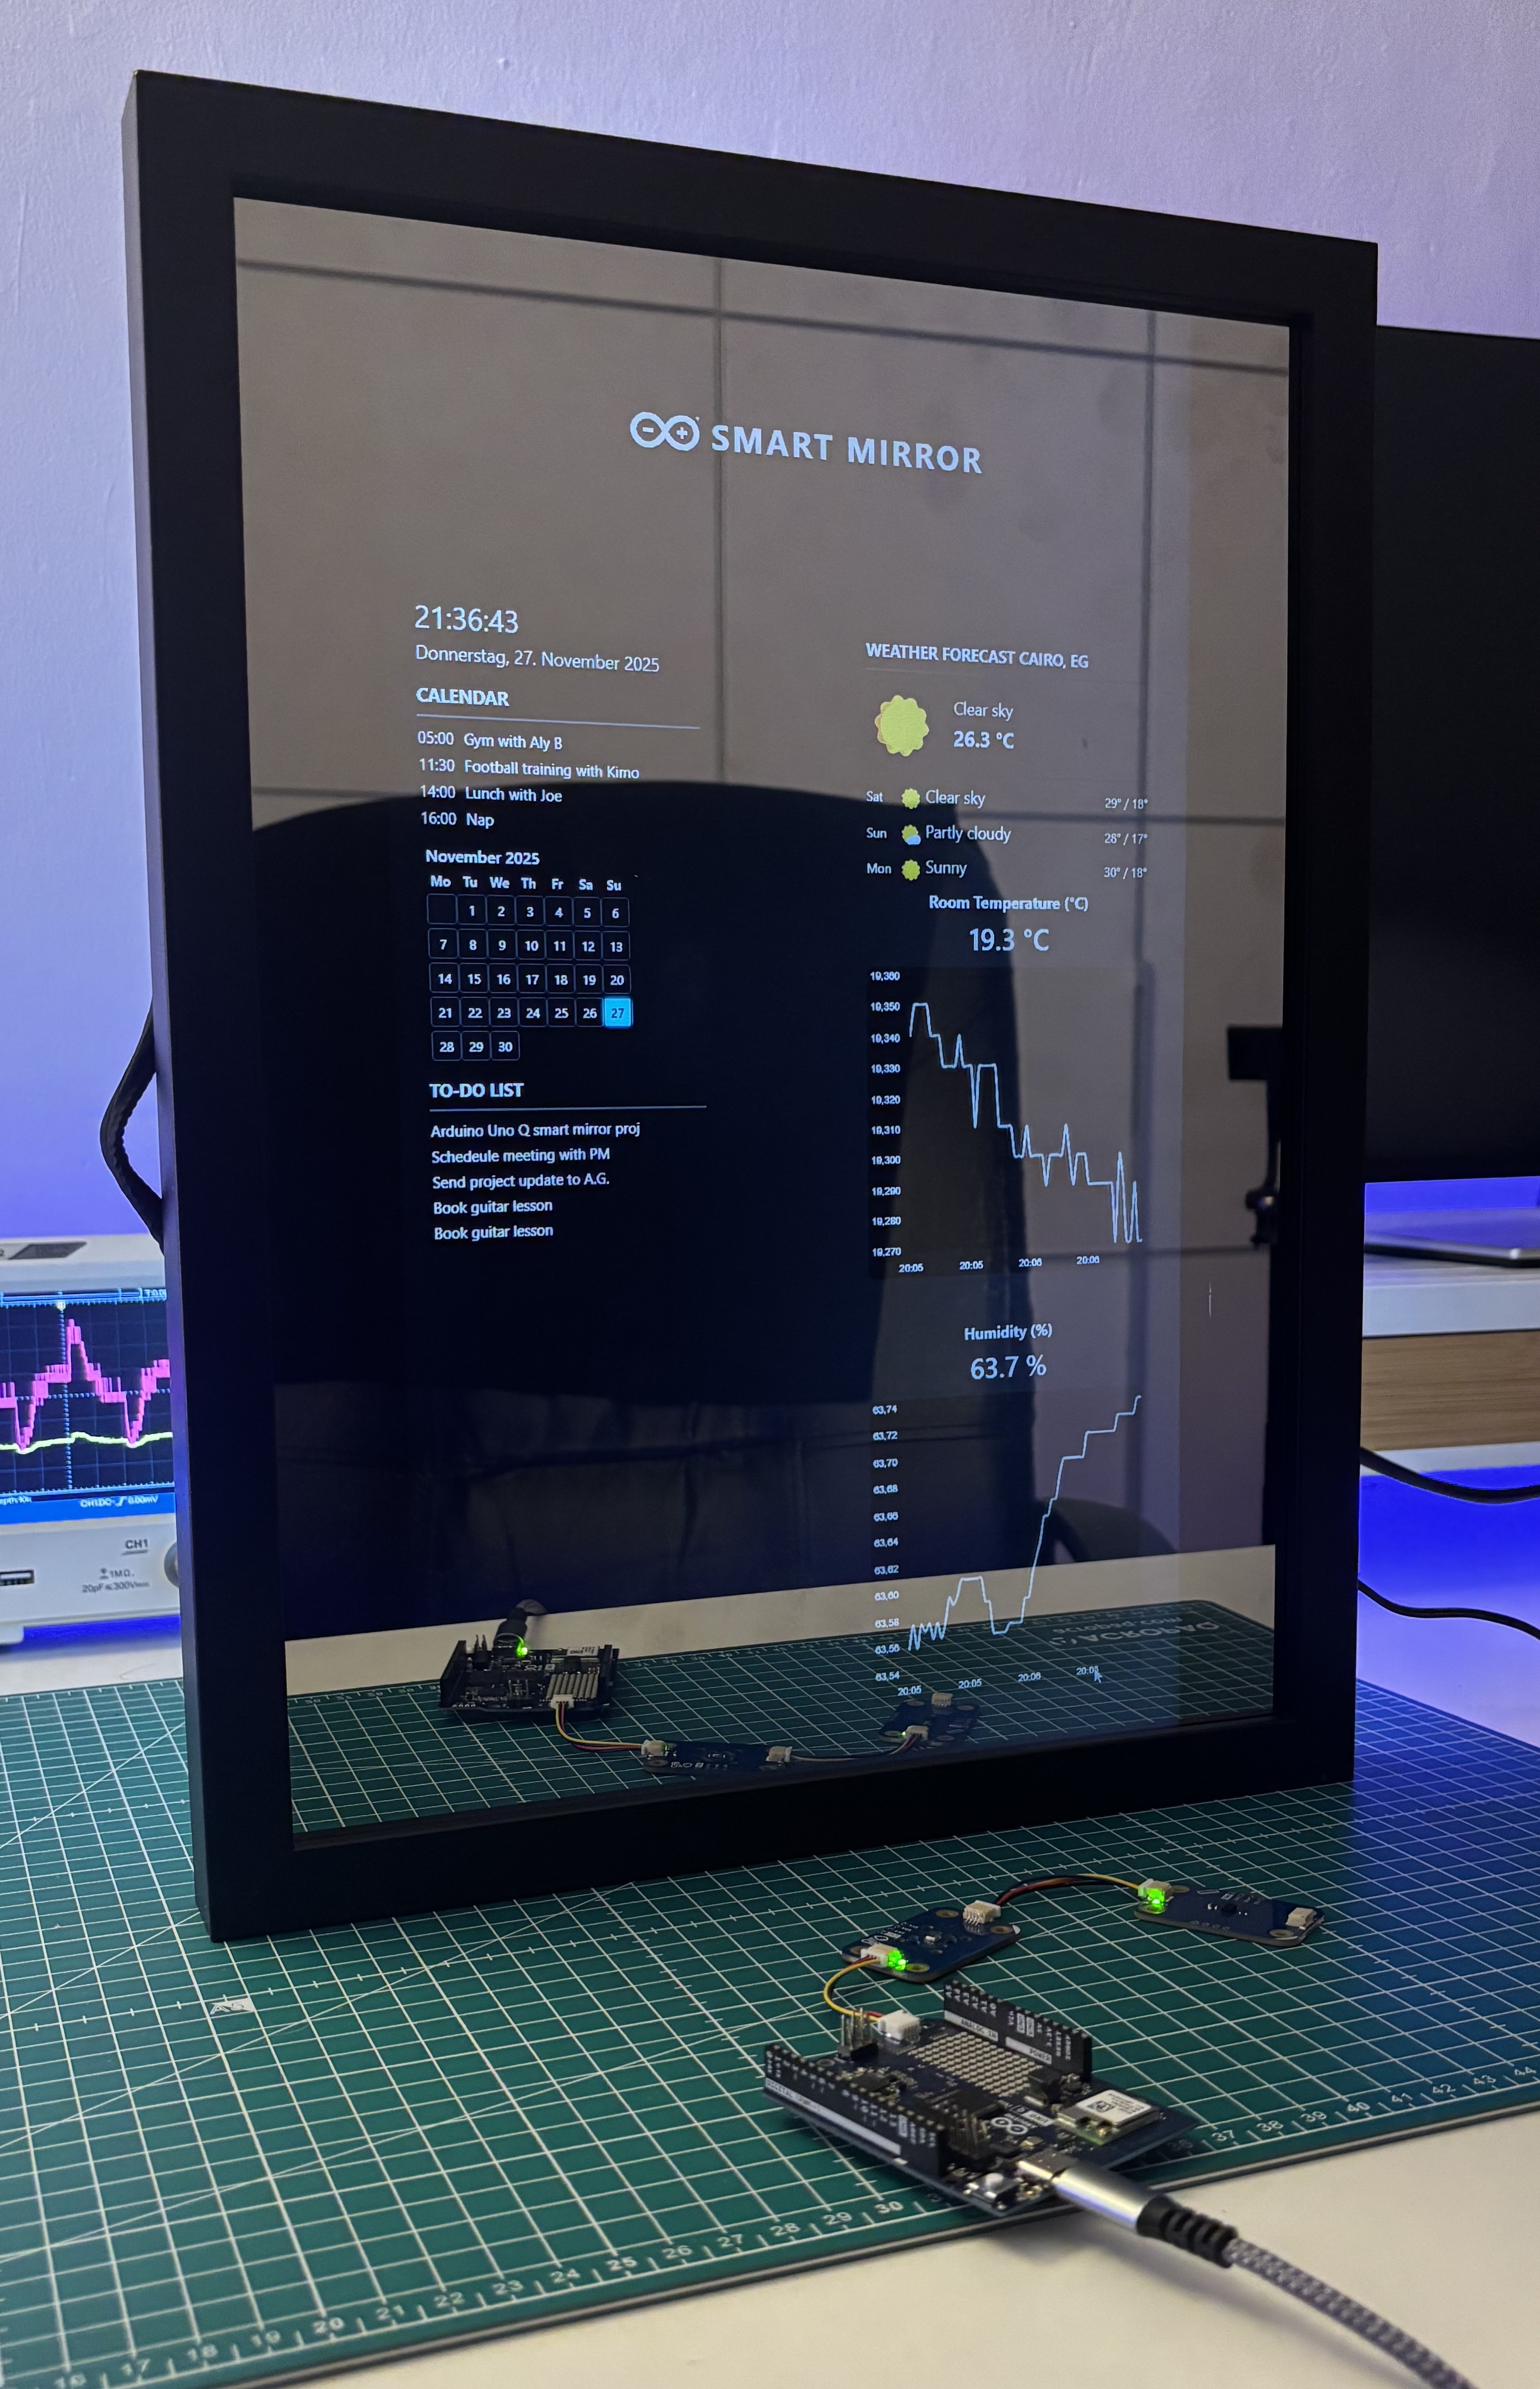
Build a smart mirror with an Arduino UNO Q
A wall-mounted smart mirror that shows the time, calendar, to-do list, room temperature/humidity and weather forecast behind a two-way glass...
View project
ESP32 Patient Health Monitor ECG SpO2 BPM Live Dashboard
Build a complete patient health monitoring system using ESP32 with AD8232 ECG sensor, MAX30102 pulse oximeter, BME280 and live web dashboard...
View project
IoT AC Energy Meter with PZEM-004T and ESP32 WebServer
Build an IoT-based AC energy meter using ESP32 and PZEM-004T to measure voltage, current, power, frequency and energy with live web dashboar...
View project