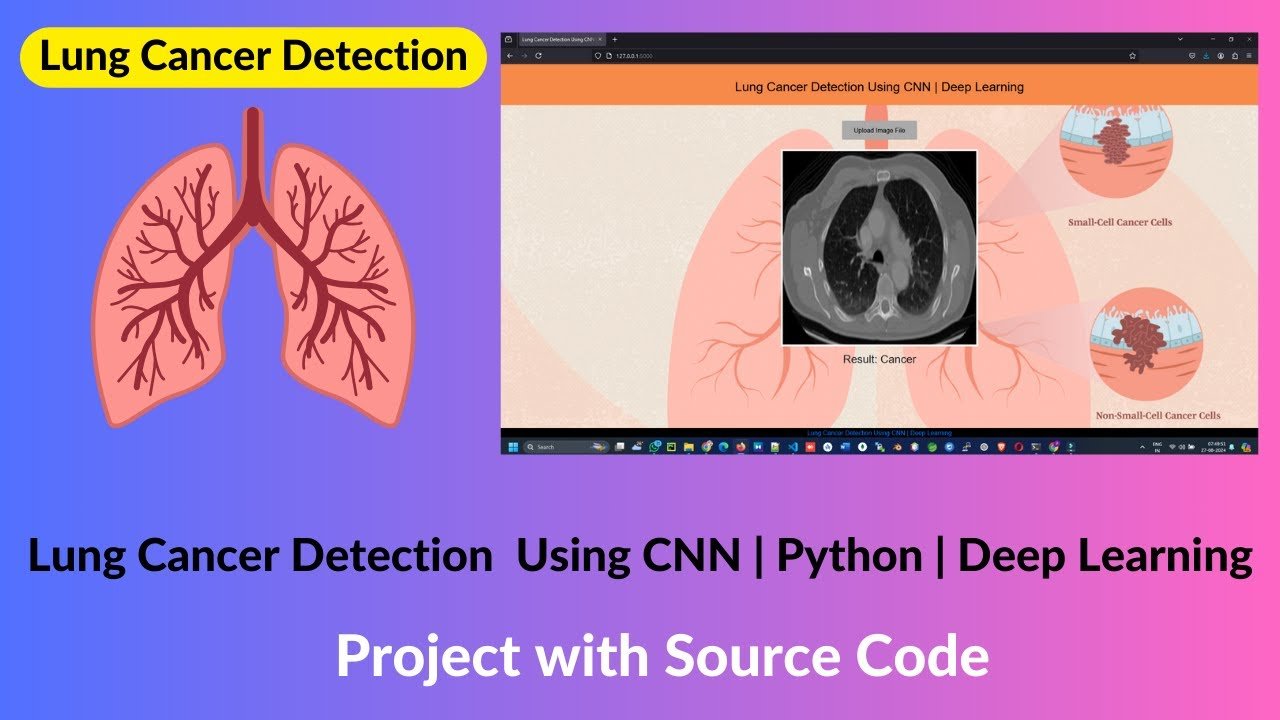
Lung Cancer Detection Using CNN Project with Source Code
Lung cancer is one of the most prevalent and deadly forms of cancer worldwide. According to the World Health Organization (WHO), lung cancer accounts for approximately 2.1 million new cases annually and is responsible for 1.8 million deaths. The high mortality rate is largely due to the fact that lung cancer is often detected at
- Suitable forB.Tech AI/ML students
- Build time3-4 weeks
- LevelAdvanced
- Available atAjvika Labs, Kakinada
About this project
This project aims to detect lung cancer using a Convolutional Neural Network (CNN) model deployed with Flask. It includes a Jupyter notebook (
lung_cancer_detection.ipynb
) for model training and a Flask app (
app.py
) for making predictions. Additionally, an HTML template (
index.html
) is provided for the web interface.
Data Preprocessing
Data Acquisition
: The CT-Scan images and their labels were obtained from
this Kaggle dataset
. It provides a diverse set of
chest cancer
images, crucial for training a robust model.
Data Augmentation
: To enhance the model's ability to generalize and to mitigate overfitting, I used TensorFlow's
ImageDataGenerator
. This tool allowed for augmenting the images in various ways (like rotation, zoom, flip) to artificially expand the dataset.
Normalization and Resizing
: Each image was resized to a standard dimension and normalized to ensure uniformity in the input data, which is important for effective training of the CNN.
Train-Test Split
: The dataset was split into training and test sets. The training set is used to train the model, while the test set helps in evaluating its performance on unseen data.
Model Structure
The CNN model used in this project is a sequential model composed of several Convolution2D and MaxPooling2D layers, carefully structured for effective image classification:
Convolution Layers
: The model includes multiple
Conv2D
layers with 128 and 256 filters. These layers are responsible for extracting features from the images. The first two convolution layers have 128 filters each, followed by another set of two with the same number. The next four convolution layers have 256 filters each.
Pooling Layers
:
MaxPooling2D
layers are used after certain convolution layers to reduce the spatial dimensions (width and height) of the output volume, helping to reduce the number of parameters and computation in the network.
Output Layer
: The final layer of the model is a Dense layer with neurons equal to the number of classes, using a 'softmax' activation function for multi-class classification. This allows the model to output a probability distribution over the classes.
Optimization and Loss Function
: The model is compiled with the Adamax optimizer and categorical cross-entropy loss function. This combination is chosen for effective learning and generalization in multi-class classification tasks.
Parameters and Size
: The total number of parameters in the model is 3,763,940 (14.36 MB). All these parameters are trainable, ensuring that the model can learn complex patterns in the data.
This structure is designed to effectively capture the intricate patterns in CT-Scan images, leading to accurate classification of Lung Cancer.
Technology Used in the project :-
We have developed this project using the below technology
HTML : Page layout has been designed in HTML
CSS : CSS has been used for all the desigining part
JavaScript : All the validation task and animations has been developed by JavaScript
Python : All the business logic has been implemented in Python
Flask: Project has been developed over the Flask Framework
Supported Operating System :-
We can configure this project on following operating system.
Windows : This project can easily be configured on windows operating system. For running this project on Windows system, you will have to install
Python 3.8, PIP, Django.
Linux : We can run this project also on all versions of Linux operating systemMac : We can also easily configured this project on Mac operating system.
Installation Step : -
python 3.8
command 1 -
python -m pip install --user -r requirements.txt
command 2 -
python app.py
Demo Video
Technologies used
What you get
- Working project / hardware kit, tested before delivery
- Complete source code with explanation
- Project demo and guidance for your viva
- Project report, PPT and IEEE paper support (on request)
Related AI/ML projects

AI Resume Analyzer Using RoBERTa – Match Your Resume to Job Descriptions with Skill Gap Analysis
In today's job market, resumes need to be tailored to each job. This AI Resume Analyzer automates that process using semantic matching, allo...
View project
Ai Black and white image colorization with OpenCV Project Free Download
Image colorization is an intriguing task in the field of computer vision that involves adding color to black and white images. This process...
View project
Big Mart Sales Prediction using Machine Learning Web App
Big Mart is a retail chain that operates numerous stores across various locations. Predicting sales can help in optimizing inventory, improv...
View project
Drug Recommendation System based on Sentiment Analysis of Drug Reviews
The objective of this project is to develop a Drug Recommendation System that leverages sentiment analysis of drug reviews to provide person...
View project