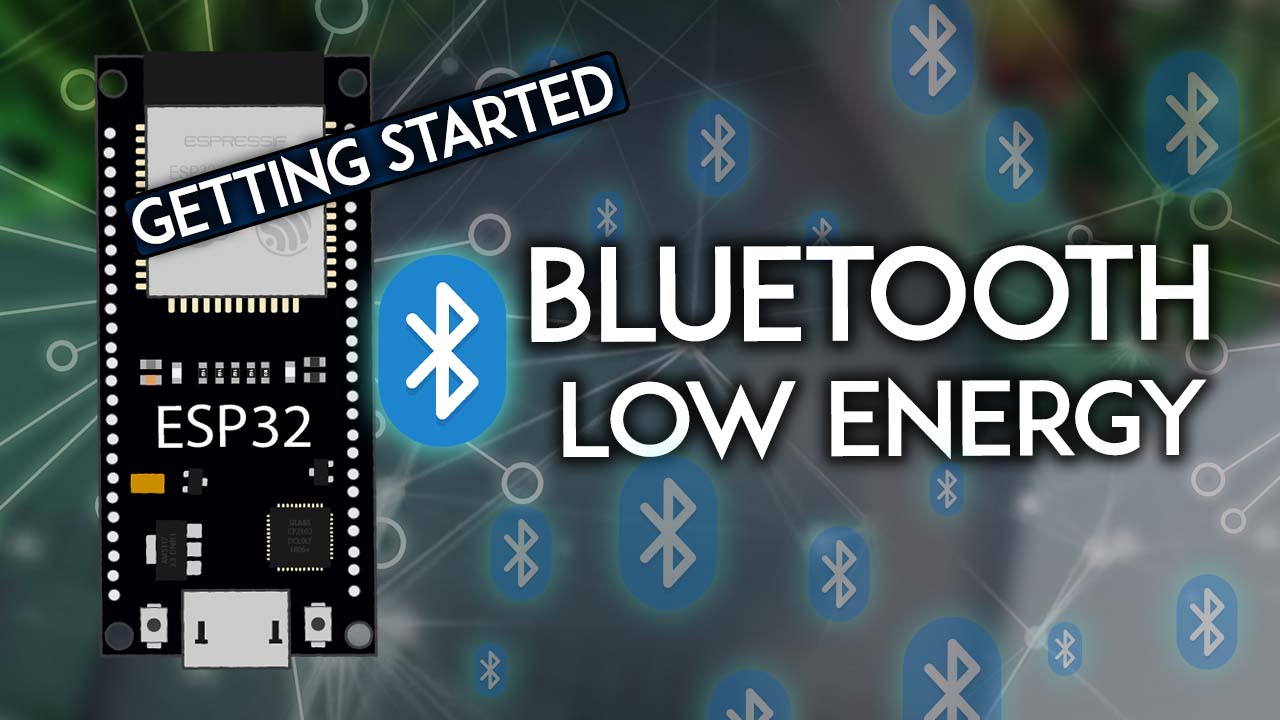
Getting Started with ESP32 Bluetooth Low Energy (BLE) on Arduino IDE
This post is a quick introduction to Bluetooth Low Energy (BLE) with the ESP32 using the Arduino IDE. We'll explore what's BLE and what it can be used for.
- Suitable forB.Tech/Diploma IoT/ESP32 students
- Build time1-2 weeks
- LevelBeginner
- Available atAjvika Labs, Kakinada
About this project
The ESP32 comes not only with Wi-Fi but also with Bluetooth and Bluetooth Low Energy (BLE). This post is a quick introduction to BLE with the ESP32. First, we’ll explore what’s BLE and what it can be used for, and then we’ll take a look at some examples with the ESP32 using Arduino IDE. For a simple introduction we’ll create an ESP32 BLE server, and an ESP32 BLE scanner to find that server.
Introducing Bluetooth Low Energy
Recommended reading:
learn how to use
ESP32 Bluetooth Classic with Arduino IDE
to exchange data between an ESP32 and an Android smartphone.
What is Bluetooth Low Energy?
Bluetooth Low Energy, BLE for short, is a power-conserving variant of Bluetooth. BLE’s primary application is short distance transmission of small amounts of data (low bandwidth). Unlike Bluetooth that is always on, BLE remains in sleep mode constantly except for when a connection is initiated.
This makes it consume very low power. BLE consumes approximately 100x less power than Bluetooth (depending on the use case).
Additionally, BLE supports not only point-to-point communication, but also broadcast mode, and mesh network.
Take a look at the table below that compares BLE and
Bluetooth Classic
in more detail.
View Image Souce
Due to its properties, BLE is suitable for applications that need to exchange small amounts of data periodically running on a coin cell. For example, BLE is of great use in healthcare, fitness, tracking, beacons, security, and home automation industries.
BLE Server and Client
With Bluetooth Low Energy, there are two types of devices: the server and the client. The ESP32 can act either as a client or as a server.
The server advertises its existence, so it can be found by other devices, and contains the data that the client can read. The client scans the nearby devices, and when it finds the server it is looking for, it establishes a connection and listens for incoming data. This is called point-to-point communication.
As mentioned previously, BLE also supports broadcast mode and mesh network:
Broadcast mode
: the server transmits data to many clients that are connected;
Mesh network
: all the devices are connected, this is a many to many connection.
Even though the broadcast and mesh network setups are possible to implement, they were developed very recently, so there aren’t many examples implemented for the ESP32 at this moment.
GATT
GATT stands for Generic Attributes and it defines an hierarchical data structure that is exposed to connected BLE devices. This means that GATT defines the way that two BLE devices send and receive standard messages. Understanding this hierarchy is important, because it will make it easier to understand how to use the BLE and write your applications.
BLE Service
The top level of the hierarchy is a profile, which is composed of one or more services. Usually, a BLE device contains more than one service.
Every service contains at least one characteristic, or can also reference other services. A service is simply a collection of information, like sensor readings, for example.
There are predefined services for several types of data defined by the SIG (Bluetooth Special Interest Group) like: Battery Level, Blood Pressure, Heart Rate, Weight Scale, etc. You can
check here other defined services
View Image Souce
BLE Characteristic
The characteristic is always owned by a service, and it is where the actual data is contained in the hierarchy (value). The characteristic always has two attributes: characteristic declaration (that provides metadata about the data) and the characteristic value.
Additionally, the characteristic value can be followed by descriptors, which further expand on the metadata contained in the characteristic declaration.
The properties describe how the characteristic value can be interacted with. Basically, it contains the operations and procedures that can be used with the characteristic:
Broadcast
Read
Write without response
Write
Notify
Indicate
Authenticated Signed Writes
Extended Properties
UUID
Each service, characteristic and descriptor have an UUID (Universally Unique Identifier). An UUID is a unique 128-bit (16 bytes) number. For example:
55072829-bc9e-4c53-938a-74a6d4c78776
There are shortened UUIDs for all types, services, and profiles specified in the
SIG (Bluetooth Special Interest Group)
But if your application needs its own UUID, you can generate it using this
UUID generator website
In summary, the UUID is used to uniquely identify information. For example, it can identify a particular service provided by a Bluetooth device.
BLE with ESP32
The ESP32 can act as a BLE server or as a BLE client. There are several BLE examples for the ESP32 in the
ESP32 BLE library for Arduino IDE
. This library comes installed by default when you install the ESP32 on the Arduino IDE.
Note
: You need to have the ESP32 add-on installed on the Arduino IDE. Follow the next tutorial to prepare your Arduino IDE to work with the ESP32, if you haven’t already.
Installing ESP32 Board in Arduino IDE 2 (Windows, Mac OS X, Linux)
In your Arduino IDE, you can go to
File
>
Examples
>
BLE
and explore the examples that come with the BLE library.
Note:
to see the ESP32 examples, you must have the ESP32 board selected on
Tools
>
Board
For a brief introduction to the ESP32 with BLE on the Arduino IDE, we’ll create an ESP32 BLE server, and then an ESP32 BLE scanner to find that server. We’ll use and explain the examples that come with the BLE library.
To follow this example, you need two ESP32 development boards. We’ll be using the
ESP32 DOIT DEVKIT V1 Board
ESP32 BLE Server
To create an ESP32 BLE Server, open your Arduino IDE and go to
File
>
Examples
>
BLE
and select the
Server
example. The following code should load:
/*
Based on Neil Kolban example for IDF: https://github.com/nkolban/esp32-snippets/blob/master/cpp_utils/tests/BLE%20Tests/SampleServer.cpp
Ported to Arduino ESP32 by Evandro Copercini
*/
#include `BLEDevice.h`
#include `BLEUtils.h`
#include `BLEServer.h`
// See the following for generating UUIDs:
// https://www.uuidgenerator.net/
#define SERVICE_UUID \"4fafc201-1fb5-459e-8fcc-c5c9c331914b\"
#define CHARACTERISTIC_UUID \"beb5483e-36e1-4688-b7f5-ea07361b26a8\"
void setup() {
Serial.begin(115200);
Serial.println(\"Starting BLE work!\");
BLEDevice::init(\"MyESP32\");
BLEServer *pServer = BLEDevice::createServer();
BLEService *pService = pServer->createService(SERVICE_UUID);
BLECharacteristic *pCharacteristic = pService->createCharacteristic(
CHARACTERISTIC_UUID,
BLECharacteristic::PROPERTY_READ |
BLECharacteristic::PROPERTY_WRITE
);
pCharacteristic->setValue(\"Hello World says Neil\");
pService->start();
// BLEAdvertising *pAdvertising = pServer->getAdvertising(); // this still is working for backward compatibility
BLEAdvertising *pAdvertising = BLEDevice::getAdvertising();
pAdvertising->addServiceUUID(SERVICE_UUID);
pAdvertising->setScanResponse(true);
pAdvertising->setMinPreferred(0x06); // functions that help with iPhone connections issue
pAdvertising->setMinPreferred(0x12);
BLEDevice::startAdvertising();
Serial.println(\"Characteristic defined! Now you can read it in your phone!\");
}
void loop() {
// put your main code here, to run repeatedly:
delay(2000);
}
For creating a BLE server, the code should follow the next steps:
Create a BLE Server. In this case, the ESP32 acts as a BLE server.
Create a BLE Service.
Create a BLE Characteristic on the Service.
Create a BLE Descriptor on the Characterist
Technologies used
Hardware components
- ESP32
- Arduino
Software & tools
- Arduino IDE
What you get
- Working project / hardware kit, tested before delivery
- Complete source code with explanation
- Project demo and guidance for your viva
- Project report, PPT and IEEE paper support (on request)
Delivery & Payment
Delivery takes a minimum of two weeks from the date your inquiry is confirmed.
Payment is in two parts:
• 50% advance to start the project
• Remaining 50% before delivery
Note:
• Documentation and PPT are not included by default
• If you need documentation/PPT, it can be arranged for extra time and cost
We'll confirm the exact timeline and cost with you after reviewing your requirements.
Related IoT/ESP32 projects
IoT/ESP32
ESP32 External Wake Up from Deep Sleep
This article shows how to put the ESP32 in deep sleep mode and wake it with an external wake up like a button press. We'll cover how to use...
View project
IoT/ESP32
ESP32: Upload Files to LittleFS using Arduino IDE
Upload files to the ESP32 Filesystem (LittleFS) by using a plugin for Arduino IDE (1.8.X). The plugin lets you use three different filesyste...
View project
IoT/ESP32
ESP32: Guide for MicroSD Card Module using Arduino IDE
Use a microSD card with the ESP32: you'll learn how to read and write files to the microSD card. To interface a microSD card with an ESP32 b...
View project
IoT/ESP32
ESP32 Save Data Permanently using Preferences Library
Save data permanently on the ESP32 flash memory using Preferences.h library. The data held in the flash memory persists across resets or pow...
View project