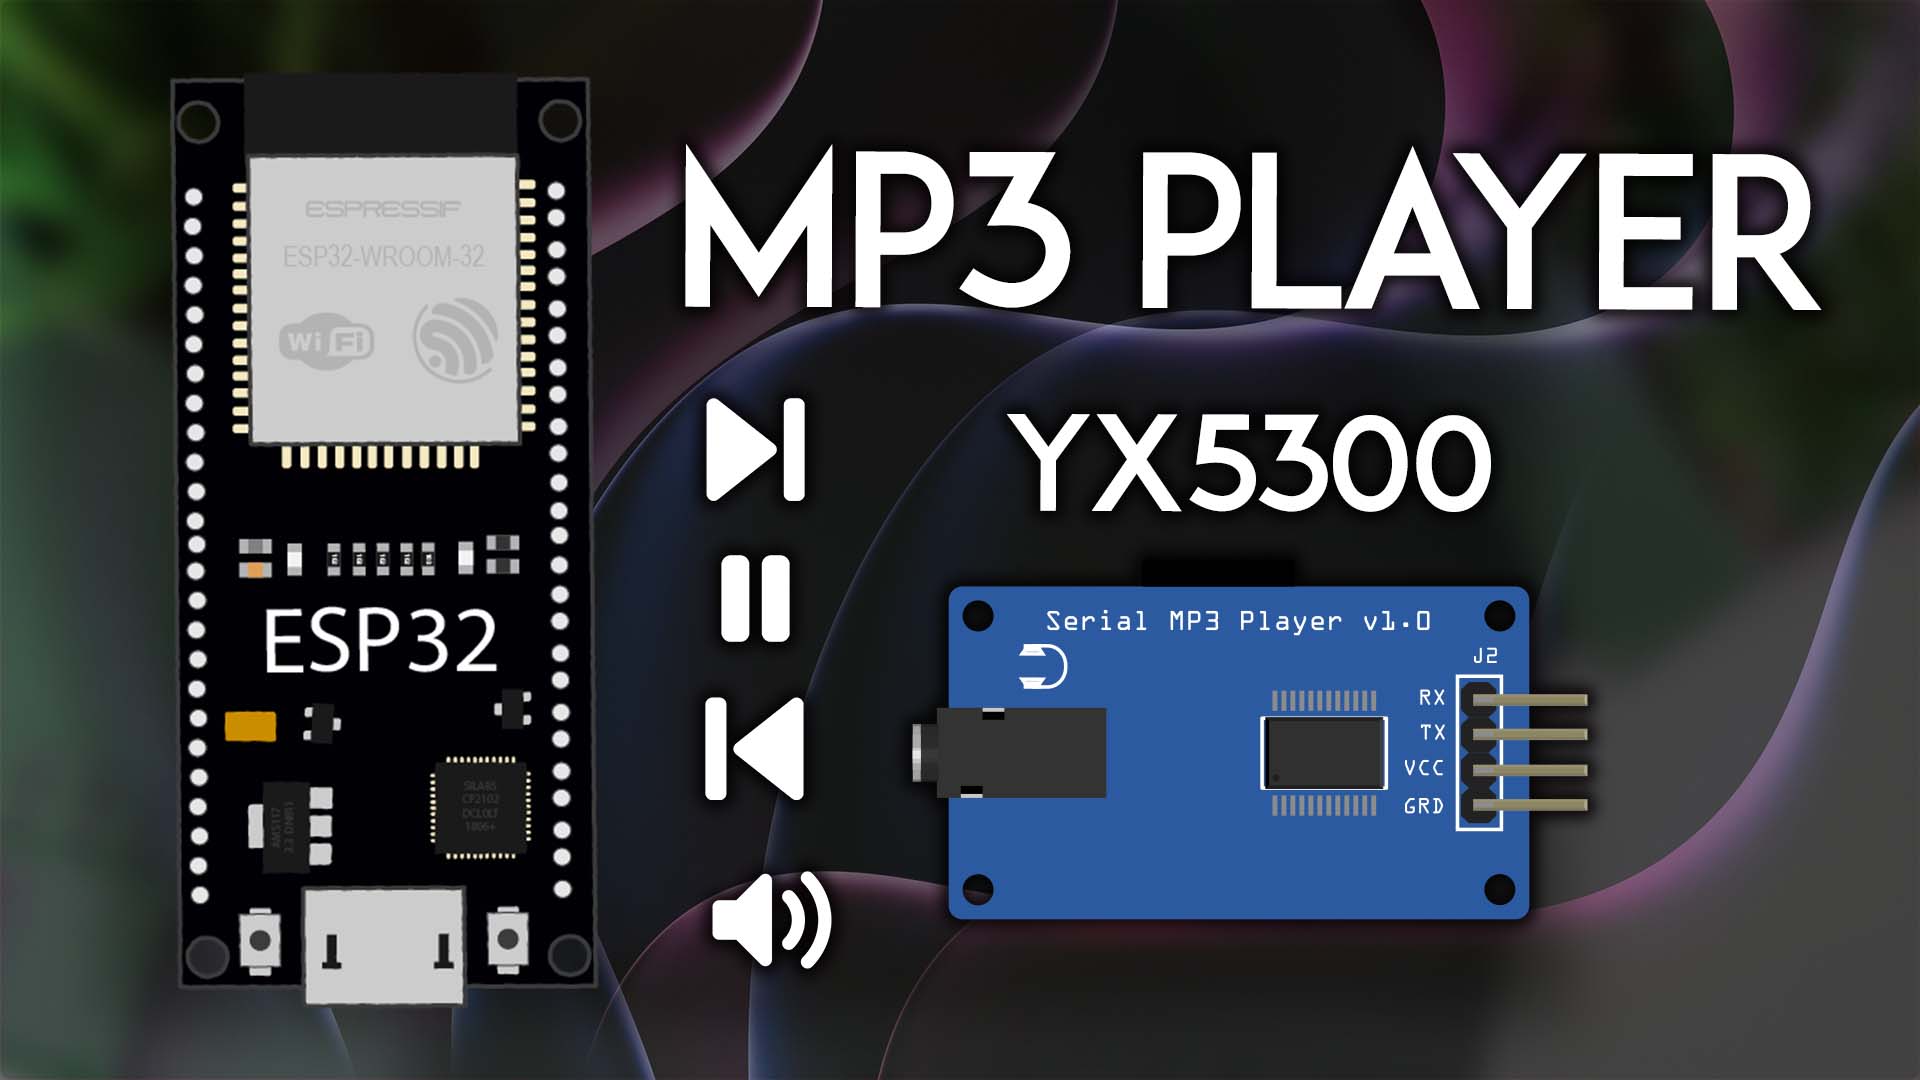
ESP32 with YX5300/YX6300 MP3 Player (Arduino IDE)
Interface the YX5300 / YX6300 Serial MP3 Music Player Module with the ESP32 programmed with Arduino IDE. Wire the MP3 player and play tracks from.mp3/.wav files that are stored in a MicroSD card.
- Suitable forB.Tech/Diploma IoT/ESP32 students
- Build time1-2 weeks
- LevelBeginner
- Available atAjvika Labs, Kakinada
About this project
.mp3/.wav
files that are stored in a MicroSD card. As a project example, we’ll also show you how to build an MP3 audio player with button controls and a volume knob.
Table of Contents
In this tutorial, we’ll cover the following topics:
Introducing the YX5300 / YX6300 Serial MP3 Music Player Module
Wiring the YX5300 / YX6300 Serial MP3 Music Player to the ESP32
Preparing the MicroSD Card
Connecting Headphones or Speakers to the YX5300 Module
Installing the YX5300 for ESP32 Library (YX6300 compatible)
Testing the YX5300 / YX6300 MP3 Player (Play Sound)
Troubleshooting the YX5300 / YX6300 MP3 Player Module
PROJECT: YX5300 / YX6300 MP3 Player with Button Controls and Volume Knob
Introducing the YX5300 / YX6300 Serial MP3 Music Player Module
The
YX5300 / YX6300
is a low-cost Serial (UART) MP3 music player module that can be interfaced with microcontrollers (such as the ESP32, ESP8266, or Arduino) to play
.mp3
or
.wav
files stored on a MicroSD card by sending serial commands.
Where to Buy?
You can check our Maker Advisor Tools page to compare the YX5300 / YX6300 module price in different stores:
YX5300 / YX6300 Serial MP3 Music Player Module
Wiring the YX5300 / YX6300 Serial MP3 Music Player to the ESP32
Wiring the MP3 player to the ESP32 is quite simple, as it only requires two serial pins:
RX
and
TX
YX5300 / YX6300
ESP32
TX
GPIO 16
(UART 2 RX)
RX
GPIO 17
(UART 2 TX)
VCC
VIN
(5V)
GND
GND
According to the product specifications in the manual, the VCC works with voltages between 3.2V-5.2V. According to our testing, it works most reliably when connected to 5V (VIN).
* you can use any other RX/TX GPIOs. Check the ESP32 Pinout Guide:
ESP32 Pinout Reference: Which GPIO pins should you use?
ESP32-S3 DevKitC Pinout Reference Guide: GPIOs Explained
:
ESP32 UART Communication (Serial): Set Pins, Interfaces, Send and Receive Data (Arduino IDE)
We’ll connect the RX pin to
GPIO 17
, and the TX pin to
GPIO 16
Important:
in all projects that use serial commands, you need to connect the pins TX-RX and the RX-TX. However, if the code is not running properly (not sending/receiving serial commands), you might need to swap the wiring and connect RX-RX and TX-TX. One of our Serial MP3 players came with the wrong labels on the module, and the only way it worked was connected with TX-TX and RX-RX.
Preparing the MicroSD Card
The YX5300 MP3 player has a microSD card slot where you can insert a
microSD card
to store your
.mp3 or .wav
files. Here are the main specifications that the module supports.
YX5300
Value
Supported MicroSD Cards
MicroSD <= 32GB
Card Format
FAT16 / FAT32
Track Formats
.mp3 / .wav
Frequencies
8-48 kHz
Before proceeding with the tutorial, make sure you
format your microSD card as FAT32
. Follow the next instructions to format your microSD card or use a software tool like
SD Card Formater
(compatible with Windows and Mac OS).
1.
Insert the microSD card into your computer. Go to
My Computer
and right-click on the SD card. Select
Format
as shown in the figure below.
2.
A new window pops up. Select
FAT32
, press
Start
to initialize the formatting process and follow the onscreen instructions.
3.
In order to play music tracks, you must have folders and your files named correctly, so the MP3 module can access them. Here’s an example of the folder and filename structure:
01/
001xxx.mp3
002xxx.mp3
003xxx.mp3
02/
004xxx.mp3
005xxx.mp3
03/
006xxx.mp3
007xxx.mp3
008xxx.mp3
Your folders must have 2-digits and each tracks needs to start with 3-digit. Each track name must be unique. Note: there is a maximum of 99 folders with 255 songs in each folder.
Example, start by creating 2 folders in your microSD card (name your folders:
01
and
02
):
4.
Copy
.mp3
or
.wav
files, starting with
001
002
, and
003
. The file names must be sequencial and start with 3-digits.
5.
Finally, remove the microSD card from you computer and attach it to the YX5300 module.
You can
click here to download a
.zip
folder with the royalty free music files
used for this project.
Connecting Headphones or Speakers to the YX5300 Module
The YX5300 doesn’t come with any headphones or speakers, but you can use some heaphones similar to the ones illustrated in the image below and plug them into the module headphone jack.
Installing the YX5300 for ESP32 Library (YX6300 compatible)
There are several libraries to interface the YX5300 serial module with the ESP32. We’ll use the
YX5300_ESP32 library by bluejunimo
(even though the library is called YX5300 for ESP32, it’s also fully compatible with the YX6300 MP3 module without any additional changes).
You can install the library via the Arduino IDE library Manager. Search for
YX5300 for ESP32
and install the library by bluejunimo.
Preparing Arduino IDE
We’ll program the ESP32 board using Arduino IDE. So, make sure you have the ESP32 add-on installed. Follow the next tutorial:
Install the ESP32 Board in Arduino IDE
If you prefer using VSCode + PlatformIO, follow the next tutorial instead:
Getting Started with VS Code and PlatformIO IDE for ESP32 and ESP8266
Testing the YX5300 / YX6300 MP3 Player (Play Sound)
The following code is the one provided by the library to test the MP3 player module. You’ll test if the module is working if you can hear the audio files being played in the headphone or speaker.
/*********
Example based on the library example by bluejunimo https://github.com/bluejunimo/YX5300_ESP32/
*********/
#include `YX5300_ESP32.h`
// Connect to YX5300 Serial pins (RX and TX)
#define RX 16
#define TX 17
// mp3 object
YX5300_ESP32 mp3;
void setup() {
// Initialize connection with the YX5300/YX6300 module
mp3 = YX5300_ESP32(Serial2, RX, TX);
// Shows the hex commands being sent to the mp3 device (includes helpful errors)
Serial.begin(115200);
mp3.enableDebugging();
// Plays the first track stored on the microSD Card (Track Formats .mp3/.wav | Frequencies 8-48 kHz)
// MicroSD Card folder and file structure, example folder name 01 and file name 001xxx.mp3:
// 01/001xxx.mp3 01/002xxx.mp3 01/003xxx.mp3 02/004xxx.mp3
mp3.playTrack(1);
}
void loop() {
// put your main code here, to run repeatedly:
}
How the Code Works
Let’s break down how the code works.
Include YX5300_ESP32 library
First, you need to include the
YX5300_ESP32.h
library created by bluejunimo that will make it very easy to interface with the MP3 player module
#include `YX5300_ESP32.h`
Initialize the YX5300
Set the YX5300 RX and TX pins and create an object for the module called
mp3
#define RX 16
#define TX 17
YX5300_ESP32 mp3;
setup()
In the
setup()
, start by initializing the module with the a specific Serial channel.
mp3 = YX5300_ESP32(Serial2, RX, TX);
Recommended reading:
ESP32 UART Communication (Serial): Set Pins, Interfaces, Send and Receive Data (Arduino IDE)
Enable the Serial communication and MP3 debugging, so you can see the hex serial commands being sent to the device. With debugging enabled, you will also see helpful errors.
Serial.begin(115200);
mp3.enableDebugging();
You can quickly play the first track stored on the microSD Card using the following command:
mp3.playTrack(1);
Demonstration
Upload the previous code to your ESP32 board. It will play the first track stored in the microSD card. Your serial monitor should be printing a similar message:
If you have the headphones or speaker plugged into the headphone jack, you should be hearing the first track stored in your microSD card. If you are experiencing any issues, follow the next troubleshooting section.
Troubleshooting the YX5300/YX6300 M
Technologies used
Hardware components
- ESP32
- ESP8266
- Arduino
- SD Card
Software & tools
- Arduino IDE
- VS Code
- PlatformIO
- PlatformIO
What you get
- Working project / hardware kit, tested before delivery
- Complete source code with explanation
- Project demo and guidance for your viva
- Project report, PPT and IEEE paper support (on request)
Related IoT/ESP32 projects

ESP32 External Wake Up from Deep Sleep
This article shows how to put the ESP32 in deep sleep mode and wake it with an external wake up like a button press. We'll cover how to use...
View project
ESP32: Upload Files to LittleFS using Arduino IDE
Upload files to the ESP32 Filesystem (LittleFS) by using a plugin for Arduino IDE (1.8.X). The plugin lets you use three different filesyste...
View project
ESP32: Guide for MicroSD Card Module using Arduino IDE
Use a microSD card with the ESP32: you'll learn how to read and write files to the microSD card. To interface a microSD card with an ESP32 b...
View project
ESP32 Save Data Permanently using Preferences Library
Save data permanently on the ESP32 flash memory using Preferences.h library. The data held in the flash memory persists across resets or pow...
View project