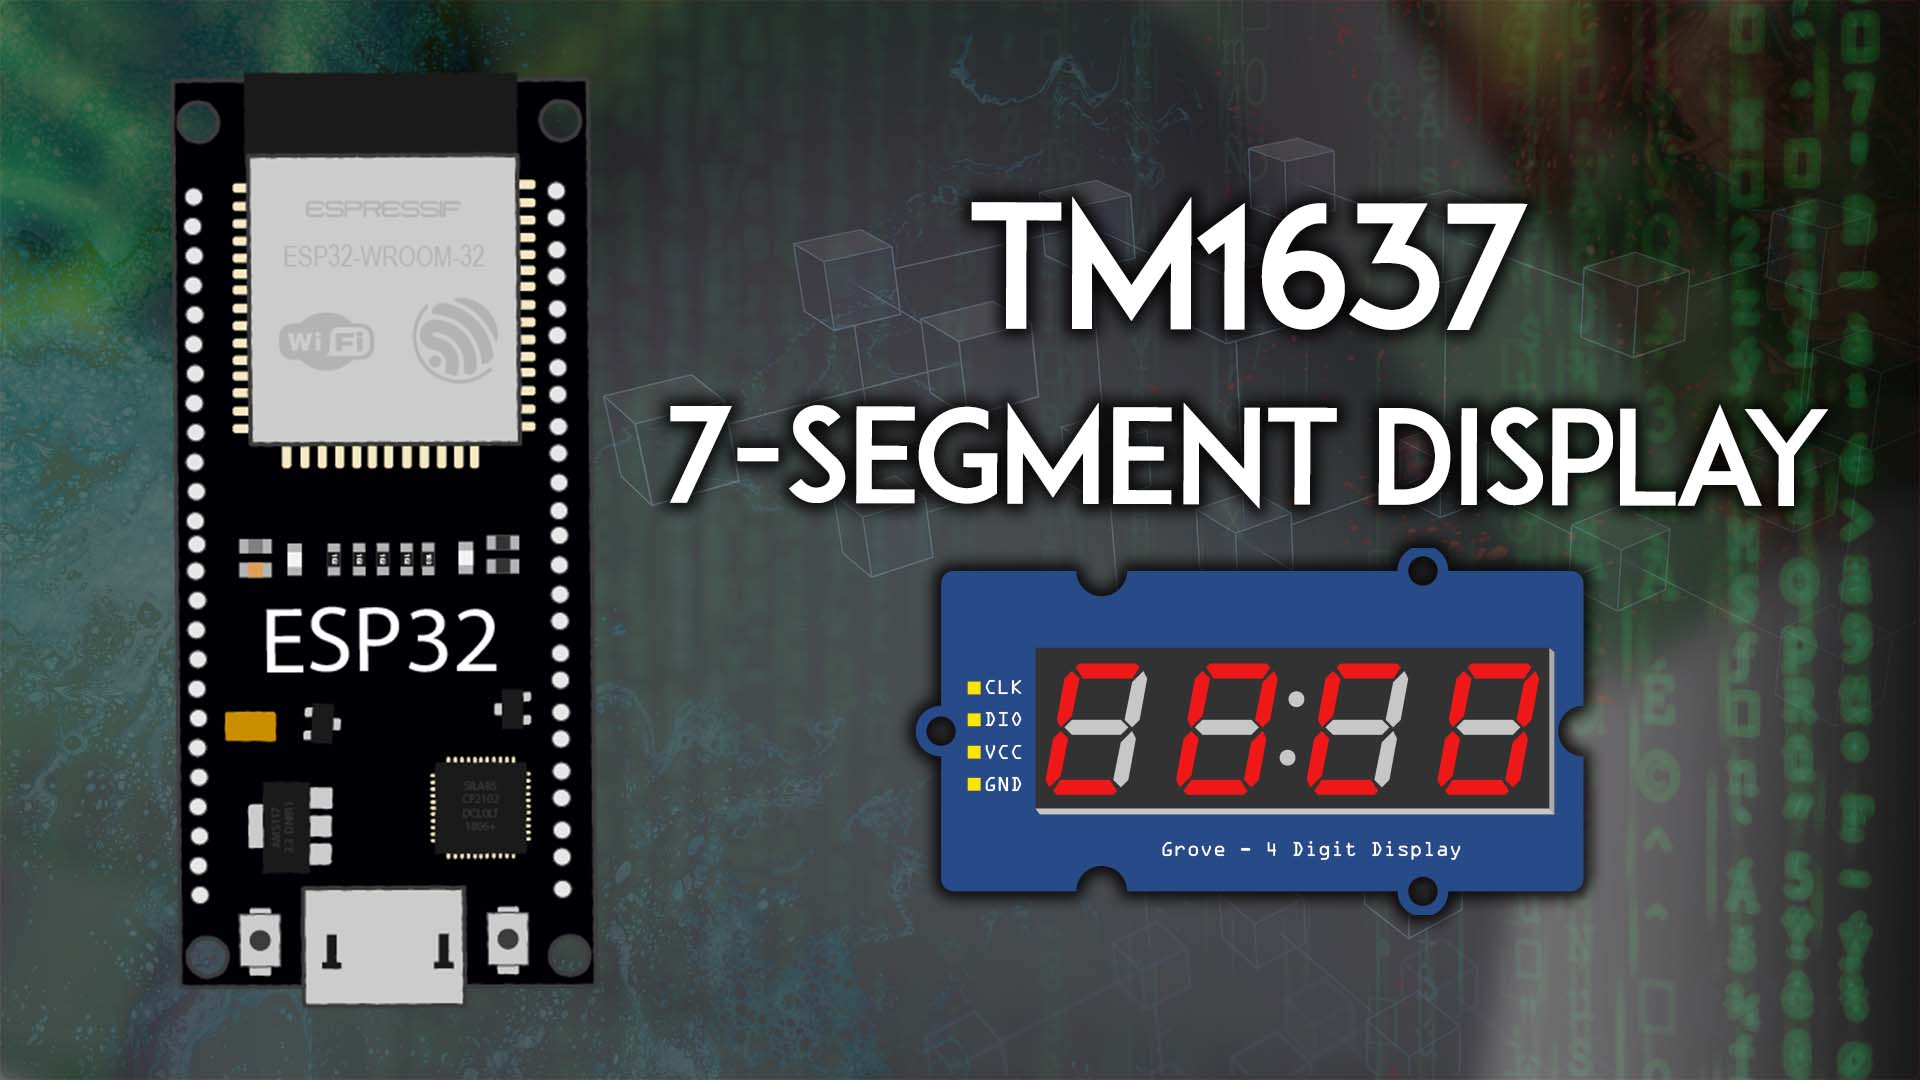
ESP32 with TM1637 4-Digit LED 7-Segment Display (Arduino IDE)
Interface the TM1637 4-Digit LED 7-Segment display with the ESP32 programmed with Arduino IDE. Wire the display to the ESP32, write characters, build a digital clock and a temperature display.
- Suitable forB.Tech/Diploma IoT/ESP32 students
- Build time1-2 weeks
- LevelBeginner
- Available atAjvika Labs, Kakinada
About this project
Table of Contents
In this tutorial, we’ll cover the following topics:
Introducing the TM1637 4-Digit LED 7-Segment Display
Wiring the TM1637 4-Digit 7-Segment Display to the ESP32
Installing the TM1637 Library
Testing the TM1637 Display (Basic Functions)
Practical Examples with the TM1637 Display
ESP32 Digital Clock with the TM1637 Display (with timezone adjustment and DST)
ESP32 Temperature Display (TM1637) from Weather API
Introducing the TM1637 4-Digit LED 7-Segment Display
The
TM1637 4-Digit LED 7-Segment display
is a display module that combines four 7-segment digits on a single display that can be controlled via the TM1637 driver. The particular module we’re using here has four digits separated by a colon between the second and third digits.
There are similar modules with dots between the digits.
There are also similar modules with six 7-segment digits. These require a different library from the one we’ll use in this tutorial.
Note:
I tried to use my six 7-segment display module, but it seems that there are many of those displays that come faulty by default. I couldn’t make mine work. So, this tutorial will be
only
about the one with four digits with a colon in the middle.
Where to Buy?
You can check our Maker Advisor Tools page to compare the TM1637 4-Digit 7-Segment Display module price in different stores:
TM1637 4-Digit 7-Segment Display
You can use the preceding links or go directly to
MakerAdvisor.com/tools
to find all the parts for your projects at the best price!
Wiring the TM1637 4-Digit 7-Segment Display to the ESP32
Wiring the display to the ESP32 is quite simple, as it only requires two digital pins:
CLK
and
DI/O
TM1637 Display
ESP32
CLK
Any digital pin (for example:
GPIO 19
)*
DIO
Any digital pin (for example:
GPIO 18
)*
VCC
VIN
GND
GND
* you can use any other suitable GPIOs. Check the ESP32 Pinout Guide:
ESP32 Pinout Reference: Which GPIO pins should you use?
ESP32-S3 DevKitC Pinout Reference Guide: GPIOs Explained
We’ll connect the CLK pin to
GPIO 19
, and the DIO pin to
GPIO 18
, but you can use another combination of pins.
Installing the TM1637 Library
There are several libraries to interface the TM1637 display with the ESP32. We’ll use the
TM1637.h library by avishorp
(even though it hasn’t been updated for several years, it still works well, and it’s very easy to use).
You can install the library via the Arduino IDE library Manager. Search for
TM1637
and install the library by avishorp.
Testing the TM1637 Display (Basic Functions)
The following code is the one provided by the library to test the display. You’ll figure out if your display is working properly and see how to implement the basic functions to initialize, control the display, and write characters.
/*
Based on the TM1637Display library example: https://github.com/avishorp/TM1637/blob/master/examples/TM1637Test/TM1637Test.ino
*/
#include `Arduino.h`
#include `TM1637Display.h`
// Module connection pins (Digital Pins)
#define CLK 19
#define DIO 18
// The amount of time (in milliseconds) between tests
#define TEST_DELAY 2000
const uint8_t SEG_DONE[] = {
SEG_B | SEG_C | SEG_D | SEG_E | SEG_G, // d
SEG_A | SEG_B | SEG_C | SEG_D | SEG_E | SEG_F, // O
SEG_C | SEG_E | SEG_G, // n
SEG_A | SEG_D | SEG_E | SEG_F | SEG_G // E
};
TM1637Display display(CLK, DIO);
void setup()
{
}
void loop()
{
int k;
uint8_t data[] = { 0xff, 0xff, 0xff, 0xff };
uint8_t blank[] = { 0x00, 0x00, 0x00, 0x00 };
display.setBrightness(0x0f);
// All segments on
display.setSegments(data);
delay(TEST_DELAY);
display.showNumberDecEx(1230, 0b01000000);
delay(10000);
// Selectively set different digits
data[0] = display.encodeDigit(7);
data[1] = display.encodeDigit(6);
data[2] = display.encodeDigit(5);
data[3] = display.encodeDigit(9);
display.setSegments(data);
delay(TEST_DELAY);
/*
for(k = 3; k >= 0; k--) {
display.setSegments(data, 1, k);
delay(TEST_DELAY);
}
*/
display.clear();
display.setSegments(data+2, 2, 2);
delay(TEST_DELAY);
display.clear();
display.setSegments(data+2, 2, 1);
delay(TEST_DELAY);
display.clear();
display.setSegments(data+1, 3, 1);
delay(TEST_DELAY);
// Show decimal numbers with/without leading zeros
display.showNumberDec(0, false); // Expect: ___0
delay(TEST_DELAY);
display.showNumberDec(0, true); // Expect: 0000
delay(TEST_DELAY);
display.showNumberDec(1, false); // Expect: ___1
delay(TEST_DELAY);
display.showNumberDec(1, true); // Expect: 0001
delay(TEST_DELAY);
display.showNumberDec(301, false); // Expect: _301
delay(TEST_DELAY);
display.showNumberDec(301, true); // Expect: 0301
delay(TEST_DELAY);
display.clear();
display.showNumberDec(14, false, 2, 1); // Expect: _14_
delay(TEST_DELAY);
display.clear();
display.showNumberDec(4, true, 2, 2); // Expect: 04__
delay(TEST_DELAY);
display.showNumberDec(-1, false); // Expect: __-1
delay(TEST_DELAY);
display.showNumberDec(-12); // Expect: _-12
delay(TEST_DELAY);
display.showNumberDec(-999); // Expect: -999
delay(TEST_DELAY);
display.clear();
display.showNumberDec(-5, false, 3, 0); // Expect: _-5_
delay(TEST_DELAY);
display.showNumberHexEx(0xf1af); // Expect: f1Af
delay(TEST_DELAY);
display.showNumberHexEx(0x2c); // Expect: __2C
delay(TEST_DELAY);
display.showNumberHexEx(0xd1, 0, true); // Expect: 00d1
delay(TEST_DELAY);
display.clear();
display.showNumberHexEx(0xd1, 0, true, 2); // Expect: d1__
delay(TEST_DELAY);
// Run through all the dots
for(k=0; k <= 4; k++) {
display.showNumberDecEx(0, (0x80 >> k), true);
delay(TEST_DELAY);
}
// Brightness Test
for(k = 0; k < 4; k++)
data[k] = 0xff;
for(k = 0; k < 7; k++) {
display.setBrightness(k);
display.setSegments(data);
delay(TEST_DELAY);
}
// On/Off test
for(k = 0; k < 4; k++) {
display.setBrightness(7, false); // Turn off
display.setSegments(data);
delay(TEST_DELAY);
display.setBrightness(7, true); // Turn on
display.setSegments(data);
delay(TEST_DELAY);
}
// Done!
display.setSegments(SEG_DONE);
while(1);
}
Let’s take a look at some of the relevant functions used in this example.
Initialize the Display
To initialize the display, you just need to create a
TM1637Display
instance with the pins you’re using to connect the module to your ESP32.
TM1637Display display(CLK, DIO);
Set the Display Brightness
To set the brightness of the display, you can use the
setBrightness()
method on the
display
object. You can pass one or two arguments to this function.
void setBrightness(uint8_t brightness, bool on = true);
The first is a number between 0 (min brightness) and 7 (max brightness), and the second argument sets the display on (
true
) or off (
false
).
In the code, this function is tested in the following snippet.
// Brightness Test
for(k = 0; k < 4; k++)
data[k] = 0xff;
for(k = 0; k < 7; k++) {
display.setBrightness(k);
display.setSegments(data);
delay(TEST_DELAY);
}
// On/Off test
for(k = 0; k < 4; k++) {
display.setBrightness(7, false); // Turn off
display.setSegments(data);
delay(TEST_DELAY);
display.setBrightness(7, true); // Turn on
display.setSegments(data);
delay(TEST_DELAY);
}
Set Segments
The TM1637 display comes with four 7-segment display digits. You can manually control individual segments of each digit with the
setSegments()
function usin
Technologies used
Hardware components
- ESP32
- Arduino
Software & tools
- Arduino IDE
What you get
- Working project / hardware kit, tested before delivery
- Complete source code with explanation
- Project demo and guidance for your viva
- Project report, PPT and IEEE paper support (on request)
Related IoT/ESP32 projects

ESP32 External Wake Up from Deep Sleep
This article shows how to put the ESP32 in deep sleep mode and wake it with an external wake up like a button press. We'll cover how to use...
View project
ESP32: Upload Files to LittleFS using Arduino IDE
Upload files to the ESP32 Filesystem (LittleFS) by using a plugin for Arduino IDE (1.8.X). The plugin lets you use three different filesyste...
View project
ESP32: Guide for MicroSD Card Module using Arduino IDE
Use a microSD card with the ESP32: you'll learn how to read and write files to the microSD card. To interface a microSD card with an ESP32 b...
View project
ESP32 Save Data Permanently using Preferences Library
Save data permanently on the ESP32 flash memory using Preferences.h library. The data held in the flash memory persists across resets or pow...
View project