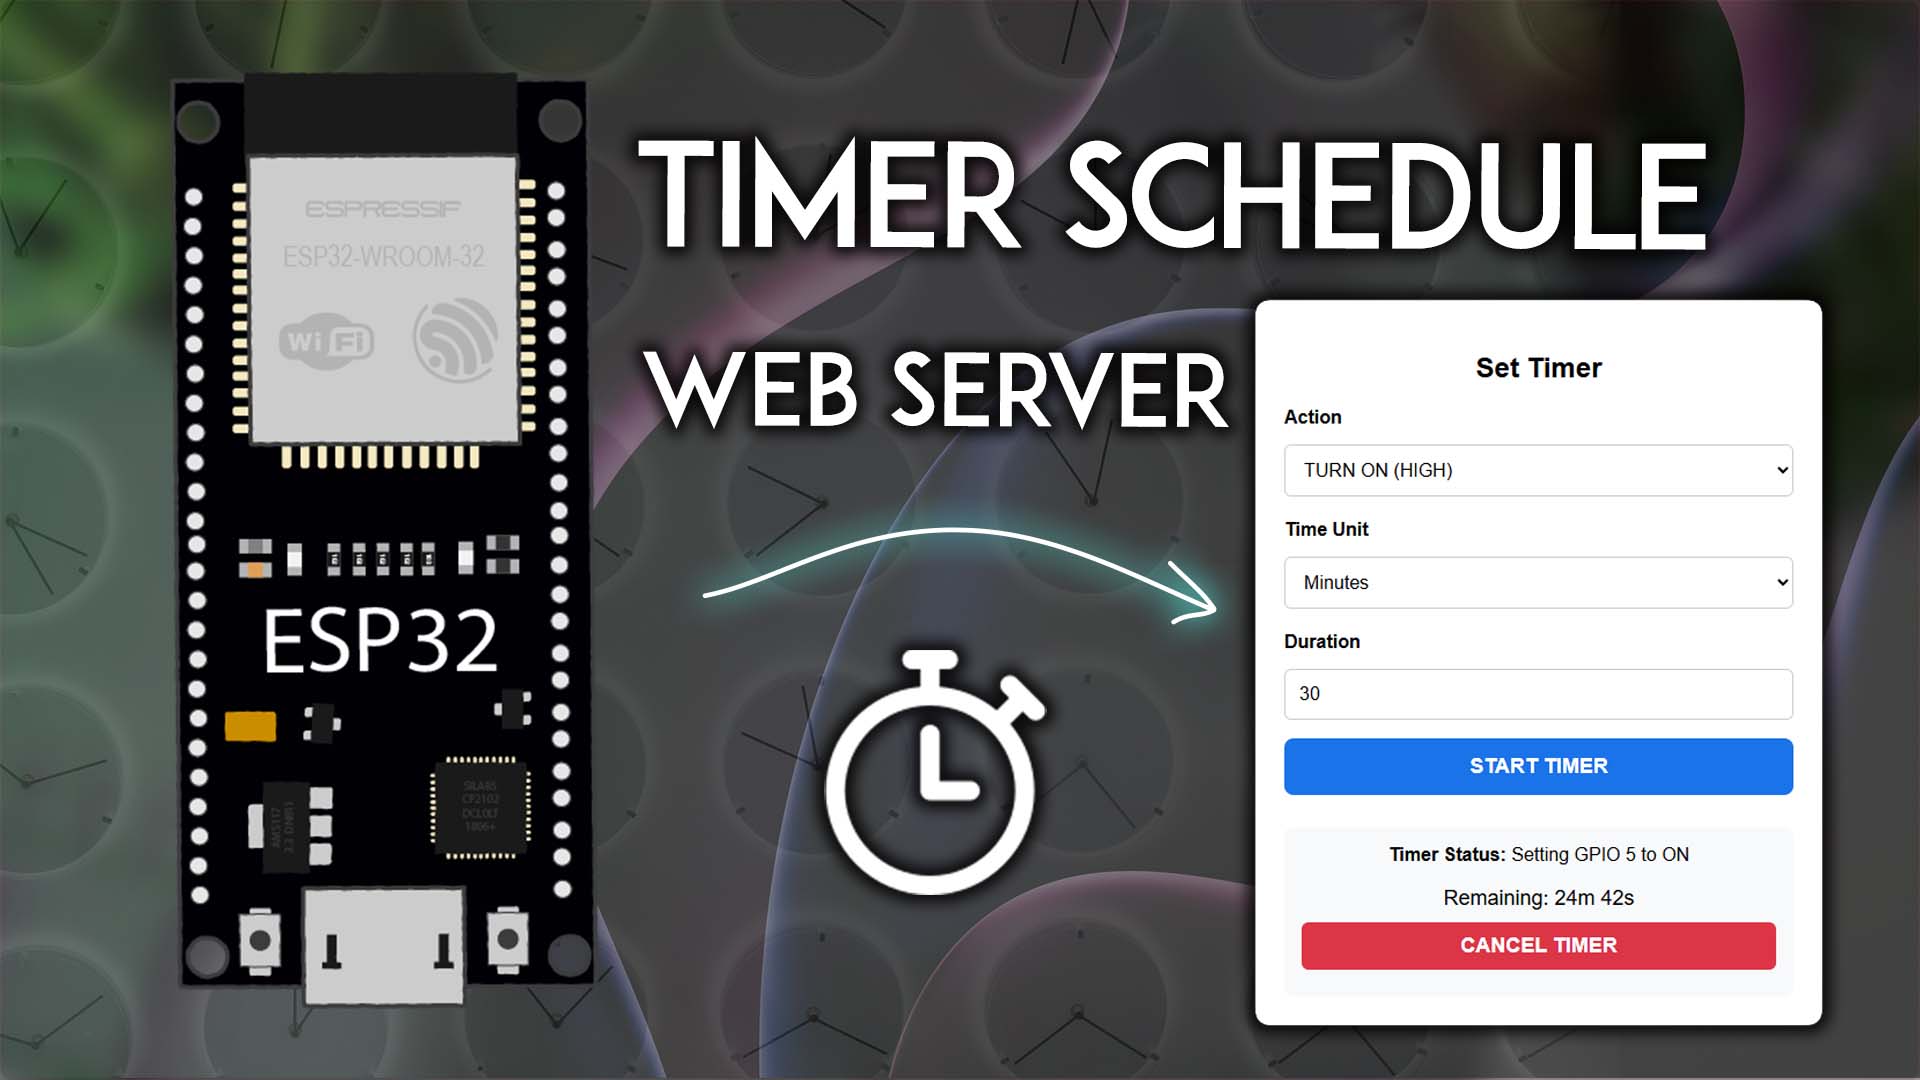
ESP32 Web Server: Set Timer Schedule (Arduino IDE)
Build a web server with the ESP32 that allows you to control an LED by scheduling a timer with a ON/OFF action for any period duration (seconds, minutes or hours).
- Suitable forB.Tech/Diploma IoT/ESP32 students
- Build time1-2 weeks
- LevelBeginner
- Available atAjvika Labs, Kakinada
About this project
In this project, we’ll build a web server with the ESP32 that allows you to control an LED by scheduling a timer with an ON/OFF action for any period duration (seconds, minutes, or hours). The web page also has two buttons that you can use to turn the LED on or off immediately. The ESP32 will be programmed using Arduino IDE.
You might like reading:
Building an ESP32 Web Server: The Complete Guide for Beginners (Arduino IDE)
Project Overview
The following image shows the web page you’ll build for this project.
Here are the key features of this web server:
Current LED state text label: “GPIO is ON” / “GPIO is OFF”
Instant LED control: TURN ON / TURN OFF buttons
Set Timer HTML form: you can set the action (TURN ON/OFF), time unit, and timer duration
Timer status and remaining time to perform the selected action
Cancel timer button
For simplicity, we’ll save the HTML and CSS to build the web page in a variable on the Arduino sketch, but you could use the
LittleFS Filesystem
Prerequisites
Before following this guide, you need to install the ESP32 Core add-on in your Arduino IDE. Follow the next guide to install it, if you haven’t already:
Installing ESP32 Board in Arduino IDE 2
You will also need an
ESP32 development board
model of your choice.
Install Required Libraries in Arduino IDE
We’ll build the web server using the following libraries:
ESPAsyncWebServer by ESP32Async
AsyncTCP by ESP32Async
You can install these libraries in the Arduino Library Manager. Open the Library Manager by clicking the Library icon in the left sidebar.
ESPAsyncWebServer
and install the
ESPAsyncWebServer by ESP32Async
Then, install the AsyncTCP library. Search for
AsyncTCP
and install the
AsyncTCP by ESP32Async
ESP32 Web Server: Timer Schedule – Arduino Sketch
The following code creates a web server that serves a web page that lets you schedule a timer to turn an LED ON/OFF for a selected time duration.
/*********
Permission is hereby granted, free of charge, to any person obtaining a copy of this software and associated documentation files.
The above copyright notice and this permission notice shall be included in all copies or substantial portions of the Software.
*********/
#include `Arduino.h`
#include `WiFi.h`
#include `AsyncTCP.h`
#include `ESPAsyncWebServer.h`
#include <freertos/timers.h>
// REPLACE WITH YOUR NETWORK CREDENTIALS
const char* ssid = \"REPLACE_WITH_YOUR_SSID\";
const char* password = \"REPLACE_WITH_YOUR_PASSWORD\";
// LED connected to GPIO 5
const int ledPin = 5;
// Global variables
AsyncWebServer server(80);
TimerHandle_t gpioTimer = NULL;
// Timer action: 1 = ON, 0 = OFF
int targetAction = -1;
TickType_t timerStartTick = 0;
uint64_t totalDurationTicks = 0;
// HTML Web Page
const char index_html[] PROGMEM = R\"rawliteral(
<!DOCTYPE HTML>
<html>
<head>
<title>ESP32 Web Server - Timer Schedule</title>
<meta name=\"viewport\" content=\"width=device-width, initial-scale=1\">
<style>
body { font-family: Arial, sans-serif; text-align: center; margin: 0; padding: 20px; background: #f4f4f4; }
h1 { color: #333; }
.card { max-width: 440px; margin: 20px auto; padding: 25px; background: white; border-radius: 12px; box-shadow: 0 4px 15px rgba(0,0,0,0.1); }
button { width: 100%; padding: 14px; margin: 8px 0; font-size: 18px; border: none; border-radius: 8px; cursor: pointer; font-weight: bold; }
.onButton { background: #28a745; color: white; }
.offButton { background: #999999; color: white; }
button:hover { opacity: 0.95; }
.state { font-size: 22px; font-weight: bold; margin: 15px 0; }
.ledOn { color: #28a745; }
.ledOff { color: #999999; }
label { display: block; margin: 12px 0 6px; font-weight: bold; text-align: left; }
select, input[type=\"number\"] { width: 100%; padding: 12px; margin: 8px 0; font-size: 16px; border-radius: 6px; border: 1px solid #ccc; box-sizing: border-box;}
.startButton { background:#1a73e8; color:white; }
#cancelButton { display:none; background:#dc3545; color:white; padding:10px 20px; border:none; border-radius:6px; cursor:pointer; margin-top:10px; }
</style>
</head>
<body>
ESP32 - Timer Schedule</h1>
<div class=\"card\">
<div class=\"state\">GPIO is <span id=\"ledState\">Loading...</span></div>
<button class=\"onButton\" onclick=\"controlLED(1)\">TURN ON</button>
<button class=\"offButton\" onclick=\"controlLED(0)\">TURN OFF</button>
</div>
<div class=\"card\">
Set Timer</h2>
<form id=\"timerForm\" action=\"/set-timer\" method=\"POST\">
<label for=\"action\">Action</label>
<select name=\"action\" id=\"action\">
<option value=\"\" disabled selected hidden>--- Select Action ---</option>
<option value=\"1\">TURN ON (HIGH)</option>
<option value=\"0\">TURN OFF(LOW)</option>
</select>
<label for=\"unit\">Time Unit</label>
<select name=\"unit\" id=\"unit\">
<option value=\"s\">Seconds</option>
<option value=\"m\">Minutes</option>
<option value=\"h\">Hours</option>
</select>
<label for=\"duration\">Duration</label>
<input type=\"number\" name=\"duration\" id=\"duration\" min=\"1\" value=\"30\" required>
<button type=\"submit\" class=\"startButton\">START TIMER</button>
</form>
<div style=\"margin-top:20px; padding:15px; background:#f8f9fa; border-radius:8px;\">
Timer Status:</strong> <span id=\"status\">No active timers</span>
<span id=\"remaining\" style=\"font-size:18px;\"></span>
<button id=\"cancelButton\" onclick=\"cancelTimer()\">
CANCEL TIMER
</button>
</div>
</div>
<script>
// Update LED State
function updateLEDState() {
fetch('/led-state')
.then(r => r.json())
.then(data => {
const stateEl = document.getElementById('ledState');
if (data.state === 1) {
stateEl.innerHTML = '<span class=\"ledOn\">ON</span>';
} else {
stateEl.innerHTML = '<span class=\"ledOff\">OFF</span>';
}
})
.catch(() => {
document.getElementById('ledState').innerHTML = 'Error';
});
}
// Control LED
function controlLED(state) {
fetch('/control?state=' + state)
.then(() => updateLEDState());
}
// Timer functions
let countdownInterval = null;
let remainingSeconds = 0;
// Format time to hours, minutes and seconds
function formatTime(seconds) {
if (seconds <= 0) return \"0s\";
let h = Math.floor(seconds / 3600);
let m = Math.floor((seconds % 3600) / 60);
let s = seconds % 60;
if (h > 0) return h + \"h \" + m + \"m \" + s + \"s\";
if (m > 0) return m + \"m \" + s + \"s\";
return s + \"s\";
}
// Check the remaining time for the timer to end
function updateTimerStatus() {
fetch('/timer-status')
.then(r => r.json())
.then(data => {
document.getElementById('status').innerText = data.status;
const cancelButton = document.getElementById('cancelButton');
const remainingEl = document.getElementById('remaining');
if (data.active) {
remainingSeconds = data.remaining_seconds;
cancelButton.style.display = 'inline-block';
if (!countdownInterval) {
countdownInterval = setInterval(() => {
if (remainingSeconds > 0) {
remainingSeconds--;
remainingEl.innerText = \"Remaining: \" + formatTime(remainingSeconds);
} else {
clearInterval(countdownInterval);
countdownInterval = null;
}
}, 1000);
}
remainingEl.innerText = \"Remaining: \" + formatTime(remainingSeconds);
} else {
cancelButton
Technologies used
Hardware components
- ESP32
- Arduino
Software & tools
- Arduino IDE
What you get
- Working project / hardware kit, tested before delivery
- Complete source code with explanation
- Project demo and guidance for your viva
- Project report, PPT and IEEE paper support (on request)
Delivery & Payment
Delivery takes a minimum of two weeks from the date your inquiry is confirmed.
Payment is in two parts:
• 50% advance to start the project
• Remaining 50% before delivery
Note:
• Documentation and PPT are not included by default
• If you need documentation/PPT, it can be arranged for extra time and cost
We'll confirm the exact timeline and cost with you after reviewing your requirements.
Related IoT/ESP32 projects

IoT/ESP32
ESP32 External Wake Up from Deep Sleep
This article shows how to put the ESP32 in deep sleep mode and wake it with an external wake up like a button press. We'll cover how to use...
View project
IoT/ESP32
ESP32: Upload Files to LittleFS using Arduino IDE
Upload files to the ESP32 Filesystem (LittleFS) by using a plugin for Arduino IDE (1.8.X). The plugin lets you use three different filesyste...
View project
IoT/ESP32
ESP32: Guide for MicroSD Card Module using Arduino IDE
Use a microSD card with the ESP32: you'll learn how to read and write files to the microSD card. To interface a microSD card with an ESP32 b...
View project
IoT/ESP32
ESP32 Save Data Permanently using Preferences Library
Save data permanently on the ESP32 flash memory using Preferences.h library. The data held in the flash memory persists across resets or pow...
View project