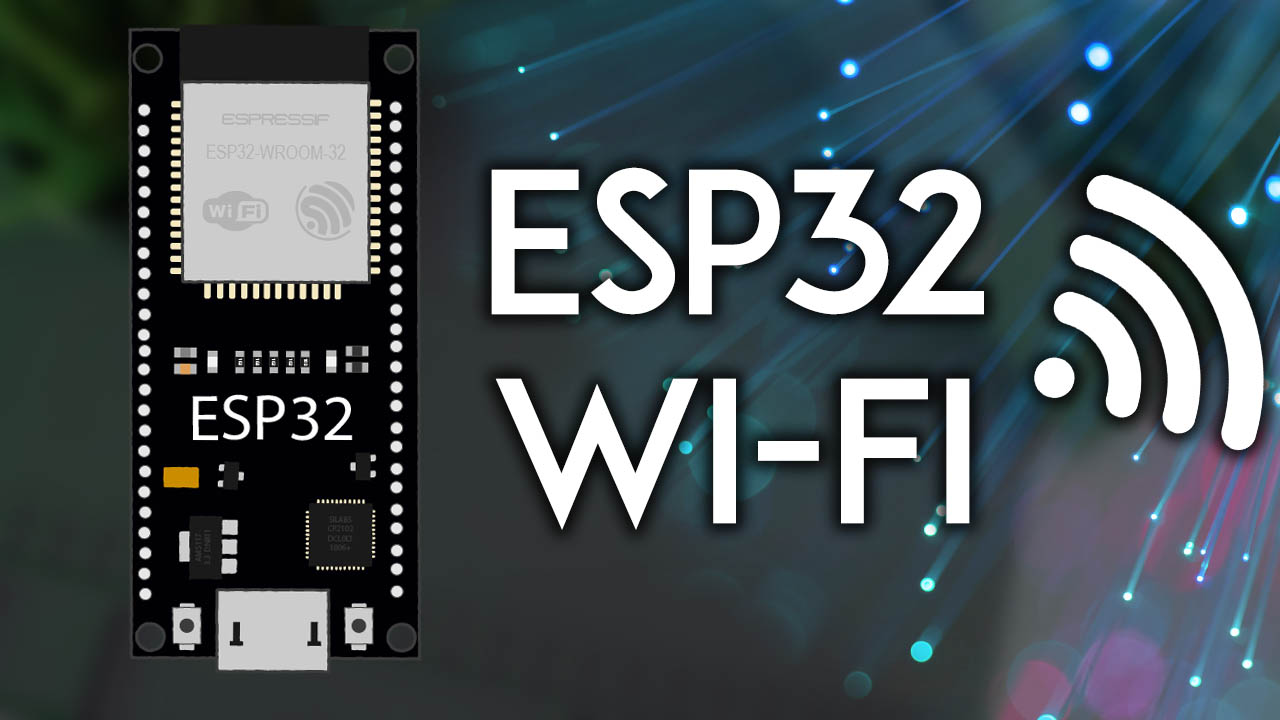
ESP32 Useful Wi-Fi Library Functions (Arduino IDE)
ESP32 Wi-Fi Functions: scan networks, connect to a network, connection strength, connection status, reconnect, Wi-Fi status and modes, IP address, static IP address and more.
- Suitable forB.Tech/Diploma IoT/ESP32 students
- Build time1-2 weeks
- LevelIntermediate
- Available atAjvika Labs, Kakinada
About this project
This article is a compilation of useful Wi-Fi functions for the ESP32. We’ll cover the following topics: scan Wi-Fi networks, connect to a Wi-Fi network, get Wi-Fi connection strength, check connection status, reconnect to the network after a connection is lost, Wi-Fi status, Wi-Fi modes, get the ESP32 IP address, set a fixed IP address and more.
This is not a novelty. There are plenty of examples of how to handle Wi-Fi with the ESP32. However, we thought it would be useful to compile some of the most used and practical Wi-Fi functions for the ESP32.
Table of Contents
Here’s a list of what will be covered in this tutorial (you can click on the links to go to the corresponding section):
Wi-Fi Modes
: station, access point and both (station + access point);
Scan Wi-Fi networks
;
Connect to a Wi-Fi network
;
Get Wi-Fi connection status
;
Check Wi-Fi connection strength
;
Get ESP32 IP address
;
Set an ESP32 Static IP address
;
Disconnect Wi-Fi
;
Reconnect to Wi-Fi after connection is lost
;
ESP32 Wi-Fi Events
;
Reconnect to Wi-Fi Network After Lost Connection (Wi-Fi Events)
;
ESP32 WiFiMulti
Change ESP32 Hostname
Including the Wi-Fi Library
The first thing you need to do to use the ESP32 Wi-Fi functionalities is to include the
WiFi.h
library in your code, as follows:
#include `WiFi.h`
This library is automatically “installed” when you install the ESP32 add-on in your Arduino IDE. If you don’t have the ESP32 installed, you can follow the next tutorial:
Installing the ESP32 Board in Arduino IDE (Windows, Mac OS X, Linux)
If you prefer to use
VS Code + PaltformIO
, you just need to start a new project with an ESP32 board to be able to use the
WiFi.h
library and its functions.
ESP32 Wi-Fi Modes
The ESP32 board can act as Wi-Fi Station, Access Point or both. To set the Wi-Fi mode, use
WiFi.mode()
and set the desired mode as argument:
WiFi.mode(WIFI_STA)
station mode: the ESP32 connects to an access point
WiFi.mode(WIFI_AP)
access point mode: stations can connect to the ESP32
WiFi.mode(WIFI_AP_STA)
access point and a station connected to another access point
Wi-Fi Station
When the ESP32 is set as a Wi-Fi station, it can connect to other networks (like your router). In this scenario, the router assigns a unique IP address to your ESP board. You can communicate with the ESP using other devices (stations) that are also connected to the same network by referring to the ESP unique IP address.
The router is connected to the internet, so we can request information from the internet using the ESP32 board like data from APIs (weather data, for example), publish data to online platforms, use icons and images from the internet or include JavaScript libraries to build web server pages.
Set the ESP32 as a Station and Connect to Wi-Fi Network
Go to “
Connect to Wi-Fi Network
” to learn how to set the ESP32 as station and connect it to a network.
In some cases, this might not be the best configuration – when you don’t have a network nearby and want you still want to connect to the ESP to control it. In this scenario, you must set your ESP board as an access point.
Access Point
When you set your ESP32 board as an access point, you can be connected using any device with Wi-Fi capabilities without connecting to your router. When you set the ESP32 as an access point, you create its own Wi-Fi network, and nearby Wi-Fi devices (stations) can connect to it, like your smartphone or computer. So, you don’t need to be connected to a router to control it.
This can be also useful if you want to have several ESP32 devices talking to each other without the need for a router.
Because the ESP32 doesn’t connect further to a wired network like your router, it is called soft-AP (soft Access Point). This means that if you try to load libraries or use firmware from the internet, it will not work. It also doesn’t work if you make HTTP requests to services on the internet to publish sensor readings to the cloud or use services on the internet (like sending an email, for example).
Set the ESP32 as an Access Point
To set the ESP32 as an access point, set the Wi-Fi mode to access point:
WiFi.mode(WIFI_AP)
And then, use the
softAP()
method as follows:
WiFi.softAP(ssid, password);
ssid
is the name you want to give to the ESP32 access point, and the
password
variable is the password for the access point. If you don’t want to set a password, set it to
NULL
There are also other optional parameters you can pass to the
softAP()
method. Here are all the parameters:
WiFi.softAP(const char* ssid, const char* password, int channel, int ssid_hidden, int max_connection)
ssid
: name for the access point – maximum of 63 characters;
password
:
minimum of 8 characters
; set to
NULL
if you want the access point to be open;
channel
: Wi-Fi channel number (1-13)
ssid_hidden
: (0 = broadcast SSID, 1 = hide SSID)
max_connection
: maximum simultaneous connected clients (1-4)
We have a complete tutorial explaining how to set up the ESP32 as an access point:
How to Set an ESP32 Access Point (AP) for Web Server
Wi-Fi Station + Access Point
The ESP32 can be set as a Wi-Fi station and access point simultaneously. Set its mode to
WIFI_AP_STA
WiFi.mode(WIFI_AP_STA);
Scan Wi-Fi Networks
The ESP32 can scan nearby Wi-Fi networks within its Wi-Fi range. In your Arduino IDE, go to
File
>
Examples
>
WiFi
>
WiFiScan
. This will load a sketch that scans Wi-Fi networks within the range of your ESP32 board.
This can be useful to check if the Wi-Fi network you’re trying to connect is within the range of your board or other applications. Your Wi-Fi project may not often work because it may not be able to connect to your router due to insufficient Wi-Fi strength.
Here’s the example:
/*
Example from WiFi > WiFiScan
*/
#include \"WiFi.h\"
void setup() {
Serial.begin(115200);
// Set WiFi to station mode and disconnect from an AP if it was previously connected
WiFi.mode(WIFI_STA);
WiFi.disconnect();
delay(100);
Serial.println(\"Setup done\");
}
void loop() {
Serial.println(\"scan start\");
// WiFi.scanNetworks will return the number of networks found
int n = WiFi.scanNetworks();
Serial.println(\"scan done\");
if (n == 0) {
Serial.println(\"no networks found\");
} else {
Serial.print(n);
Serial.println(\" networks found\");
for (int i = 0; i < n; ++i) {
// Print SSID and RSSI for each network found
Serial.print(i + 1);
Serial.print(\": \");
Serial.print(WiFi.SSID(i));
Serial.print(\" (\");
Serial.print(WiFi.RSSI(i));
Serial.print(\")\");
Serial.println((WiFi.encryptionType(i) == WIFI_AUTH_OPEN)?\" \":\"*\");
delay(10);
}
}
Serial.println(\"\");
// Wait a bit before scanning again
delay(5000);
}
You can upload it to your board and check the available networks as well as the RSSI (received signal strength indicator).
WiFi.scanNetworks()
returns the number of networks found.
int n = WiFi.scanNetworks();
After the scanning, you can access the parameters about each network.
WiFi.SSID()
prints the SSID for a specific network:
Serial.print(WiFi.SSID(i));
WiFi.RSSI()
returns the RSSI of that network. RSSI stands for
R
eceived
S
ignal
S
trength
I
ndicator. It is an estimated measure of power level that an RF client device is receiving from an access point or router.
Serial.print(WiFi.RSSI(i));
Finally,
WiFi.encryptionType()
returns the network encryption type. That specific example puts a * in the case of open networks. However, that function can return one of the following options (not just open networks):
WIFI_AUTH_OPEN
WIFI_AUTH_WEP
WIFI_AUTH_WPA_PSK
WIFI_AUTH_WPA2_PSK
WIFI_AUTH_WPA_WPA2_PSK
WIFI_AUTH_WPA2_ENTERPRISE
Connect to a Wi-Fi Network
To connect the ESP32 to a specific Wi-Fi network, you must know its SSID and password. Additionally, that network must be within the ESP32 Wi-Fi range (to chec
This is not a novelty. There are plenty of examples of how to handle Wi-Fi with the ESP32. However, we thought it would be useful to compile some of the most used and practical Wi-Fi functions for the ESP32.
Table of Contents
Here’s a list of what will be covered in this tutorial (you can click on the links to go to the corresponding section):
Wi-Fi Modes
: station, access point and both (station + access point);
Scan Wi-Fi networks
;
Connect to a Wi-Fi network
;
Get Wi-Fi connection status
;
Check Wi-Fi connection strength
;
Get ESP32 IP address
;
Set an ESP32 Static IP address
;
Disconnect Wi-Fi
;
Reconnect to Wi-Fi after connection is lost
;
ESP32 Wi-Fi Events
;
Reconnect to Wi-Fi Network After Lost Connection (Wi-Fi Events)
;
ESP32 WiFiMulti
Change ESP32 Hostname
Including the Wi-Fi Library
The first thing you need to do to use the ESP32 Wi-Fi functionalities is to include the
WiFi.h
library in your code, as follows:
#include `WiFi.h`
This library is automatically “installed” when you install the ESP32 add-on in your Arduino IDE. If you don’t have the ESP32 installed, you can follow the next tutorial:
Installing the ESP32 Board in Arduino IDE (Windows, Mac OS X, Linux)
If you prefer to use
VS Code + PaltformIO
, you just need to start a new project with an ESP32 board to be able to use the
WiFi.h
library and its functions.
ESP32 Wi-Fi Modes
The ESP32 board can act as Wi-Fi Station, Access Point or both. To set the Wi-Fi mode, use
WiFi.mode()
and set the desired mode as argument:
WiFi.mode(WIFI_STA)
station mode: the ESP32 connects to an access point
WiFi.mode(WIFI_AP)
access point mode: stations can connect to the ESP32
WiFi.mode(WIFI_AP_STA)
access point and a station connected to another access point
Wi-Fi Station
When the ESP32 is set as a Wi-Fi station, it can connect to other networks (like your router). In this scenario, the router assigns a unique IP address to your ESP board. You can communicate with the ESP using other devices (stations) that are also connected to the same network by referring to the ESP unique IP address.
The router is connected to the internet, so we can request information from the internet using the ESP32 board like data from APIs (weather data, for example), publish data to online platforms, use icons and images from the internet or include JavaScript libraries to build web server pages.
Set the ESP32 as a Station and Connect to Wi-Fi Network
Go to “
Connect to Wi-Fi Network
” to learn how to set the ESP32 as station and connect it to a network.
In some cases, this might not be the best configuration – when you don’t have a network nearby and want you still want to connect to the ESP to control it. In this scenario, you must set your ESP board as an access point.
Access Point
When you set your ESP32 board as an access point, you can be connected using any device with Wi-Fi capabilities without connecting to your router. When you set the ESP32 as an access point, you create its own Wi-Fi network, and nearby Wi-Fi devices (stations) can connect to it, like your smartphone or computer. So, you don’t need to be connected to a router to control it.
This can be also useful if you want to have several ESP32 devices talking to each other without the need for a router.
Because the ESP32 doesn’t connect further to a wired network like your router, it is called soft-AP (soft Access Point). This means that if you try to load libraries or use firmware from the internet, it will not work. It also doesn’t work if you make HTTP requests to services on the internet to publish sensor readings to the cloud or use services on the internet (like sending an email, for example).
Set the ESP32 as an Access Point
To set the ESP32 as an access point, set the Wi-Fi mode to access point:
WiFi.mode(WIFI_AP)
And then, use the
softAP()
method as follows:
WiFi.softAP(ssid, password);
ssid
is the name you want to give to the ESP32 access point, and the
password
variable is the password for the access point. If you don’t want to set a password, set it to
NULL
There are also other optional parameters you can pass to the
softAP()
method. Here are all the parameters:
WiFi.softAP(const char* ssid, const char* password, int channel, int ssid_hidden, int max_connection)
ssid
: name for the access point – maximum of 63 characters;
password
:
minimum of 8 characters
; set to
NULL
if you want the access point to be open;
channel
: Wi-Fi channel number (1-13)
ssid_hidden
: (0 = broadcast SSID, 1 = hide SSID)
max_connection
: maximum simultaneous connected clients (1-4)
We have a complete tutorial explaining how to set up the ESP32 as an access point:
How to Set an ESP32 Access Point (AP) for Web Server
Wi-Fi Station + Access Point
The ESP32 can be set as a Wi-Fi station and access point simultaneously. Set its mode to
WIFI_AP_STA
WiFi.mode(WIFI_AP_STA);
Scan Wi-Fi Networks
The ESP32 can scan nearby Wi-Fi networks within its Wi-Fi range. In your Arduino IDE, go to
File
>
Examples
>
WiFi
>
WiFiScan
. This will load a sketch that scans Wi-Fi networks within the range of your ESP32 board.
This can be useful to check if the Wi-Fi network you’re trying to connect is within the range of your board or other applications. Your Wi-Fi project may not often work because it may not be able to connect to your router due to insufficient Wi-Fi strength.
Here’s the example:
/*
Example from WiFi > WiFiScan
*/
#include \"WiFi.h\"
void setup() {
Serial.begin(115200);
// Set WiFi to station mode and disconnect from an AP if it was previously connected
WiFi.mode(WIFI_STA);
WiFi.disconnect();
delay(100);
Serial.println(\"Setup done\");
}
void loop() {
Serial.println(\"scan start\");
// WiFi.scanNetworks will return the number of networks found
int n = WiFi.scanNetworks();
Serial.println(\"scan done\");
if (n == 0) {
Serial.println(\"no networks found\");
} else {
Serial.print(n);
Serial.println(\" networks found\");
for (int i = 0; i < n; ++i) {
// Print SSID and RSSI for each network found
Serial.print(i + 1);
Serial.print(\": \");
Serial.print(WiFi.SSID(i));
Serial.print(\" (\");
Serial.print(WiFi.RSSI(i));
Serial.print(\")\");
Serial.println((WiFi.encryptionType(i) == WIFI_AUTH_OPEN)?\" \":\"*\");
delay(10);
}
}
Serial.println(\"\");
// Wait a bit before scanning again
delay(5000);
}
You can upload it to your board and check the available networks as well as the RSSI (received signal strength indicator).
WiFi.scanNetworks()
returns the number of networks found.
int n = WiFi.scanNetworks();
After the scanning, you can access the parameters about each network.
WiFi.SSID()
prints the SSID for a specific network:
Serial.print(WiFi.SSID(i));
WiFi.RSSI()
returns the RSSI of that network. RSSI stands for
R
eceived
S
ignal
S
trength
I
ndicator. It is an estimated measure of power level that an RF client device is receiving from an access point or router.
Serial.print(WiFi.RSSI(i));
Finally,
WiFi.encryptionType()
returns the network encryption type. That specific example puts a * in the case of open networks. However, that function can return one of the following options (not just open networks):
WIFI_AUTH_OPEN
WIFI_AUTH_WEP
WIFI_AUTH_WPA_PSK
WIFI_AUTH_WPA2_PSK
WIFI_AUTH_WPA_WPA2_PSK
WIFI_AUTH_WPA2_ENTERPRISE
Connect to a Wi-Fi Network
To connect the ESP32 to a specific Wi-Fi network, you must know its SSID and password. Additionally, that network must be within the ESP32 Wi-Fi range (to chec
Technologies used
Hardware components
- ESP32
- Arduino
Software & tools
- Arduino IDE
- VS Code
What you get
- Working project / hardware kit, tested before delivery
- Complete source code with explanation
- Project demo and guidance for your viva
- Project report, PPT and IEEE paper support (on request)
Delivery & Payment
Delivery takes a minimum of two weeks from the date your inquiry is confirmed.
Payment is in two parts:
• 50% advance to start the project
• Remaining 50% before delivery
Note:
• Documentation and PPT are not included by default
• If you need documentation/PPT, it can be arranged for extra time and cost
We'll confirm the exact timeline and cost with you after reviewing your requirements.
Related IoT/ESP32 projects

IoT/ESP32
ESP32 External Wake Up from Deep Sleep
This article shows how to put the ESP32 in deep sleep mode and wake it with an external wake up like a button press. We'll cover how to use...
View project
IoT/ESP32
ESP32: Upload Files to LittleFS using Arduino IDE
Upload files to the ESP32 Filesystem (LittleFS) by using a plugin for Arduino IDE (1.8.X). The plugin lets you use three different filesyste...
View project
IoT/ESP32
ESP32: Guide for MicroSD Card Module using Arduino IDE
Use a microSD card with the ESP32: you'll learn how to read and write files to the microSD card. To interface a microSD card with an ESP32 b...
View project
IoT/ESP32
ESP32 Save Data Permanently using Preferences Library
Save data permanently on the ESP32 flash memory using Preferences.h library. The data held in the flash memory persists across resets or pow...
View project