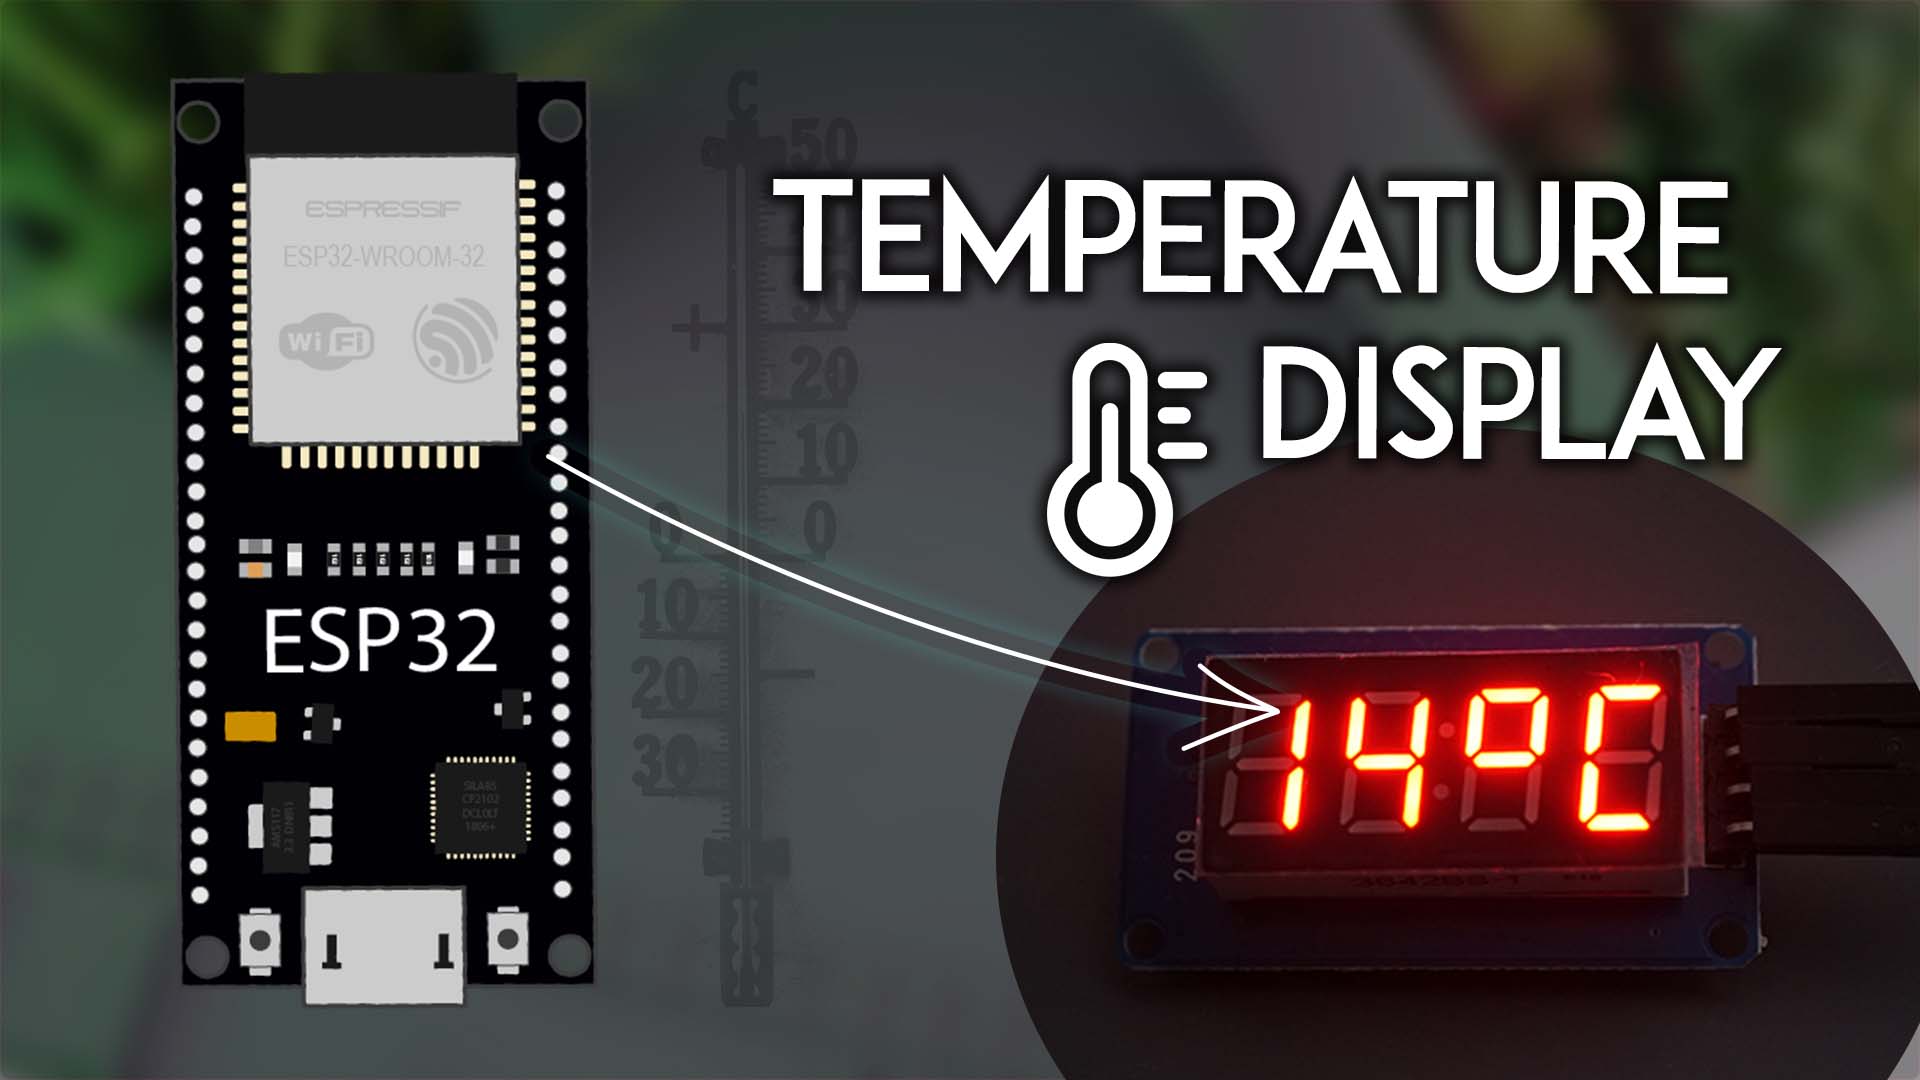
ESP32: Temperature on TM1637 7-Segment Display (WeatherAPI)
Display the current temperature for your city (or any city) on the TM1637 7-segment display. To get the temperature, we'll make HTTP requests with the ESP32 to the WeatherAPI.
- Suitable forB.Tech/Diploma IoT/ESP32 students
- Build time1-2 weeks
- LevelBeginner
- Available atAjvika Labs, Kakinada
About this project
In this project, we’ll display the current temperature for your city (or any city of your choice) on the TM1637 7-segment display. To get the temperature, we’ll make HTTP requests with the ESP32 to the WeatherAPI (no sensor needed).
This is a great project to put into practice how to make HTTP requests with the ESP32 and use the TM1637 7-segment display. For in-depth tutorials about these subjects, check the following articles:
ESP32 with TM1637 4-Digit LED 7-Segment Display (Arduino IDE)
ESP32 HTTP POST with Arduino IDE (ThingSpeak and IFTTT.com)
ESP32 HTTP GET with Arduino IDE (OpenWeatherMap.org and ThingSpeak)
Prerequisites
Before proceeding, make sure you have the Arduino IDE installed and the ESP32 boards. Follow the next tutorial if you haven’t already:
Installing ESP32 Board in Arduino IDE 2 (Windows, Mac OS X, Linux)
Project Overview
In this project, we’ll display the current temperature for your city on the TM1637 4-Digit 7-Segment display. We’ll get the temperature from the
Weather API
Here’s a quick overview of the steps we need to follow to create this project:
Initialize the display and set its brightness;
Initialize Wi-Fi and connect the ESP32 to your local network so that it can get data from the internet.
Make a request to the WeatherAPI to get temperature for your choosen location.
Show the temperature in the display (alternate between temperature in Celsius and in Fahrenheit degrees).
Every hour, make a new request to the WeatherAPI to get more recent data.
TM1637 4-Digit LED 7-Segment Display
The
TM1637 4-Digit LED 7-Segment display
is a display module that combines four 7-segment digits in a single display that can be controlled via the TM1637 driver. The particular module we’re using here has four digits separated by a colon between the second and third digits. This layout is ideal for creating a digital clock, with the hour on one side of the colon and the minutes on the other.
Weather API
In this project, we’ll display the current temperature for your city on the display. We’ll get the temperature from the
Weather API
This API is free and provides useful information about the weather in almost any location in the world.
We’ll get the temperature for your location and display it on the 7-segment display module.
Getting Your API Key
Go to the Weather API website:
weatherapi.com/
Signup to create an account.
After verifying your account, login into your account.
On your dashboard at
weatherapi.com/my/
, you’ll find your API key (even though it says the trial will end, you can continue using your API key freely).
Copy the API key to a safe place because you’ll need it later.
To pull information on the weather in your chosen location, enter the following URL in your web browser, but insert your location and API key in the right places:
https://api.weatherapi.com/v1/current.json?q=
YOUR_LOCATION
+&key=
YOUR_API_KEY
'
For example, in my case:
https://api.weatherapi.com/v1/current.json?q=Oporto+&key=d1578a064b07453c917164350240106'
Copy your URL and paste it into your browser, and the API will return information corresponding to your local weather. For example:
{
\"location\": {
\"name\": \"Oporto\",
\"region\": \"Porto\",
\"country\": \"Portugal\",
\"lat\": 41.15,
\"lon\": -8.62,
\"tz_id\": \"Europe/Lisbon\",
\"localtime_epoch\": 1719843562,
\"localtime\": \"2024-07-01 15:19\"
},
\"current\": {
\"last_updated_epoch\": 1719843300,
\"last_updated\": \"2024-07-01 15:15\",
\"temp_c\": 22.3,
\"temp_f\": 72.1,
\"is_day\": 1,
\"condition\": {
\"text\": \"Sunny\",
\"icon\": \"//cdn.weatherapi.com/weather/64x64/day/113.png\",
\"code\": 1000
},
\"wind_mph\": 10.5,
\"wind_kph\": 16.9,
\"wind_degree\": 310,
\"wind_dir\": \"NW\",
\"pressure_mb\": 1021,
\"pressure_in\": 30.15,
\"precip_mm\": 0,
\"precip_in\": 0,
\"humidity\": 69,
\"cloud\": 0,
\"feelslike_c\": 24.7,
\"feelslike_f\": 76.4,
\"windchill_c\": 21.9,
\"windchill_f\": 71.5,
\"heatindex_c\": 24.6,
\"heatindex_f\": 76.2,
\"dewpoint_c\": 15,
\"dewpoint_f\": 58.9,
\"vis_km\": 10,
\"vis_miles\": 6,
\"uv\": 6,
\"gust_mph\": 15.4,
\"gust_kph\": 24.7
}
}
From this JSON, we can easily get the temperature for your location, either in Celsius or Fahrenheit:
temp_c
and
temp_f
Parts Required
For this project, you need the following parts:
ESP32 board
– any model of your choice
TM1637 4-Digit 7-Segment Display
Jumper Wires
You can use the preceding links or go directly to
MakerAdvisor.com/tools
to find all the parts for your projects at the best price!
Wiring the TM1637 4-Digit 7-Segment Display to the ESP32
Wiring the display to the ESP32 is quite simple, as it only requires two digital pins:
CLK
and
DI/O
TM1637 Display
ESP32
CLK
Any digital pin (for example:
GPIO 19
)*
DIO
Any digital pin (for example:
GPIO 18
)*
VCC
VIN
GND
GND
* you can use any other suitable GPIOs. Check the ESP32 Pinout Guide:
ESP32 Pinout Reference: Which GPIO pins should you use?
ESP32-S3 DevKitC Pinout Reference Guide: GPIOs Explained
We’ll connect the CLK pin to
GPIO 19
, and the DIO pin to
GPIO 18
, but you can use a different combination of pins.
Installing Libraries
For this project, you need to instal the
TM1637 library by avishorp
to interface with the TM1637 display, and the
ArduinoJSON library from bblanchon
to handle the JSON data that is returned by the API.
Installing the TM1637 Library
There are several libraries to interface the TM1637 display with the ESP32. We’ll use the
TM1637.h library by avishorp
(even though it hasn’t been updated for several years, it still works well, and it’s very easy to use).
You can install the library via the Arduino IDE Library Manager. Search for
TM1637
and install the library by avishorp.
Installing Libraries
For this example, you also need to install the
ArduinoJSON library by bblanchon
. You can install it in the Arduino Library Manager.
Code – ESP32 with TM1637: Temperature Display
You can upload the following code to your board. You need to:
Insert your SSID and password;
Insert your WeatherAPI API key;
Insert the city where you want to get the temperature for.
/*
Permission is hereby granted, free of charge, to any person obtaining a copy of this software and associated documentation files.
The above copyright notice and this permission notice shall be included in all copies or substantial portions of the Software.
*/
#include `WiFi.h`
#include `HTTPClient.h`
#include `ArduinoJson.h`
#include `TM1637Display.h`
// Wi-Fi credentials
const char* ssid = \"REPLACE_WITH_YOUR_SSID\";
const char* password = \"REPLACE_WITH_YOUR_PASSWORD\";
const char* api_key = \"REPLACE_WITH_YOUR_WeatherAPI_API_Key\";
const char* location = \"Oporto\"; // \"q\" Parameter documentation for location: https://www.weatherapi.com/docs/#intro-request
// Request URL
String url = \"https://api.weatherapi.com/v1/current.json?q=\" + String(location) + \"&key=\" + String(api_key);
// TM1637 pins
#define CLK 19
#define DIO 18
TM1637Display display(CLK, DIO);
// Create the °C Symbol
const uint8_t Celsius[] = {
SEG_A | SEG_B | SEG_F | SEG_G, // Circle
SEG_A | SEG_D | SEG_E | SEG_F // C
};
// Create the °F Symbol
const uint8_t Fahrenheit[] = {
SEG_A | SEG_B | SEG_F | SEG_G, // Circle
SEG_F | SEG_E | SEG_A | SEG_G // F
};
// Global variables for temperatures and timers
float currentTempC = 9999; // Initial error value
float currentTempF = 9999; // Initial error value
unsigned long lastFetchTime = 0;
const unsigned long fetchInterval = 3600000UL; // 1 hour in milliseconds
// Init Wifi
void initWiFi() {
WiFi.begin(ssid, password);
while (WiFi.status() != WL_CONNECTED) {
delay(1000);
Serial.println(\"Connecting to WiFi..\");
}
Serial.println(\"Connection successful\");
Serial.print(\"IP address: \");
Serial.println(WiFi.localIP());
}
bool updateTemperatures() {
HTTPClient http;
http.begin(url);
int httpCode = http.GET();
if (httpCode == HTTP_CODE_OK)
Technologies used
Hardware components
- ESP32
- Arduino
Software & tools
- Arduino IDE
- ThingSpeak
What you get
- Working project / hardware kit, tested before delivery
- Complete source code with explanation
- Project demo and guidance for your viva
- Project report, PPT and IEEE paper support (on request)
Delivery & Payment
Delivery takes a minimum of two weeks from the date your inquiry is confirmed.
Payment is in two parts:
• 50% advance to start the project
• Remaining 50% before delivery
Note:
• Documentation and PPT are not included by default
• If you need documentation/PPT, it can be arranged for extra time and cost
We'll confirm the exact timeline and cost with you after reviewing your requirements.
Related IoT/ESP32 projects

IoT/ESP32
ESP32 External Wake Up from Deep Sleep
This article shows how to put the ESP32 in deep sleep mode and wake it with an external wake up like a button press. We'll cover how to use...
View project
IoT/ESP32
ESP32: Upload Files to LittleFS using Arduino IDE
Upload files to the ESP32 Filesystem (LittleFS) by using a plugin for Arduino IDE (1.8.X). The plugin lets you use three different filesyste...
View project
IoT/ESP32
ESP32: Guide for MicroSD Card Module using Arduino IDE
Use a microSD card with the ESP32: you'll learn how to read and write files to the microSD card. To interface a microSD card with an ESP32 b...
View project
IoT/ESP32
ESP32 Save Data Permanently using Preferences Library
Save data permanently on the ESP32 flash memory using Preferences.h library. The data held in the flash memory persists across resets or pow...
View project