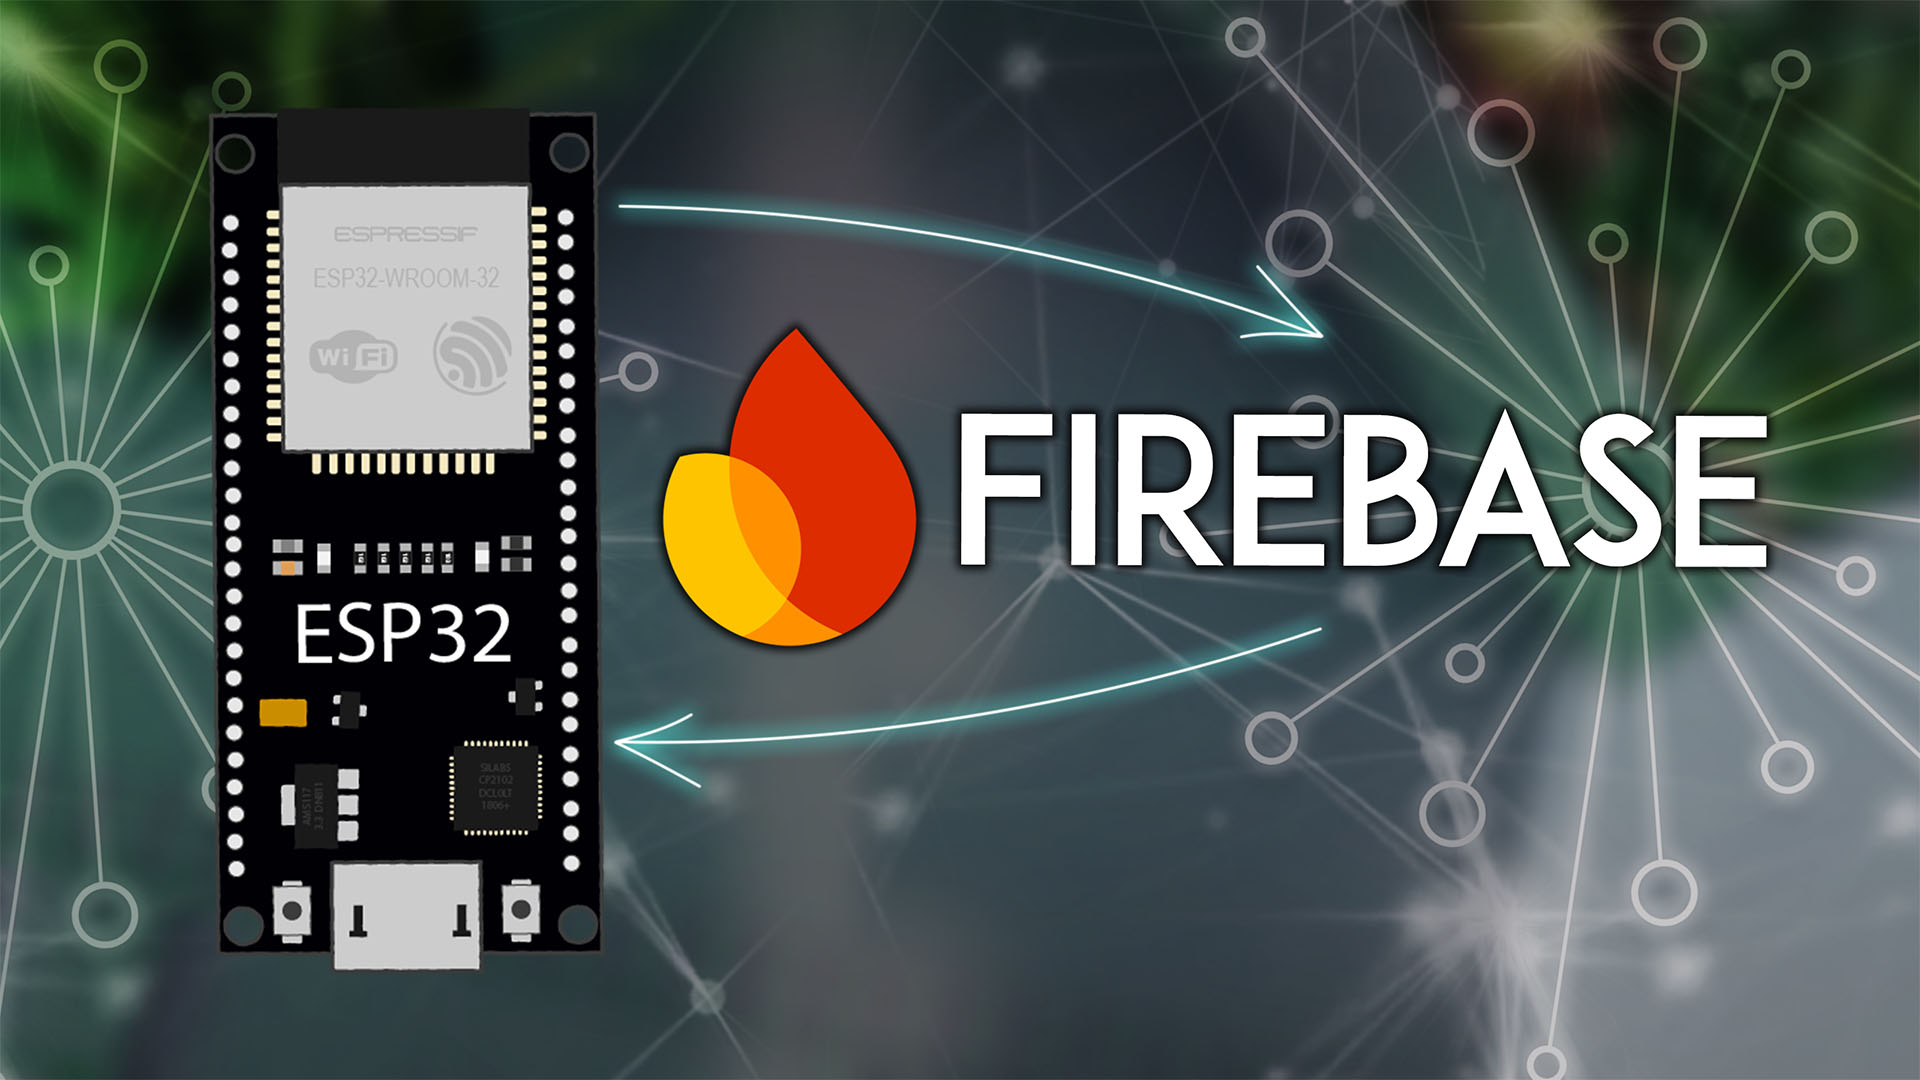
ESP32: Getting Started with Firebase (Realtime Database)
Get started quickly with Firebase using the ESP32 board and programmed with Arduino IDE. Firebase is Google's mobile application development platform that includes many services.
- Suitable forB.Tech/Diploma IoT/ESP32 students
- Build time1-2 weeks
- LevelBeginner
- Available atAjvika Labs, Kakinada
About this project
This guide will get you started quickly with Firebase using the ESP32 board. Firebase is Google’s mobile application development platform that includes many services to manage data from IOS, Android, or web applications. You’ll create a Firebase project with a realtime database (RTDB), and you’ll learn how to store and read values from the database with your ESP32.
Updated May 8, 2026
In a later tutorial, you’ll learn how to create a Firebase web app that you can access from anywhere to monitor and control your ESP32 using firebase’s realtime database:
ESP32 with Firebase – Creating a Web App
We have a similar tutorial for the ESP8266 board:
Getting Started with Firebase (Realtime Database)
What is Firebase?
Firebase is Google’s mobile application development platform that helps you build, improve, and grow your app. It has many services used to manage data from any android, IOS, or web application.
The following paragraph clearly explains the advantages of using Firebase:
“
Firebase is a toolset to “build, improve, and grow your app”, and the tools it gives you cover a large portion of the services that developers would normally have to build themselves
but don’t really want to build because they’d rather be focusing on the app experience itself. This includes things like analytics, authentication, databases, configuration, file storage, push messaging, and the list goes on
. The services are hosted in the cloud
and scale with little to no effort on the part of the developer
.”
This paragraph was taken from
this article
, and we recommend that you read it if you want to better understand what Firebase is and what it allows you to do.
You can use the ESP32 to connect and interact with your Firebase project, and you can create applications to control the ESP32 via Firebase from anywhere in the world.
In this tutorial, we’ll create a Firebase project with a Realtime Database and use the ESP32 to store and retrieve data. Once connected to the internet, the ESP32 can access the database from anywhere in the world.
You can have two ESP32 boards in different networks, with one board storing data and the other board reading the most recent data, for example.
In a later tutorial, we’ll create a web app using Firebase that will control the ESP32 to display sensor readings or control outputs from anywhere in the world.
Project Overview
In this tutorial, you’ll learn how to create a Firebase project with a realtime database and store and read data from the database using the ESP32.
To follow this project, first, you need to set up a Firebase project and create a realtime database for that project. Then, you’ll program the ESP32 to store and read data from the database. This tutorial is divided into three sections.
Create a Firebase Project
ESP32: Store data to the Firebase Realtime Database
ESP32: Read data from the Firebase Realtime Database
Let’s get started!
Set Up a Firebase Account and Create a New Project
1.Create a New Project
Follow the next instructions to create a new project on Firebase.
Go to
Firebase
and sign in using a Google Account.
Go to the
Firebase Console
and create a new project.
Give a name to your project, for example:
ESP-Project,
and click
Continue
Next, enable or disable AI assistance for your project. This is optional.
Disable the option
Enable Google Analytics
for this project, as it is not needed. Then, click
Create project
It will take a few seconds to set up your project. Click
Continue
when it’s ready.
You’ll be redirected to your Project console page.
2. Set Authentication Methods
You need to set authentication methods for your app.
“Most apps need to know the identity of a user. In other words, it takes care of logging in and identifying the users (in this case, the ESP32). Knowing a user’s identity allows an app to securely save user data in the cloud …” To learn more about the authentication methods, you can
read the documentation
On the left sidebar, click on
Build
>
Authentication
and then on
Get started
There are several authentication methods like email and password, Google Account, Facebook account, and others.
Select
Email/Password
and
enable
that authentication method. Then, click
Save
Then, at the top, click on the
Users
tab. Then, click on
Add user
Create a new user with an email and password. The email can be your personal email. Create a password for that user (you need to remember the password later). Finally, click on
Add user
The User will show up on the list of users. You can see information about the user, like when it was created, the last time it signed in, and its user UID.
3. Creating a Realtime Database
Next, you need to create a Realtime Database for your project. Follow the next steps to create the database.
On the left sidebar click on
Build
>
Realtime Database
and then, click on
Create Database
Select your database location. It should be the closest to your location.
Set up security rules for your database. For testing purposes, select
Start in test mode
. In later tutorials, you’ll learn how to secure your database using database rules.
Your database is now created. You need to copy and save the database URL—highlighted in the following image—because you’ll need it later in your ESP32 code.
The Realtime Database is all set. Now, you also need to get your project API key.
4. Get Project API Key
To interface with your Firebase project using the ESP32, you need to get your project API key. To get an API key for your project, you need to create a web app first. Follow the next steps.
On the left sidebar, click on
Settings
Scroll down on that page to the
Your apps
section. Then, click on the web icon
</>
to create and add a web app to your Firebase project.
Give your app a name. Then, check the box next to
√ Also set up Firebase Hosting for this App
. Click
Register app
Then, in the
firebaseConfig
object, you can find your API key. Save it because you’ll need it later.
After this, you can also access the
firebaseConfig
object if you go to your Project settings in your Firebase console and scroll down to the
Your apps
section.
Click Next on the preceding steps, and finally on
Continue to console
Now, you have everything ready to interface the ESP32 with the database.
Program the ESP32 to Interface with Firebase
Now that the Firebase Realtime Database is created, you’ll learn how to interface the ESP32 with the database.
To program the ESP32, you can use
Arduino IDE
VS Code with the PlatformIO extension
or pioarduino, or other suitable software.
Note:
For Firebase projects, we recommend using VS Code with the PlatformIO or pioarduino extension. If you plan to develop a web application to connect the ESP32 with Firebase, VS Code offers all the tools you need. However, since we won’t be building a web application in this tutorial, you can simply use the Arduino IDE, if you prefer.
Installing the FirebaseClient Library
There is a library with lots of examples to use Firebase with the ESP32: the
FirebaseClient library
. This library is compatible with the ESP32, ESP8266, and many other boards.
In this tutorial, we’ll look at simple examples to store and read data from the database. The library provides many other examples that you can check
here
. It also provides detailed documentation explaining how to use the library.
Installation – VS Code + PlatformIO
If you’re using VS Code with the PlatformIO extension, click on the
PIO Home
icon and then select the
Libraries tab
. Search for “
FirebaseClient
“. Select the
Firebase Client Library
by Mobitz.
Then, click
Add to Project
and select the project you’re working on.
Also, change the monitor speed to 115200 by adding the following line to the
platformio.ini
file of your project:
monitor_speed = 115200
Installation – Arduino IDE
If you’re using Arduino IDE, follow the next steps to install the library.
Go to
Sketch
>
Include Library
>
Manage Libraries
FirebaseClient
and i
Updated May 8, 2026
In a later tutorial, you’ll learn how to create a Firebase web app that you can access from anywhere to monitor and control your ESP32 using firebase’s realtime database:
ESP32 with Firebase – Creating a Web App
We have a similar tutorial for the ESP8266 board:
Getting Started with Firebase (Realtime Database)
What is Firebase?
Firebase is Google’s mobile application development platform that helps you build, improve, and grow your app. It has many services used to manage data from any android, IOS, or web application.
The following paragraph clearly explains the advantages of using Firebase:
“
Firebase is a toolset to “build, improve, and grow your app”, and the tools it gives you cover a large portion of the services that developers would normally have to build themselves
but don’t really want to build because they’d rather be focusing on the app experience itself. This includes things like analytics, authentication, databases, configuration, file storage, push messaging, and the list goes on
. The services are hosted in the cloud
and scale with little to no effort on the part of the developer
.”
This paragraph was taken from
this article
, and we recommend that you read it if you want to better understand what Firebase is and what it allows you to do.
You can use the ESP32 to connect and interact with your Firebase project, and you can create applications to control the ESP32 via Firebase from anywhere in the world.
In this tutorial, we’ll create a Firebase project with a Realtime Database and use the ESP32 to store and retrieve data. Once connected to the internet, the ESP32 can access the database from anywhere in the world.
You can have two ESP32 boards in different networks, with one board storing data and the other board reading the most recent data, for example.
In a later tutorial, we’ll create a web app using Firebase that will control the ESP32 to display sensor readings or control outputs from anywhere in the world.
Project Overview
In this tutorial, you’ll learn how to create a Firebase project with a realtime database and store and read data from the database using the ESP32.
To follow this project, first, you need to set up a Firebase project and create a realtime database for that project. Then, you’ll program the ESP32 to store and read data from the database. This tutorial is divided into three sections.
Create a Firebase Project
ESP32: Store data to the Firebase Realtime Database
ESP32: Read data from the Firebase Realtime Database
Let’s get started!
Set Up a Firebase Account and Create a New Project
1.Create a New Project
Follow the next instructions to create a new project on Firebase.
Go to
Firebase
and sign in using a Google Account.
Go to the
Firebase Console
and create a new project.
Give a name to your project, for example:
ESP-Project,
and click
Continue
Next, enable or disable AI assistance for your project. This is optional.
Disable the option
Enable Google Analytics
for this project, as it is not needed. Then, click
Create project
It will take a few seconds to set up your project. Click
Continue
when it’s ready.
You’ll be redirected to your Project console page.
2. Set Authentication Methods
You need to set authentication methods for your app.
“Most apps need to know the identity of a user. In other words, it takes care of logging in and identifying the users (in this case, the ESP32). Knowing a user’s identity allows an app to securely save user data in the cloud …” To learn more about the authentication methods, you can
read the documentation
On the left sidebar, click on
Build
>
Authentication
and then on
Get started
There are several authentication methods like email and password, Google Account, Facebook account, and others.
Select
Email/Password
and
enable
that authentication method. Then, click
Save
Then, at the top, click on the
Users
tab. Then, click on
Add user
Create a new user with an email and password. The email can be your personal email. Create a password for that user (you need to remember the password later). Finally, click on
Add user
The User will show up on the list of users. You can see information about the user, like when it was created, the last time it signed in, and its user UID.
3. Creating a Realtime Database
Next, you need to create a Realtime Database for your project. Follow the next steps to create the database.
On the left sidebar click on
Build
>
Realtime Database
and then, click on
Create Database
Select your database location. It should be the closest to your location.
Set up security rules for your database. For testing purposes, select
Start in test mode
. In later tutorials, you’ll learn how to secure your database using database rules.
Your database is now created. You need to copy and save the database URL—highlighted in the following image—because you’ll need it later in your ESP32 code.
The Realtime Database is all set. Now, you also need to get your project API key.
4. Get Project API Key
To interface with your Firebase project using the ESP32, you need to get your project API key. To get an API key for your project, you need to create a web app first. Follow the next steps.
On the left sidebar, click on
Settings
Scroll down on that page to the
Your apps
section. Then, click on the web icon
</>
to create and add a web app to your Firebase project.
Give your app a name. Then, check the box next to
√ Also set up Firebase Hosting for this App
. Click
Register app
Then, in the
firebaseConfig
object, you can find your API key. Save it because you’ll need it later.
After this, you can also access the
firebaseConfig
object if you go to your Project settings in your Firebase console and scroll down to the
Your apps
section.
Click Next on the preceding steps, and finally on
Continue to console
Now, you have everything ready to interface the ESP32 with the database.
Program the ESP32 to Interface with Firebase
Now that the Firebase Realtime Database is created, you’ll learn how to interface the ESP32 with the database.
To program the ESP32, you can use
Arduino IDE
VS Code with the PlatformIO extension
or pioarduino, or other suitable software.
Note:
For Firebase projects, we recommend using VS Code with the PlatformIO or pioarduino extension. If you plan to develop a web application to connect the ESP32 with Firebase, VS Code offers all the tools you need. However, since we won’t be building a web application in this tutorial, you can simply use the Arduino IDE, if you prefer.
Installing the FirebaseClient Library
There is a library with lots of examples to use Firebase with the ESP32: the
FirebaseClient library
. This library is compatible with the ESP32, ESP8266, and many other boards.
In this tutorial, we’ll look at simple examples to store and read data from the database. The library provides many other examples that you can check
here
. It also provides detailed documentation explaining how to use the library.
Installation – VS Code + PlatformIO
If you’re using VS Code with the PlatformIO extension, click on the
PIO Home
icon and then select the
Libraries tab
. Search for “
FirebaseClient
“. Select the
Firebase Client Library
by Mobitz.
Then, click
Add to Project
and select the project you’re working on.
Also, change the monitor speed to 115200 by adding the following line to the
platformio.ini
file of your project:
monitor_speed = 115200
Installation – Arduino IDE
If you’re using Arduino IDE, follow the next steps to install the library.
Go to
Sketch
>
Include Library
>
Manage Libraries
FirebaseClient
and i
Technologies used
Hardware components
- ESP32
- ESP8266
- Arduino
Software & tools
- Arduino IDE
- VS Code
- PlatformIO
- Firebase
- PlatformIO
What you get
- Working project / hardware kit, tested before delivery
- Complete source code with explanation
- Project demo and guidance for your viva
- Project report, PPT and IEEE paper support (on request)
Delivery & Payment
Delivery takes a minimum of two weeks from the date your inquiry is confirmed.
Payment is in two parts:
• 50% advance to start the project
• Remaining 50% before delivery
Note:
• Documentation and PPT are not included by default
• If you need documentation/PPT, it can be arranged for extra time and cost
We'll confirm the exact timeline and cost with you after reviewing your requirements.
Related IoT/ESP32 projects

IoT/ESP32
ESP32 External Wake Up from Deep Sleep
This article shows how to put the ESP32 in deep sleep mode and wake it with an external wake up like a button press. We'll cover how to use...
View project
IoT/ESP32
ESP32: Upload Files to LittleFS using Arduino IDE
Upload files to the ESP32 Filesystem (LittleFS) by using a plugin for Arduino IDE (1.8.X). The plugin lets you use three different filesyste...
View project
IoT/ESP32
ESP32: Guide for MicroSD Card Module using Arduino IDE
Use a microSD card with the ESP32: you'll learn how to read and write files to the microSD card. To interface a microSD card with an ESP32 b...
View project
IoT/ESP32
ESP32 Save Data Permanently using Preferences Library
Save data permanently on the ESP32 flash memory using Preferences.h library. The data held in the flash memory persists across resets or pow...
View project