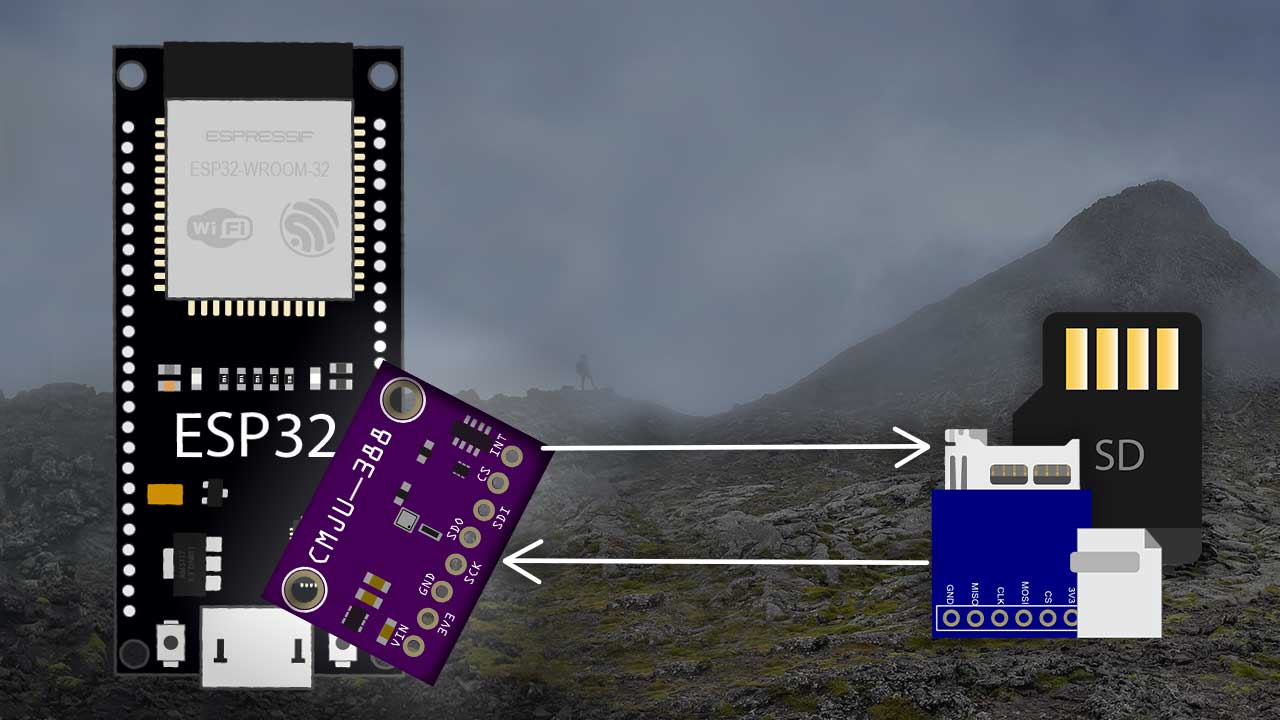
Altimeter Datalogger: ESP32 with BMP388, MicroSD Card Storage and OLED Display
Build an altimeter datalogger with the ESP32 and the BMP388 sensor. The BMP388 is a precise pressure sensor that allows us to estimate altitude with great accuracy.
- Suitable forB.Tech/Diploma IoT/ESP32 students
- Build time1-2 weeks
- LevelIntermediate
- Available atAjvika Labs, Kakinada
About this project
In this project, we’ll build an altimeter datalogger with the ESP32 and the BMP388 sensor. The BMP388 is a precise pressure sensor that allows us to estimate altitude with great accuracy. In this project, the pressure and altitude are logged to a file on a microSD. We’ve also added an OLED display to this project so that you can check the current altitude by pressing a pushbutton.
For a getting started guide for the BMP388, check the following tutorial:
ESP32 with BMP388 Barometric/Altimeter Sensor (Arduino IDE)
Table of Contents:
Project Overview
Parts Required
Prerequisites
Schematic Diagram (circuit)
Code and How it Works
Demonstration
Wrapping Up
Why we created this project
Project Overview
Before going straight to the project, let’s look at the main features of this project.
The ESP32 sets an access point (
1
) that you can connect to using your smarpthone. Once connected, you can access a web page with an input field, where you can enter the current sea level pressure at your location. You must enter this value when the project starts running. The altitude is calculated comparaing the sensor’s pressure with the current sea level pressure, that’s why this step is important for accurate results. You can check the current
sea level pressure
The ESP32 is connected to a BMP388 pressure sensor, a microSD card module, an OLED display and a pushbutton.
Every minute (or other period of time you define in the code), the ESP32 records new sensor readings to a file on the microSD card (
2
). It records current seal level pressure, current pressure at the sensor’s location, temperature and altitude estimation.
When you press the pushbutton, the OLED display turns on and shows the current altitude and temperature (
3
). After 5 seconds, it turns off (to save power).
To better understand how this project works, it might be helpful to take a look at the following tutorials:
ESP32 with BMP388 Barometric/Altimeter Sensor (Arduino IDE)
ESP32: Guide for MicroSD Card Module using Arduino IDE
ESP32 OLED Display with Arduino IDE
Input Data on HTML Form ESP32/ESP8266 Web Server using Arduino IDE
How to Set an ESP32 Access Point (AP) for Web Server
Parts Required
To build this project, you need the following parts:
DOIT ESP32 DEVKIT V1 Board
– read
Best ESP32 Development Boards
BMP388 sensor module
(
Guide for BMP388
)
MicroSD card module
+ microSD card
Pushbutton
10k Ohm resistor
Breadboard
Jumper wires
Prerequisites
Before continuing, make sure you check the following prerequisites.
1. Install ESP32 Board in Arduino IDE
We’ll program the ESP32 using Arduino IDE. So, you must have the ESP32 add-on installed. Follow the next tutorial if you haven’t already:
Installing ESP32 Board in Arduino IDE (Windows, Mac OS X, Linux)
If you want to use VS Code with the PlatformIO extension, follow the next tutorial instead to learn how to program the ESP32:
Getting Started with VS Code and PlatformIO IDE for ESP32 and ESP8266 (Windows, Mac OS X, Linux Ubuntu)
2. Installing Libraries
To build this project, you need to install the following libraries:
Adafruit BMP3XX library
Adafruit_Sensor library
Adafruit_SSD1306 library
Adafruit_GFX library
ESPAsyncWebServer by ESP32Async
AsyncTCP by ESP32Async
You can install those libraries using the Arduino Library Manager. Go to
Sketch
>
Include Library
>
Manage Libraries
and search for the library name.
Installing Libraries (VS Code + PlatformIO)
If you’re programming the ESP32 using PlatformIO, you should add the following lines to the
platformio.ini
file to include the libraries (also change the Serial Monitor speed to 115200):
monitor_speed = 115200
lib_deps = ESP32Async/AsyncTCP
ESP32Async/ESPAsyncWebServer
adafruit/Adafruit SSD1306@^2.4.6
adafruit/Adafruit GFX Library@^1.10.10
adafruit/Adafruit BMP3XX Library@^2.1.0
3. Formatting the MicroSD Card
Before proceeding with the tutorial, make sure you
format your microSD card as FAT32
. Follow the next instructions to format your microSD card or use a software tool like
SD Card Formater
(compatible with Windows and Mac OS).
1.
Insert the microSD card into your computer. Go to
My Computer
and right-click on the SD card. Select
Format
as shown in the figure below.
2.
A new window pops up. Select
FAT32
, press
Start
to initialize the formatting process, and follow the onscreen instructions.
Schematic Diagram
Connect all the components as shown in the following schematic diagram.
You can also check the wiring in the following table:
Component
ESP32 Pin Assignment
BMP388
GPIO 21 (SDA), GPIO 22 (SCL)
OLED Display
GPIO 21 (SDA), GPIO 22 (SCL)
MicroSD card Module
GPIO 5 (CS), GPIO 23 (MOSI), GPIO 18 (CLK), GPIO 19 (MISO)
Pushbutton
GPIO 4
Code
Copy the following code to your ESP32 board, and the project will work straight away.
/*
Permission is hereby granted, free of charge, to any person obtaining a copy of this software and associated documentation files.
The above copyright notice and this permission notice shall be included in all copies or substantial portions of the Software.
*/
#include `Arduino.h`
#include `Wire.h`
#include `Adafruit_GFX.h`
#include `Adafruit_SSD1306.h`
#include `Adafruit_Sensor.h`
#include \"Adafruit_BMP3XX.h\"
#include `WiFi.h`
#include `AsyncTCP.h`
#include `ESPAsyncWebServer.h`
//Libraries for microSD card
#include \"FS.h\"
#include \"SD.h\"
#include \"SPI.h\"
AsyncWebServer server(80);
// Replace with your network credentials
const char* ssid = \"ESP32\";
const char* password = NULL;
//OLED Display
#define SCREEN_WIDTH 128 // OLED display width, in pixels
#define SCREEN_HEIGHT 64 // OLED display height, in pixels
Adafruit_SSD1306 display(SCREEN_WIDTH, SCREEN_HEIGHT, &Wire, -1);
// Variables for BMP388
float seaLevelPressure = 1013.25;
Adafruit_BMP3XX bmp;
float alt;
float temp;
float pres;
String dataMessage;
//Pushbutton
const int buttonPin = 4;
int buttonState;
int lastButtonState = LOW;
unsigned long lastDebounceTime = 0;
unsigned long debounceDelay = 50; // the debounce time; increase if the output flickers
//Timers for datalogging
unsigned long lastTimer = 0;
unsigned long timerDelay = 18000;
const char* PARAM_INPUT_1 = \"seaLevelPressure\";
// HTML web page to handle 1 input field
const char index_html[] PROGMEM = R\"rawliteral(
<!DOCTYPE HTML><html><head>
<title>Sea Level Pressure</title>
<meta name=\"viewport\" content=\"width=device-width, initial-scale=1\">
</head><body>
<form action=\"/get\">
Sea Level Pressure: <input type=\"float\" name=\"seaLevelPressure\">
<input type=\"submit\" value=\"Submit\">
</form>
</body></html>)rawliteral\";
void initBMP(){
if (!bmp.begin_I2C()) { // hardware I2C mode, can pass in address & alt Wire
//if (! bmp.begin_SPI(BMP_CS)) { // hardware SPI mode
//if (! bmp.begin_SPI(BMP_CS, BMP_SCK, BMP_MISO, BMP_MOSI)) { // software SPI mode
Serial.println(\"Could not find a valid BMP3 sensor, check wiring!\");
while (1);
}
// Set up oversampling and filter initialization
bmp.setTemperatureOversampling(BMP3_OVERSAMPLING_8X);
bmp.setPressureOversampling(BMP3_OVERSAMPLING_4X);
bmp.setIIRFilterCoeff(BMP3_IIR_FILTER_COEFF_3);
bmp.setOutputDataRate(BMP3_ODR_50_HZ);
}
void getReadings(){
if (! bmp.performReading()) {
Serial.println(\"Failed to perform reading :(\");
return;
}
temp = bmp.temperature;
pres = bmp.pressure / 100.0;
alt = bmp.readAltitude(seaLevelPressure);
}
void initDisplay(){
if(!display.begin(SSD1306_SWITCHCAPVCC, 0x3C)) {
Serial.println(F(\"SSD1306 allocation failed\"));
for(;;);
}
delay(500);
display.clearDisplay();
display.setTextColor(WHITE);
}
void displayReadings(){
display.clearDisplay();
// display temperature
display.setTextSize(1);
display.setCursor(0,0);
display.print(
Technologies used
Hardware components
- ESP32
- ESP8266
- Arduino
- SSD1306
- OLED
- SD Card
Software & tools
- Arduino IDE
- VS Code
- PlatformIO
- PlatformIO
What you get
- Working project / hardware kit, tested before delivery
- Complete source code with explanation
- Project demo and guidance for your viva
- Project report, PPT and IEEE paper support (on request)
Delivery & Payment
Delivery takes a minimum of two weeks from the date your inquiry is confirmed.
Payment is in two parts:
• 50% advance to start the project
• Remaining 50% before delivery
Note:
• Documentation and PPT are not included by default
• If you need documentation/PPT, it can be arranged for extra time and cost
We'll confirm the exact timeline and cost with you after reviewing your requirements.
Related IoT/ESP32 projects

IoT/ESP32
ESP32 External Wake Up from Deep Sleep
This article shows how to put the ESP32 in deep sleep mode and wake it with an external wake up like a button press. We'll cover how to use...
View project
IoT/ESP32
ESP32: Upload Files to LittleFS using Arduino IDE
Upload files to the ESP32 Filesystem (LittleFS) by using a plugin for Arduino IDE (1.8.X). The plugin lets you use three different filesyste...
View project
IoT/ESP32
ESP32: Guide for MicroSD Card Module using Arduino IDE
Use a microSD card with the ESP32: you'll learn how to read and write files to the microSD card. To interface a microSD card with an ESP32 b...
View project
IoT/ESP32
ESP32 Save Data Permanently using Preferences Library
Save data permanently on the ESP32 flash memory using Preferences.h library. The data held in the flash memory persists across resets or pow...
View project